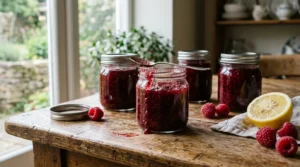
My first batch of raspberry jam poured. Not spread. Poured, like a slightly thick juice, straight off the toast and onto my kitchen table.
Two batches later I overcorrected and made something you could have used as roof sealant. Somewhere in between there is a jam that holds its shape on a spoon and still tastes like fresh fruit, and it took me about six summers to land on it reliably.
So here is that recipe, plus the eleven things I know now that I did not know then. The cold plate test in item six is the one that changed everything for me.
Why raspberry jam is easier than people think
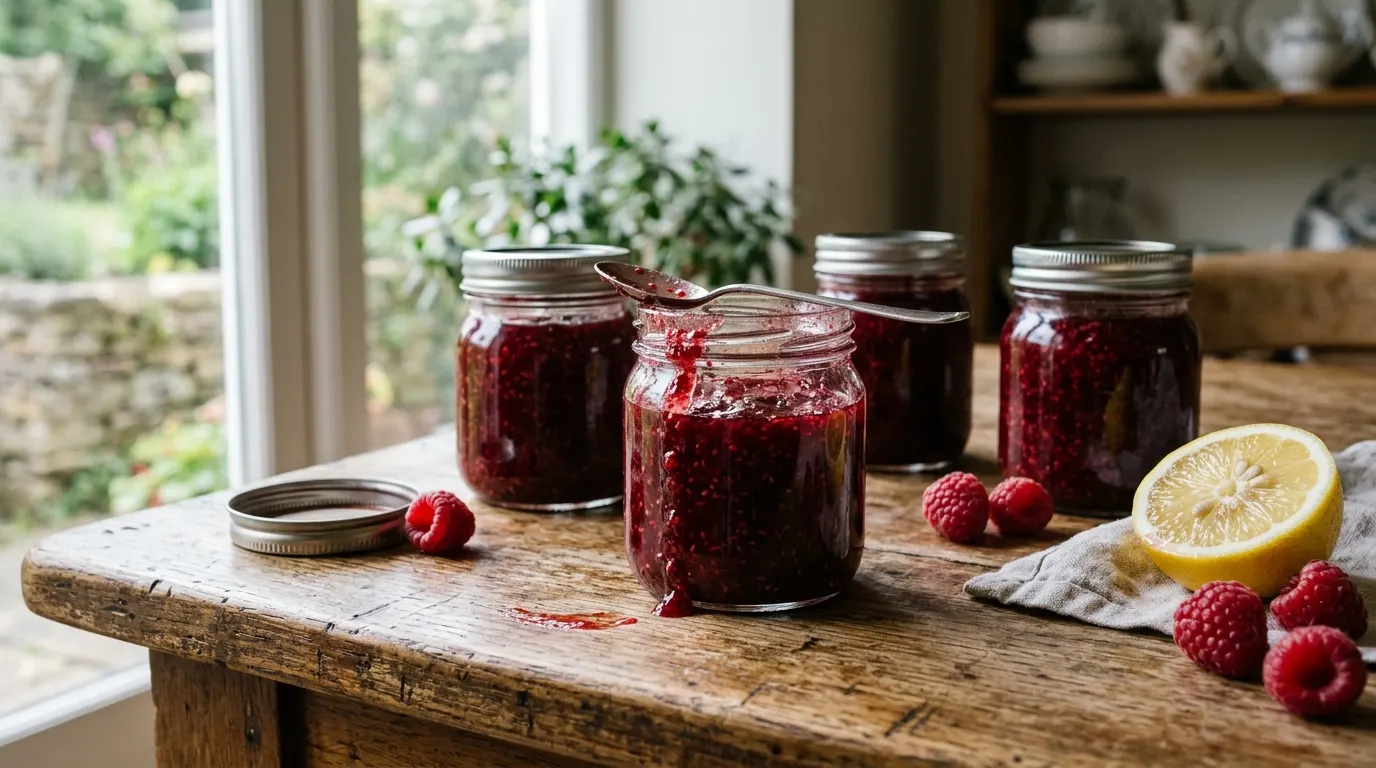
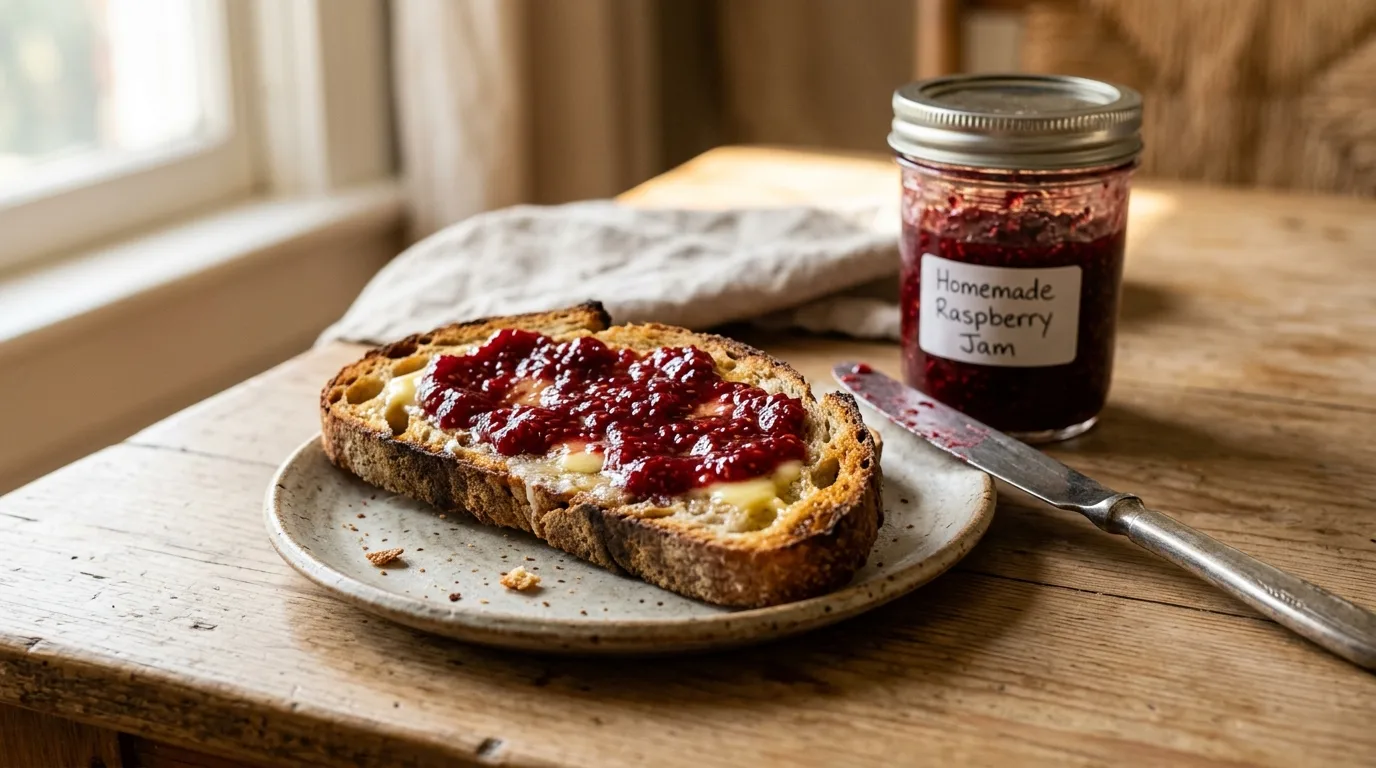
Raspberries are quietly one of the best fruits for jam. They carry a decent amount of natural pectin and plenty of acid, which means you do not need commercial pectin at all unless you want a very firm set.
That also means the recipe is short. Fruit, sugar, a little lemon, and heat. The whole skill is knowing when to stop cooking, and that is a five second test rather than a timer, which is why so many recipes get it wrong by telling you to boil for a fixed number of minutes.
1. The basic ratio to memorize
Four cups crushed raspberries to three cups sugar, plus two tablespoons lemon juice. That is roughly 1.3 pounds of fruit and it yields about four half pint jars. Slightly less sugar than the old one to one recipes, which gives you a softer set and a much brighter raspberry flavour.
2. Use slightly underripe berries in the mix
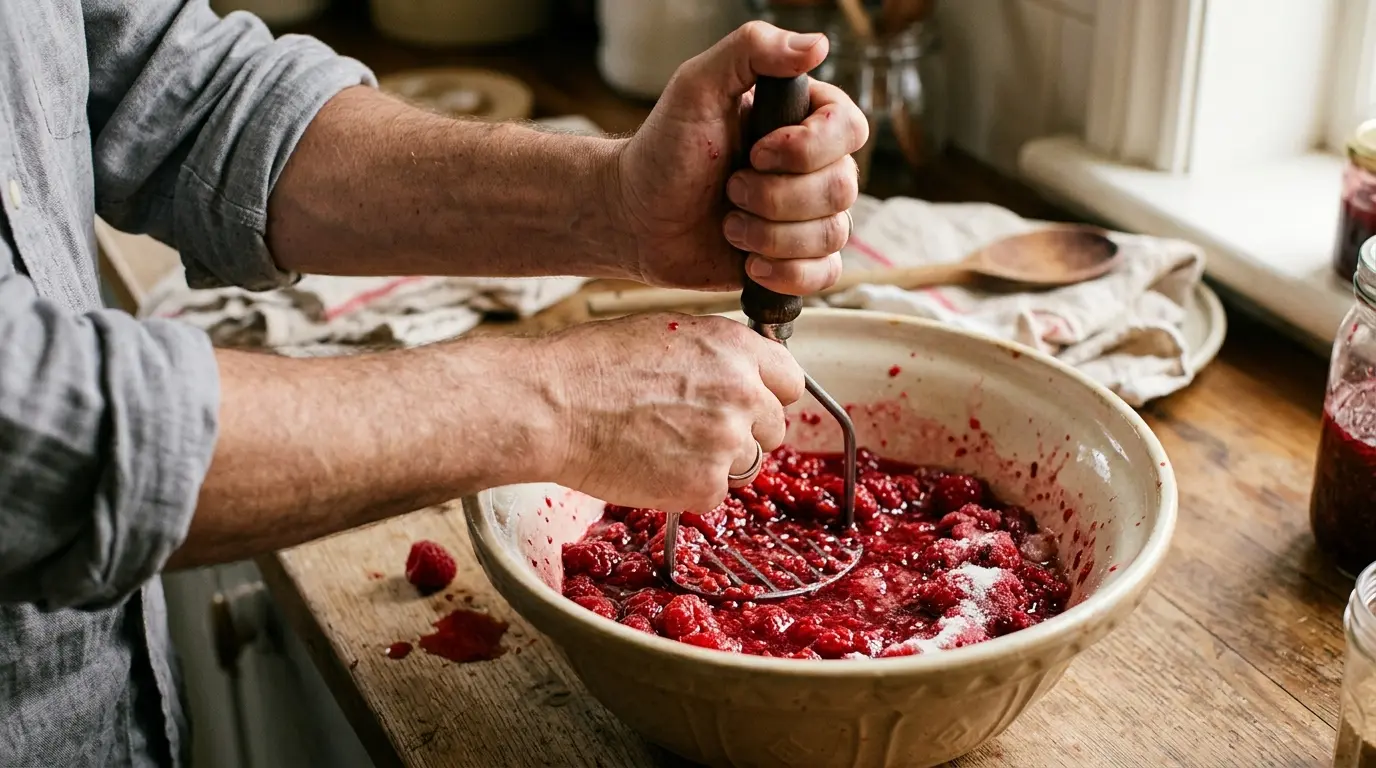
Fully ripe fruit tastes best but carries less pectin. Aim for about a quarter of your berries to be firm and just barely underripe. I noticed the difference the year I used only overripe supermarket punnets and could not get a set no matter how long I boiled it.
3. Do not wash the berries unless you have to
Raspberries absorb water like tiny sponges and every drop has to boil off later. If they are homegrown or from a farm stand, just pick out the leaves. If you must rinse them, do it fast in a colander and spread them on a towel for twenty minutes first.
4. Macerate before you cook
Toss the crushed berries with the sugar and let them sit for one to two hours, or overnight in the fridge. The sugar draws out the juice so the pot starts with liquid already in it, which means less scorching and a shorter boil. This step is free and it improves the colour noticeably.
5. Use a wide pan, not a tall pot
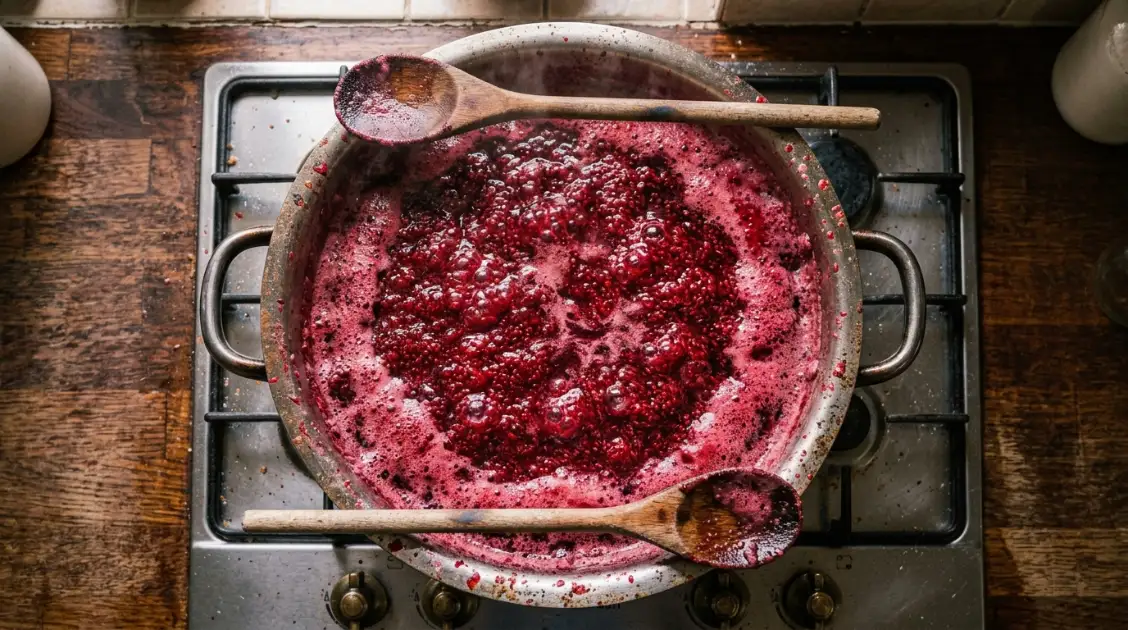
Surface area is everything. A wide, heavy bottomed pan evaporates water faster, so you reach the setting point sooner and cook the fruit less. My stockpot took 25 minutes for a set. The same batch in a wide sauté pan took 11.
6. The cold plate test, properly done
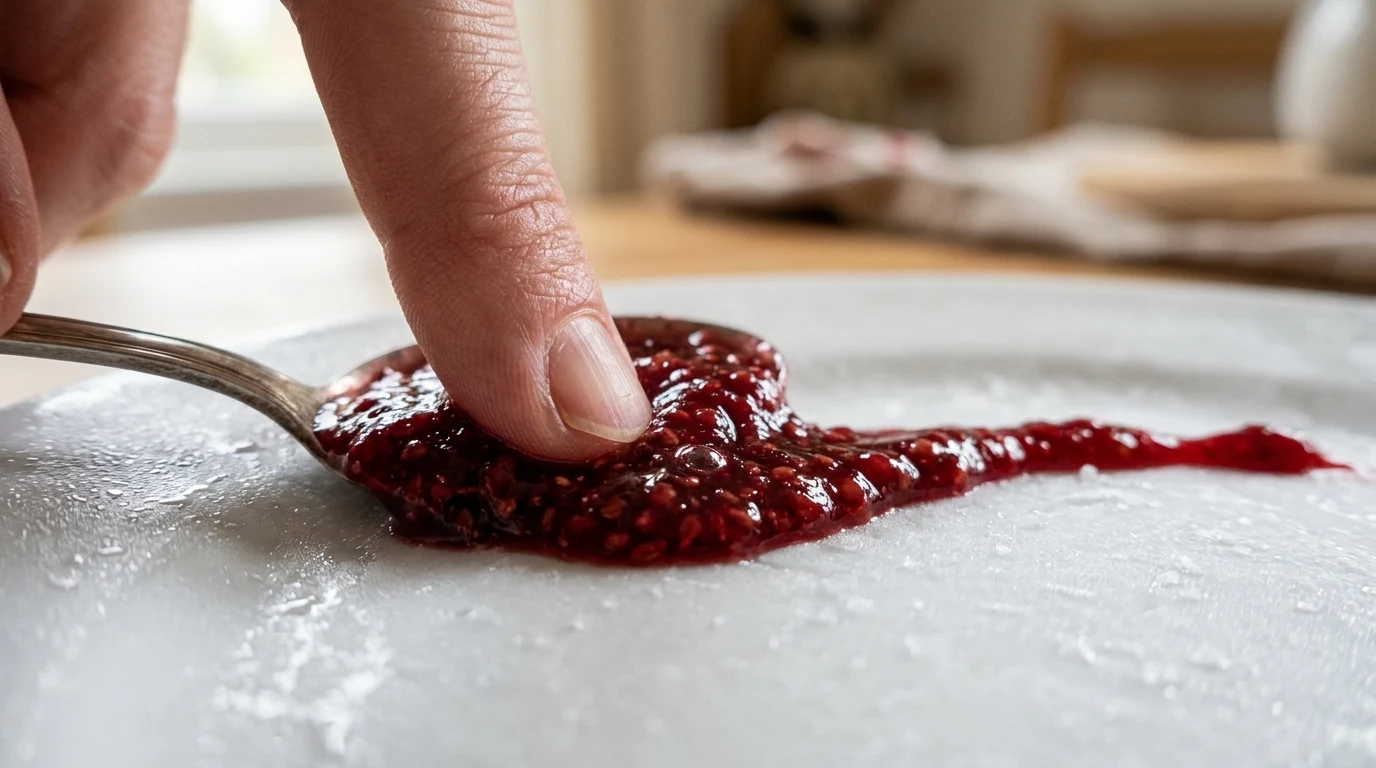
Put three small plates in the freezer before you start. When the jam has boiled hard for about eight minutes, take the pan off the heat, drop a teaspoon of jam on a cold plate, and wait 60 seconds. Push it with your finger. If it wrinkles and holds a line, it is done. If it floods back, boil two more minutes and test again on a fresh plate.
7. Skim, or add a knob of butter
Raspberry jam throws a lot of pink foam. You can skim it off with a spoon, which is tedious but keeps the jam clear. Or stir in half a teaspoon of butter near the end and most of the foam dissolves. I do the butter thing now and nobody has ever noticed.
8. Let it sit five minutes before jarring
If you jar it straight off the boil, the seeds and fruit float to the top and you get a layer of pale syrup at the bottom. Five minutes of resting with a gentle stir distributes everything evenly. Small detail, and it is the difference between jam that looks homemade and jam that looks bad.
9. Seedless if you want it, but expect less yield
Push about half the cooked fruit through a fine sieve before the final boil if seeds bother you. You lose maybe a fifth of your volume and some pectin along with it, so add an extra tablespoon of lemon juice to compensate. I keep the seeds, personally, but my sister will not touch jam that has them.
10. Jar hot, into hot jars
Sterilize jars in a 250F oven for ten minutes and fill them while both jam and jars are hot. Cold glass plus boiling jam equals a cracked jar and a genuinely miserable clean up. Leave a quarter inch of headspace, wipe the rim, and lid it.
11. Water bath ten minutes for shelf storage
If you want it in the cupboard rather than the fridge, process the sealed jars in boiling water for ten minutes with the water an inch over the lids. Skip this and it is still lovely jam, it just lives in the fridge and gets eaten within about a month, which honestly happens anyway.
12. Label with the year, not just the fruit
Sounds pedantic. But when you find a jar at the back of the cupboard in eighteen months, you will want to know. I write the month and year in pencil on the lid, and I have never once regretted it.
What to do when it goes wrong
Runny jam is fixable, and this is the thing nobody tells beginners. Tip it back into the pan, add two tablespoons of lemon juice per four cups, and boil hard for another five to eight minutes, testing on a cold plate. It works about nine times out of ten and the jam is none the worse for it.
Too stiff is harder. You can loosen a set jam by warming it gently with a splash of water or apple juice, though it will never be quite as good. Better to catch it early, which is why testing at the eight minute mark rather than the twelve minute mark matters. And if your jam tastes dull rather than bright, it is almost always missing acid, so a squeeze of lemon at the end lifts it more than any amount of extra sugar will. That was the last thing I figured out, embarrassingly late.
Frequently asked questions
Do I need pectin for raspberry jam? No. Raspberries have enough natural pectin and acid to set on their own with sugar and a little lemon juice. Commercial pectin gives a firmer, more uniform set and a shorter cook, but it is optional and slightly mutes the fresh fruit flavour.
How long does homemade raspberry jam last? Water bath processed jars keep for about a year in a cool dark cupboard. Unprocessed jam stored in the fridge lasts around four weeks, and any opened jar should be used within three to four weeks regardless.
Why is my raspberry jam runny? Usually undercooking, too much water from washed fruit, or overripe berries low in pectin. Reboil with extra lemon juice and test on a frozen plate rather than trusting a timer, since setting point depends on your pan and your stove.
Can I use frozen raspberries for jam? Yes, and they work well. Thaw them first and include all the liquid that comes out, since that is fruit juice rather than added water. Expect the cook to take a few minutes longer than with fresh.
How do I stop the fruit floating to the top of the jar? Let the finished jam rest in the pan for five minutes and give it one gentle stir before filling. That short pause lets it thicken slightly so the fruit stays suspended instead of rising.
Final thoughts
There is something about raspberry jam specifically that feels like a proper reward for a small amount of work. Forty minutes, four jars, and the kitchen smells extraordinary for the rest of the day.
If you have never made jam before, start with a half batch so a mistake costs you very little. Put the plates in the freezer, trust the wrinkle test over the clock, and you will almost certainly get it right the first time.