My lashes are naturally straight. Not short, not sparse, just aggressively downward facing, the kind that look like they are trying to hide. For most of my twenties I dealt with this by applying more mascara, which is the single least effective solution available.
Three coats. Every morning. Spidery by noon.
The fix turned out to be almost entirely about sequence and technique rather than products, and it cost nothing to change. Here is the whole routine, plus the longer term options if you want to go further than a tube of mascara.
What most people get wrong
The two biggest mistakes are doing things in the wrong order and using far too much product. Curling after mascara is the one that genuinely damages lashes, because you are clamping a metal edge onto a coated, stiffened hair and the breakage happens right at the crimp point. If your lashes seem to be thinning at the middle rather than the base, this is usually why.
And the product thing. A mascara wand loaded straight from the tube carries several times what your lashes need, which is where clumping, flaking, and that heavy weighed down droop all come from. I noticed the day I started wiping the wand properly that my curl held about four hours longer, and I had been buying different mascaras for two years chasing that exact result.
1. Start with clean, oil free lids
Any residue from moisturizer, primer, or an oil based cleanser will break mascara down within hours and cause smudging under the eye. Sweep a cotton pad with a bit of micellar water over the lash line before makeup, then let it dry fully. This takes ten seconds and it is the reason some people’s mascara lasts and some people’s does not.
2. Curl first, always
Curler before mascara. No exceptions. Position it as close to the base as you can without pinching skin, squeeze and hold for about five seconds, then release, move slightly outward toward the middle of the lash, and squeeze again. Three gentle positions beats one hard clamp, which leaves a sharp bend rather than a curve.
3. Warm the curler, but do it safely
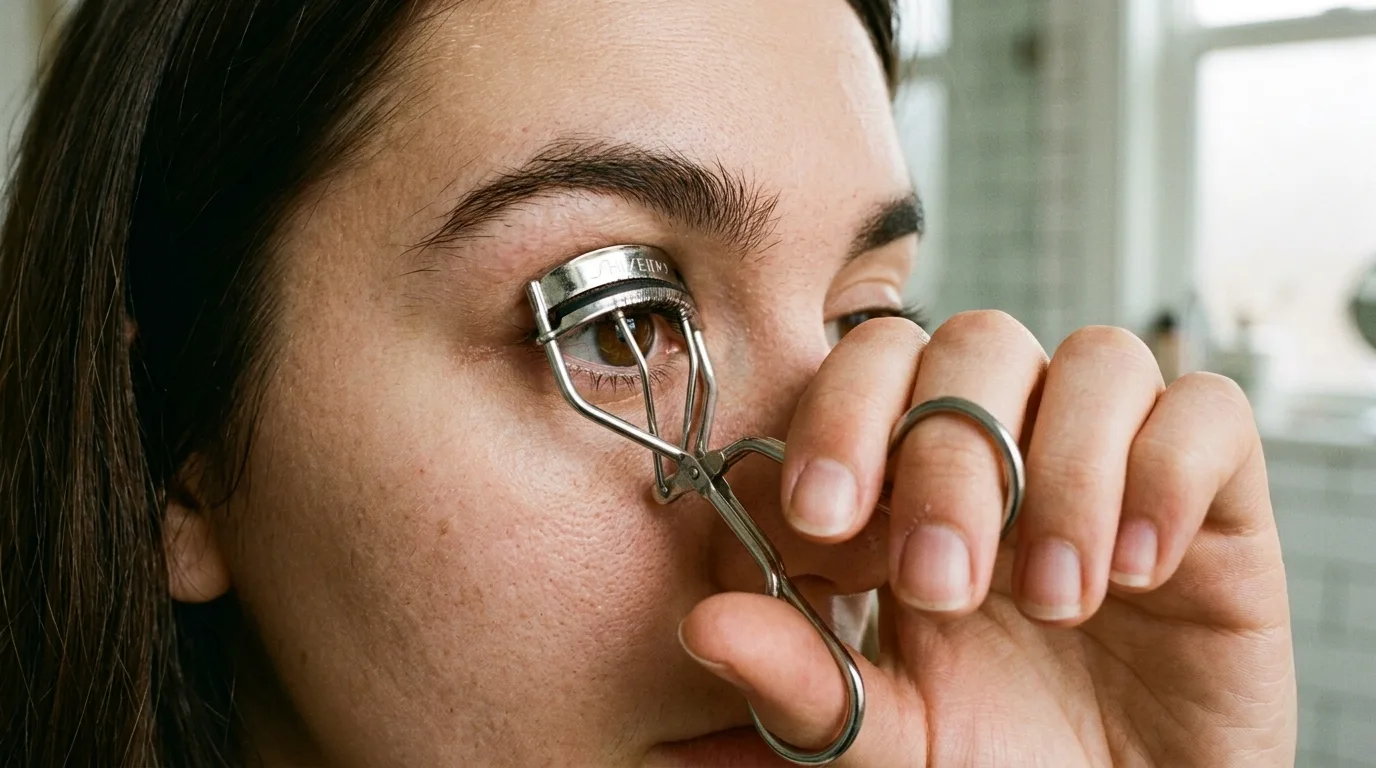
A few seconds of warm air from a hairdryer held about six inches away makes a real difference for stubborn straight lashes. Test the metal on the back of your hand before it goes near your eye, every single time. It should feel pleasantly warm and nothing more, since the skin on your eyelid is the thinnest on your body.
4. Wipe the wand before it touches your lashes
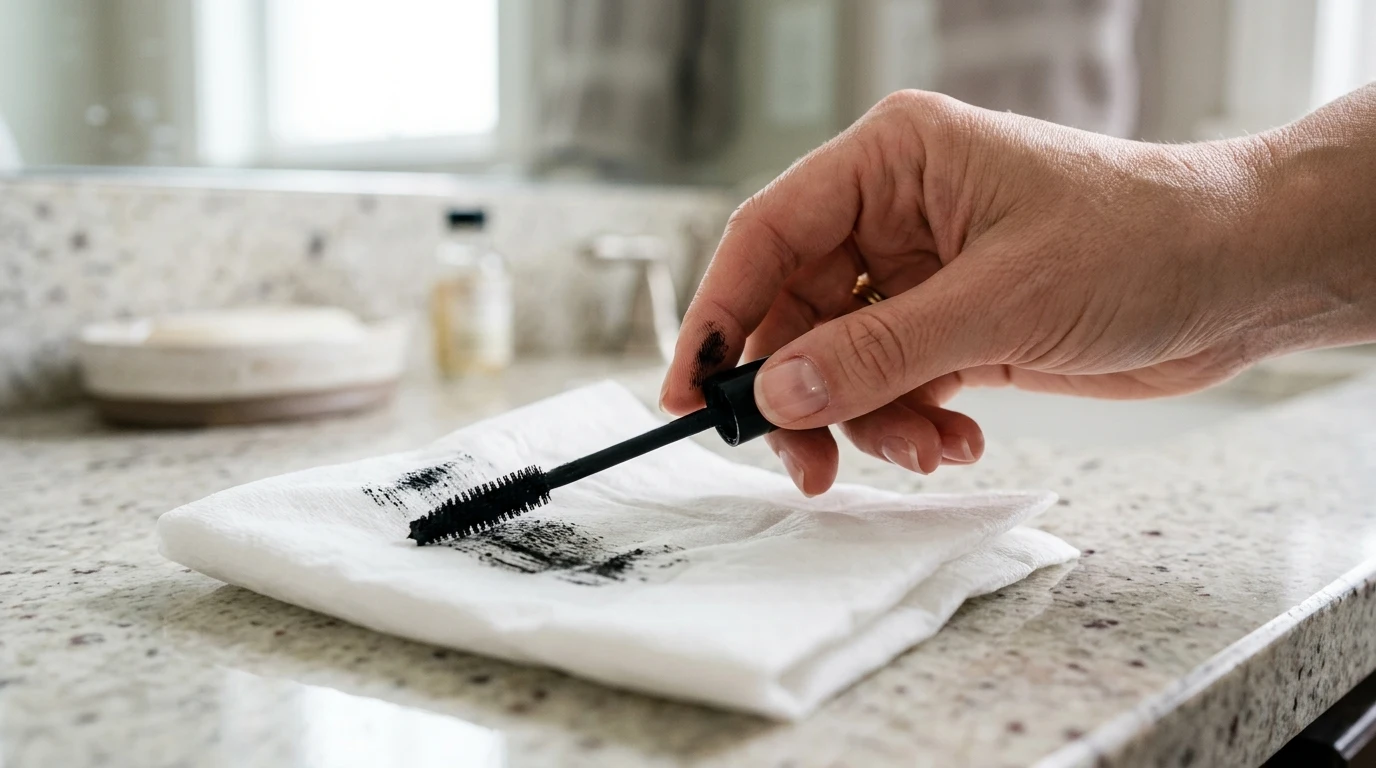
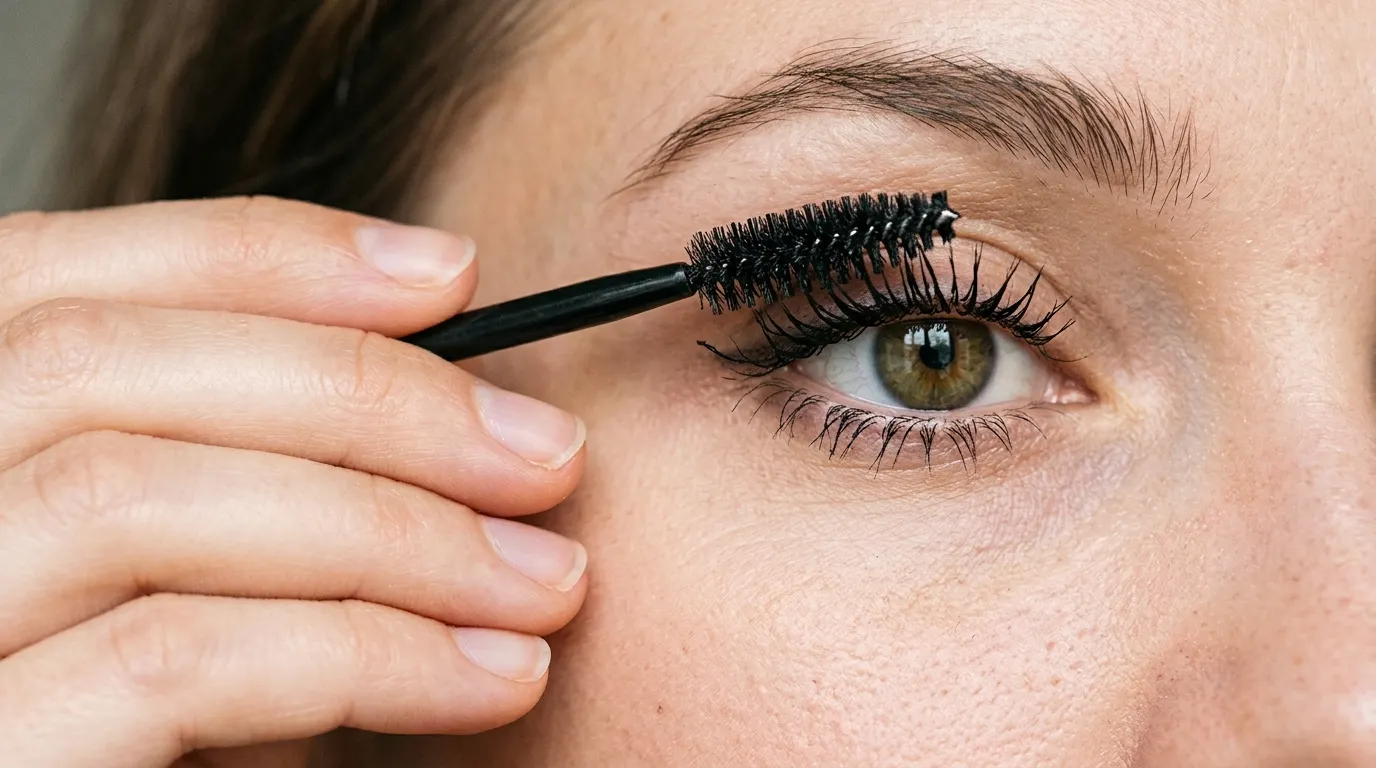
Pull the wand out and wipe one side against a tissue or the rim of the tube. You want a thin even coating on the bristles, not a loaded blob at the tip. This one habit fixes more mascara problems than switching brands ever will, and I say that having switched brands a great many times.
5. Wiggle at the base before you pull through
Press the wand into the base of the lashes and wiggle side to side for two or three seconds, then sweep upward and outward. That base deposit is what creates the illusion of thickness and a darker lash line. Pulling straight through from root to tip just coats the ends and makes lashes look sparse and stringy.
6. Apply the second coat while the first is still tacky
Wait about fifteen to twenty seconds, not two minutes. Layering onto fully dried mascara is what creates flakes and those hard clumps that will not comb out. Two coats is genuinely the limit for most formulas, and a third almost always undoes the work of the first two.
7. Keep a clean spoolie in your bag
Comb through immediately after the second coat while everything is still soft. It separates anything stuck together and redistributes product toward the tips. A dried out old mascara wand washed with soap works perfectly, so there is no need to buy anything.
8. Do the bottom lashes with almost nothing
Wipe the wand nearly clean, then use just the tip held vertically and tap gently along the lower lashes. Heavy bottom lashes drag the whole eye downward and they transfer onto your under eye far more than the top ones. Some days skipping them entirely looks better, particularly if you have hooded or deep set eyes.
9. Match the formula to your actual eyes
If you have oily lids or watery eyes, a tubing mascara is the answer, since it wraps each lash in a polymer sleeve that will not break down in oil and slides off with warm water. Waterproof holds curl best but is drying and needs an oil based remover. Regular formulas are the most flexible and the easiest on lash health for daily wear.
10. Set the under eye to stop the transfer
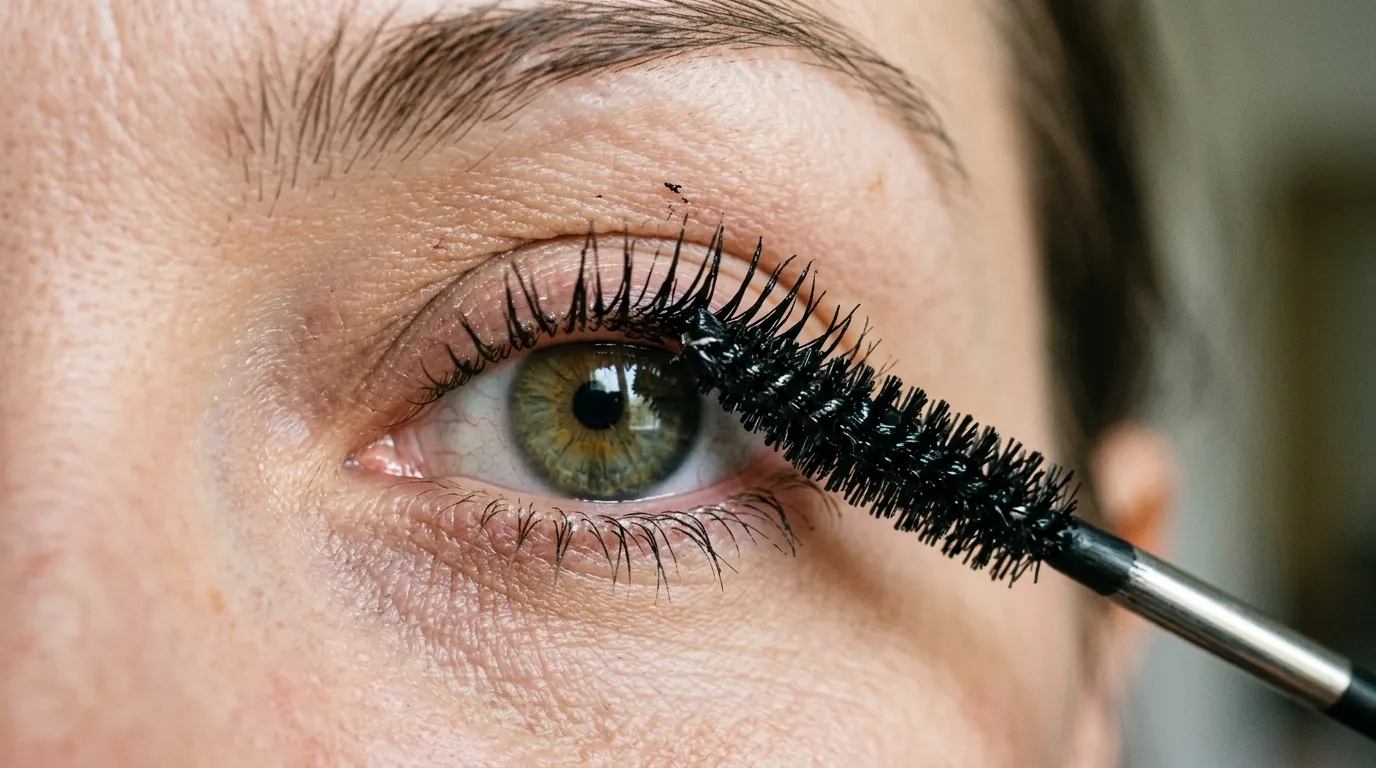
A tiny amount of translucent powder pressed under the lower lash line before mascara gives the oils somewhere to go. Then look down into a hand mirror while applying rather than up at a wall mirror, so your lashes are not resting against your skin as they dry. These two things together solved a smudging problem I had assumed was just my face.
11. Remove it gently and completely every night
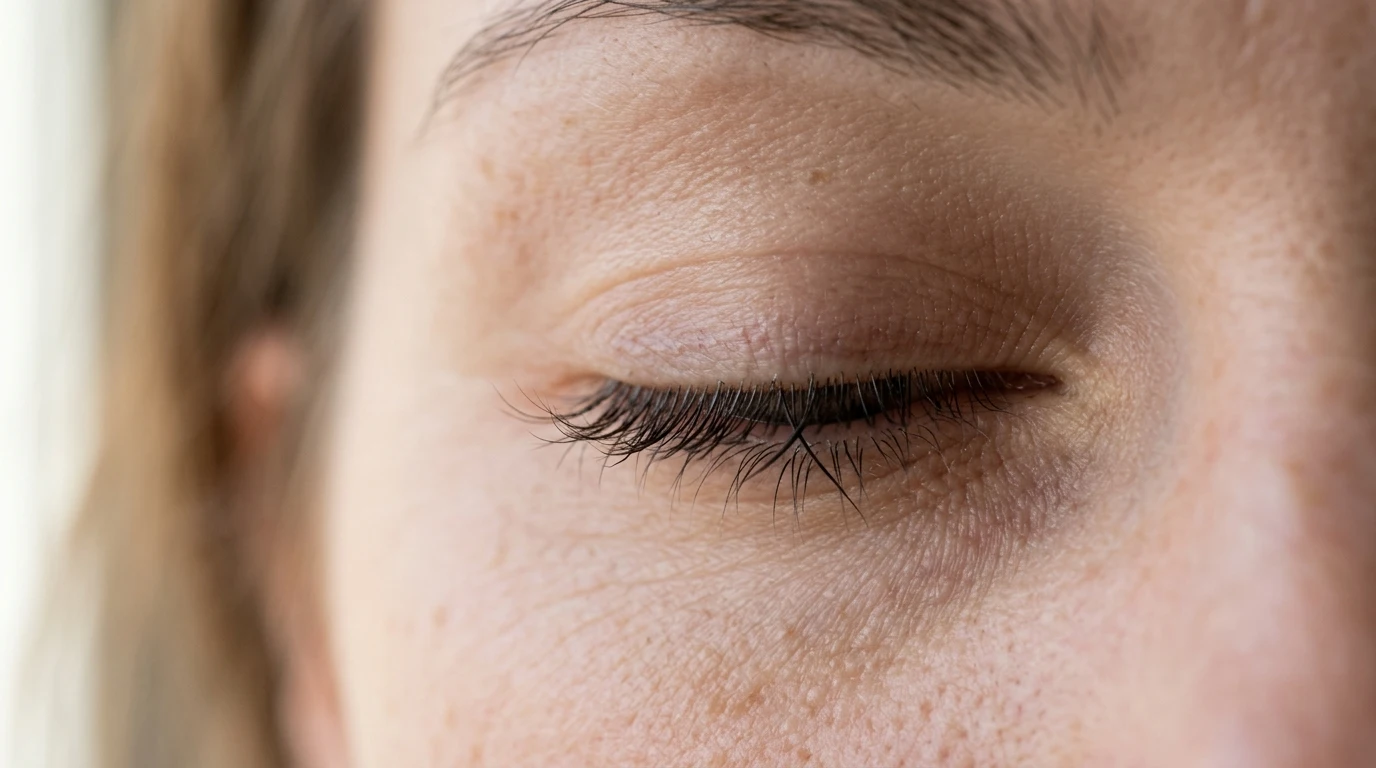
Soak a cotton pad in an oil or bi phase remover, hold it against the closed eye for a full twenty seconds to dissolve everything, then wipe downward and outward. Do not rub back and forth or scrub at the lash line. Sleeping in mascara stiffens lashes overnight and they snap on the pillow, which is a slow damage nobody notices until it adds up.
12. Know what the longer term options actually involve
Peptide lash serums are the low risk option and take about eight to twelve weeks to show much. Prescription strength growth treatments work considerably better but carry real side effects including possible darkening of the iris and eyelid skin, so those are a conversation with a doctor rather than an online purchase. A professional lash lift lasts six to eight weeks and is the closest thing to permanent curl. Extensions look incredible and need refills every two or three weeks plus daily cleansing with a proper lash shampoo, which is the step most people skip and the reason irritation happens.
How to build the routine around your own lashes
Start by working out which problem you actually have, because the fixes are different. If your lashes are straight and drop within an hour, your money goes into a good curler and a waterproof or tubing formula, and a lash lift is the option that will genuinely change your mornings. If they are short but curl fine, focus on a lengthening formula with a thin bristle brush and get the wiggle at the base right, since that creates far more visible impact than volume claims do. If they are sparse, a base layer of a fibre or volumizing mascara then a lengthening one on top gives you more than either alone. And if you wear contacts or have sensitive eyes, stay with tubing formulas and skip glitter or fibre mascaras entirely, because loose fibres in a contact lens is a genuinely miserable afternoon. One honest caveat on all of this. Lashes have a growth cycle of roughly one to three months and they shed naturally, so losing a few a day is normal and not a sign of damage. But if you notice real thinning, redness along the lash line, persistent itching, or crusting, stop whatever you are using and see an optometrist or a doctor rather than switching to another product. The eye area is not the place to troubleshoot on your own.
Frequently asked questions
Should I curl my lashes before or after mascara? Always before. Curling coated lashes clamps a stiffened hair and causes breakage right at the bend, which is a common reason lashes thin in the middle rather than at the base.
Why does my mascara smudge under my eyes? Usually oil, either from skincare or naturally oily lids. Cleanse the lash line before applying, set the under eye lightly with translucent powder, and switch to a tubing or waterproof formula if it keeps happening.
How do I stop my lashes from clumping? Wipe the wand before each use, apply the second coat while the first is still tacky, and comb through with a clean spoolie straight away. Most clumping is too much product rather than a bad mascara.
Do eyelash growth serums actually work? Peptide based serums can improve the look of lashes over eight to twelve weeks with modest results. Prescription options are more effective but carry side effects such as possible iris and eyelid darkening, so those should be discussed with a doctor.
How long do lash lifts and extensions last? A lash lift generally holds for six to eight weeks as new lashes grow in. Extensions need refills every two to three weeks and require daily cleansing with a dedicated lash cleanser to avoid irritation.
Final thoughts
What surprised me most about all this is how little of it was about buying things. Curl first, wipe the wand, wiggle at the base, comb through, take it off properly at night. Five habits, no cost, and better results than the expensive mascara I was leaning on to fix technique problems.
So try the sequence for a week before you buy anything new. If the curl still drops by lunchtime, that is genuinely useful information and probably points you toward a lift. Come tell me how it went, because straight lash solidarity is a real thing and I am always collecting tips.