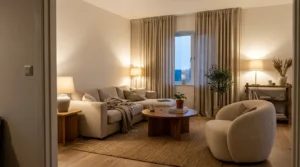
There is a version of LED lighting that makes a room look expensive and a version that makes it look like a gaming setup in 2019. The difference is smaller than you think and it comes down to about three decisions.
I got all three wrong the first time.
Bright cool white strip stuck straight onto a shelf edge, visible dots reflecting off everything, and a remote I lost within a week. Took the whole thing down after a month. So here is the version that actually works, including the parts nobody mentions in the product photos.
The rules that separate good from cheap
Hide the source, always. You should see the glow and never the individual diodes, which means the strip goes inside a channel, behind a lip, under an overhang, or in a recess. This one rule fixes most bad LED installs on its own, and an aluminium channel with a frosted diffuser cover costs very little and completely transforms how a strip looks.
The second is color temperature. Warm white around 2700K for living spaces, neutral 3000 to 3500K for kitchens and work areas, and cool 4000K and above only where you genuinely need task light. I noticed the room I hated had 6000K strips in it, which is basically daylight, and swapping to 2700K changed the feel more than moving the strip did. The third rule is to skip the color changing mode in a room you want to look grown up. Those strips are fun, but leave them set to a warm white ninety percent of the time.
1. Under cabinet lighting in the kitchen
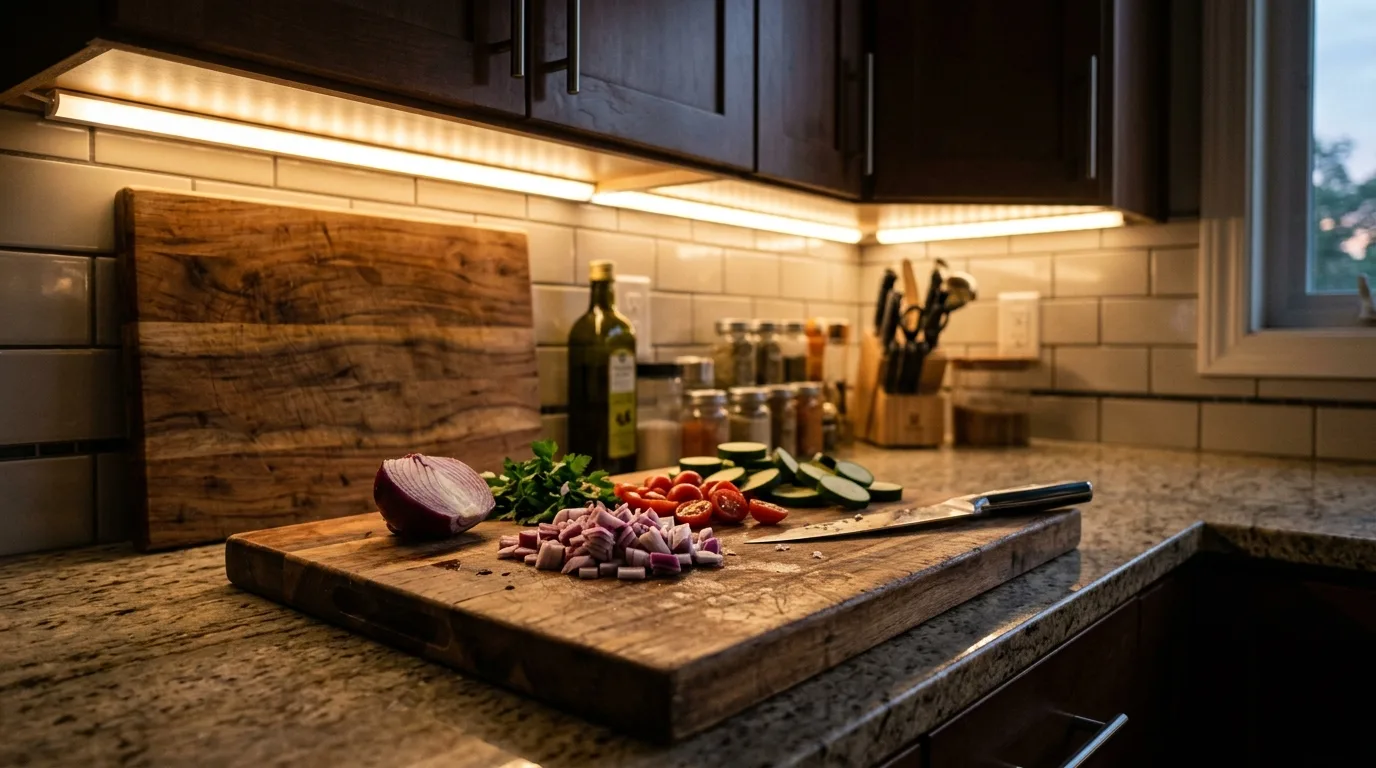
The most useful LED install in any house. Run a strip in a channel along the front underside of your upper cabinets, so the light throws forward onto the counter rather than backward at the wall. Neutral 3000 to 3500K here, since you are chopping things and want to see color accurately.
2. Toe kick lighting under base cabinets
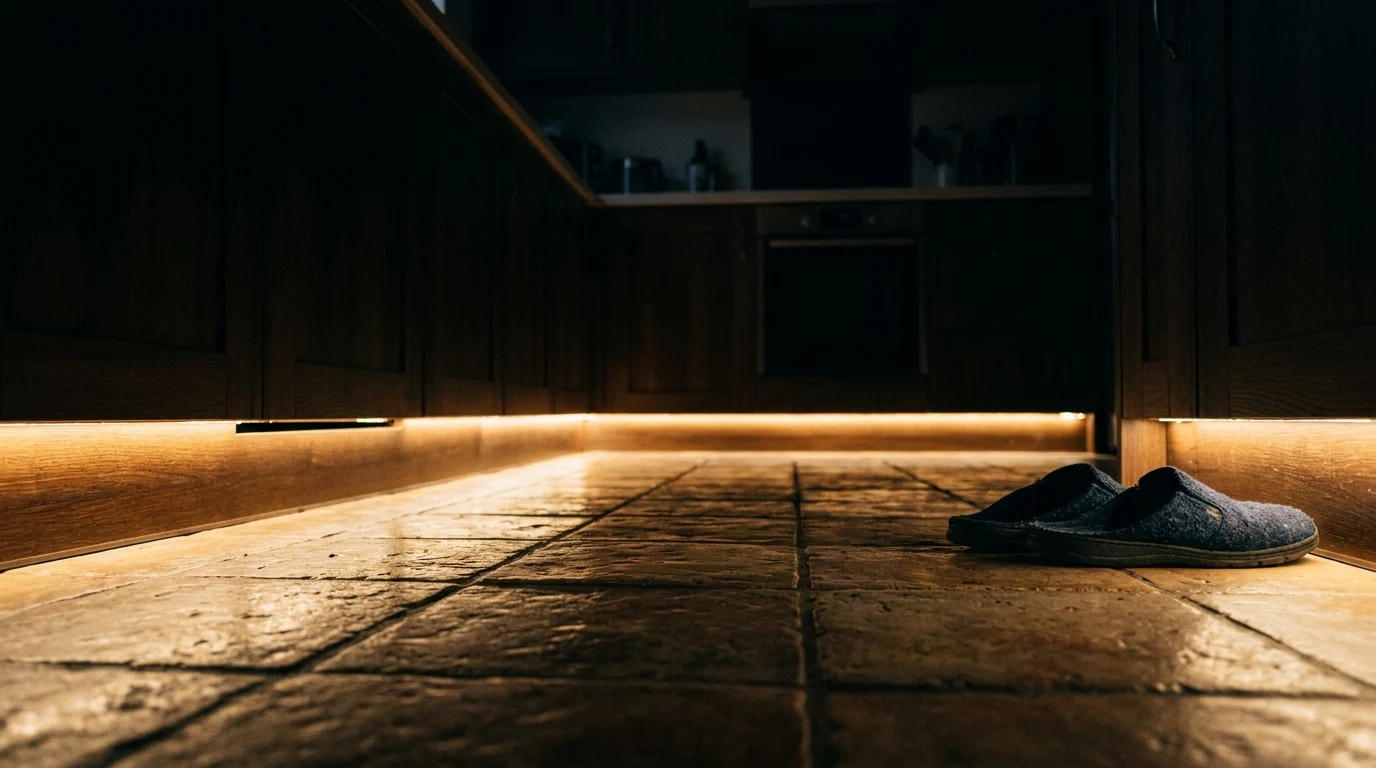
A strip tucked into the recess under your kitchen cabinets gives a soft floating glow at floor level. It doubles as a night light on the way to the fridge, which is honestly its best feature. Put it on its own switch or a motion sensor rather than tying it to the main kitchen lights.
3. Cove lighting around the ceiling
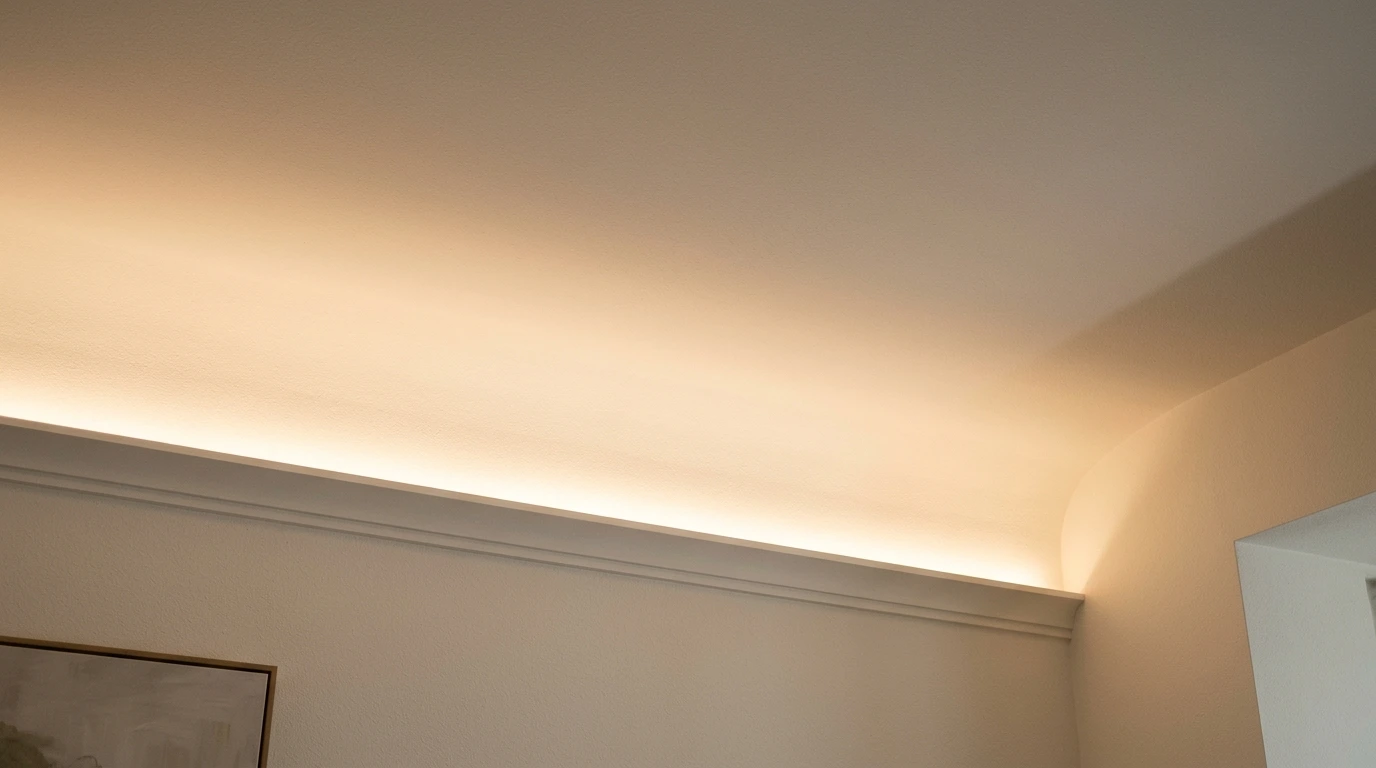
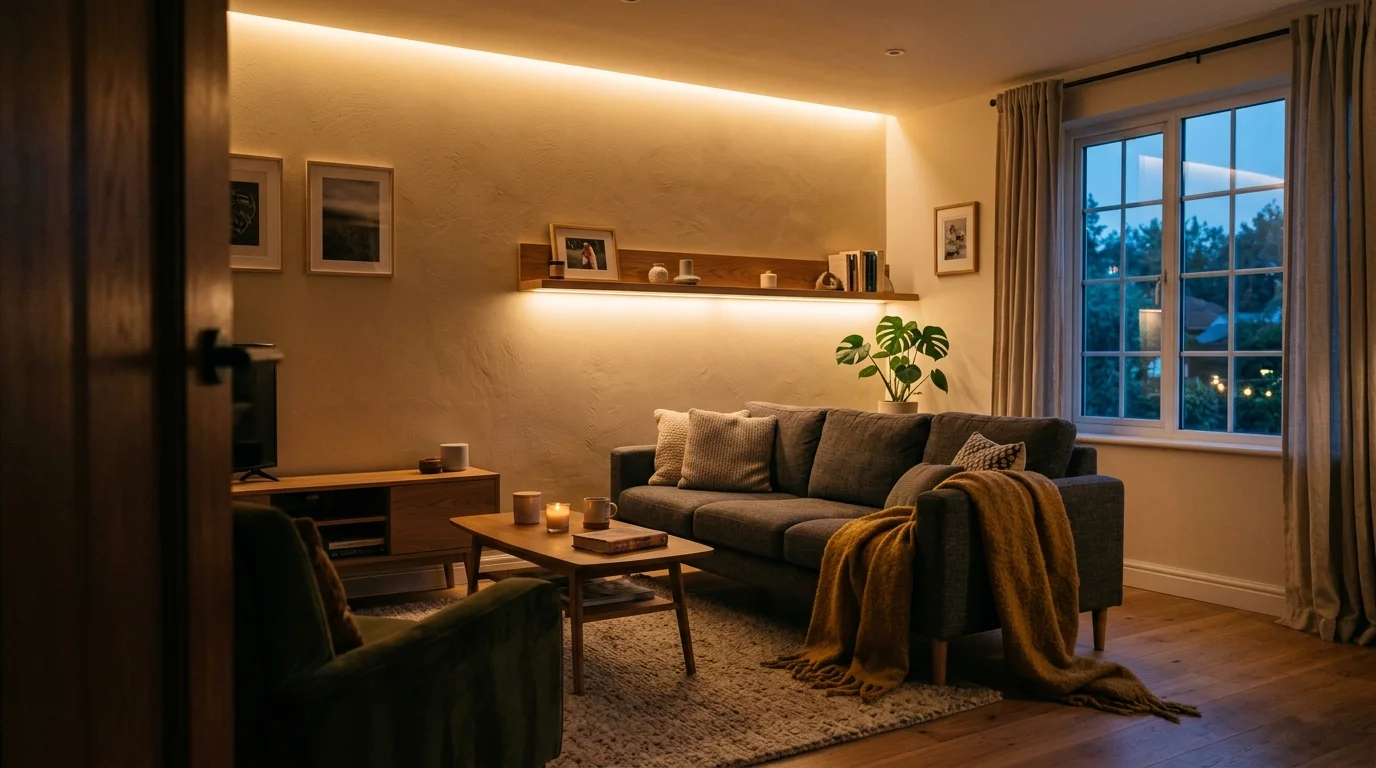
A strip hidden behind a lip or a crown moulding shelf, aimed up at the ceiling, bounces indirect light across the whole room. This is the closest thing to a professional install you can do yourself. Leave at least three inches between the strip and the ceiling, or you get a hot bright stripe instead of a soft wash.
4. Backlight a mirror
Run a strip around the back edge of a bathroom or bedroom mirror, facing the wall, and the mirror appears to float in a halo. Use 3000K here, since bathroom mirrors are where you look at your own face and cool light is unforgiving. Make sure anything in a bathroom is rated for damp locations.
5. Light the underside of floating shelves
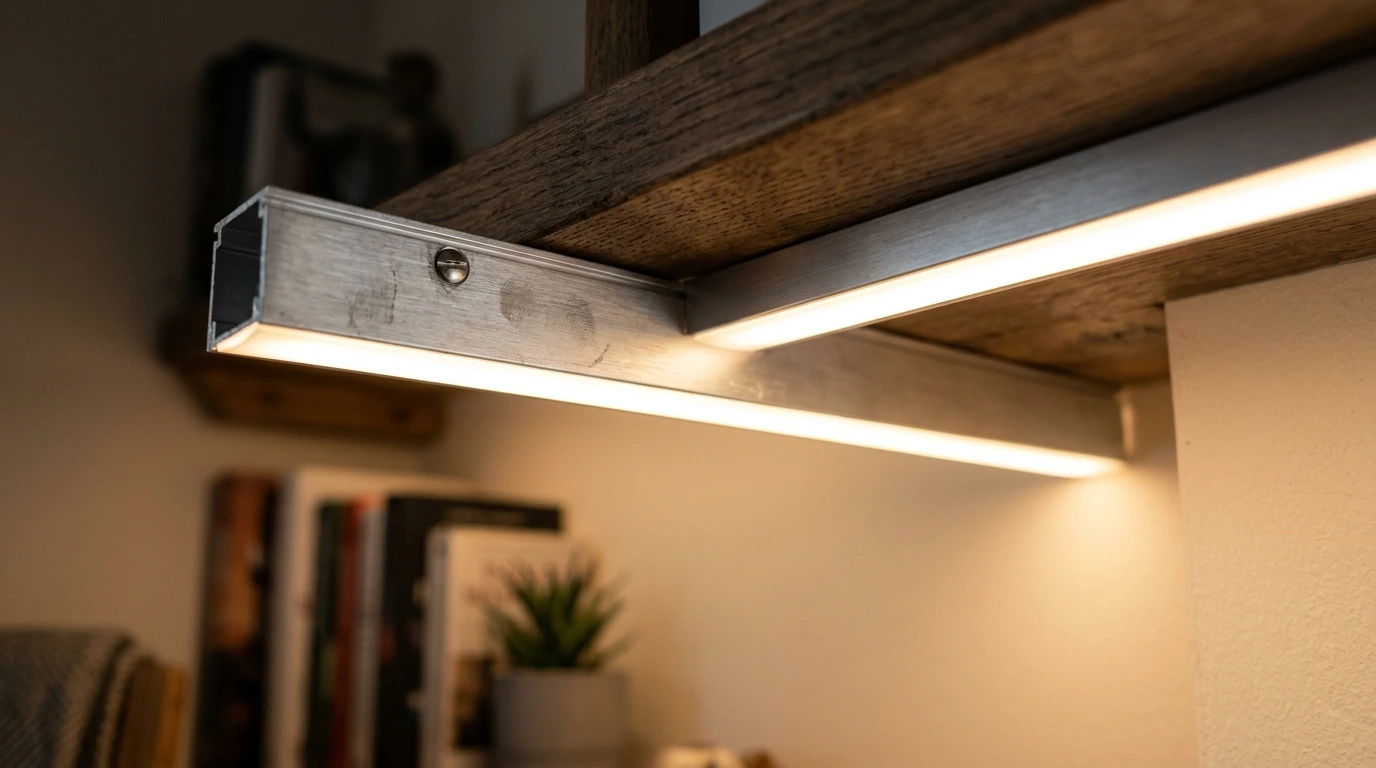
Strip in a channel on the underside, front edge, casting down onto whatever is below. It makes a bookshelf look like a display rather than storage. Keep the channel recessed slightly so you cannot see it from a seated position, which is where people actually look at shelves from.
6. Backlight a TV to cut eye strain
A strip stuck to the back edges of the television, throwing light onto the wall behind it. It reduces the harsh contrast between a bright screen and a dark wall, which genuinely helps on long evenings. Neutral white around 6500K is what enthusiasts prefer here because it does not distort screen colors, and this is the one place cool light belongs.
7. Stair lighting for the actual staircase
A strip under the nose of each tread, or a continuous run along the wall side. It looks striking and it is a real safety improvement on a dark staircase. Check that it does not create glare in the eyes of somebody walking down, since a poorly aimed strip is worse than no light at all.
8. Line a headboard or bed frame
Strip along the underside of a floating bed frame or behind an upholstered headboard, warm white, on a dimmer. This is my favourite bedroom install because it gives you enough light to move around at night without turning on anything overhead. Add a motion sensor underneath the bed and it becomes properly useful.
9. Light the inside of a wardrobe or pantry
Motion activated strips inside a closet or pantry turn a black hole into something you can actually see into. Battery powered rechargeable ones work fine here since they run for only seconds at a time. This is the cheapest genuinely useful LED project on the list.
10. Uplight a plant or a corner
A small spotlight on the floor aimed up through a large plant throws a pattern of leaf shadows onto the wall. It costs about fifteen dollars and it looks like something a designer did. Angle it slightly off center rather than straight up, because dead centre looks flat.
11. Outline a doorway or an arch
A recessed strip running around an interior arch or opening, warm white and dimmed low, gives a room architectural definition at night. Only do this where there is already a recess or trim to hide the strip in. A strip stuck flat onto the face of a wall around a doorway looks exactly as improvised as it is.
12. Add smart control and stop using the remote
Whatever you install, put it on something better than the little infrared remote that came in the box. A smart plug, an in wall dimmer switch, or a controller that works with your phone or a voice assistant. Every LED remote I have owned has ended up lost in a sofa within three weeks, and the strips stopped getting used the moment that happened.
How to plan an install that lasts
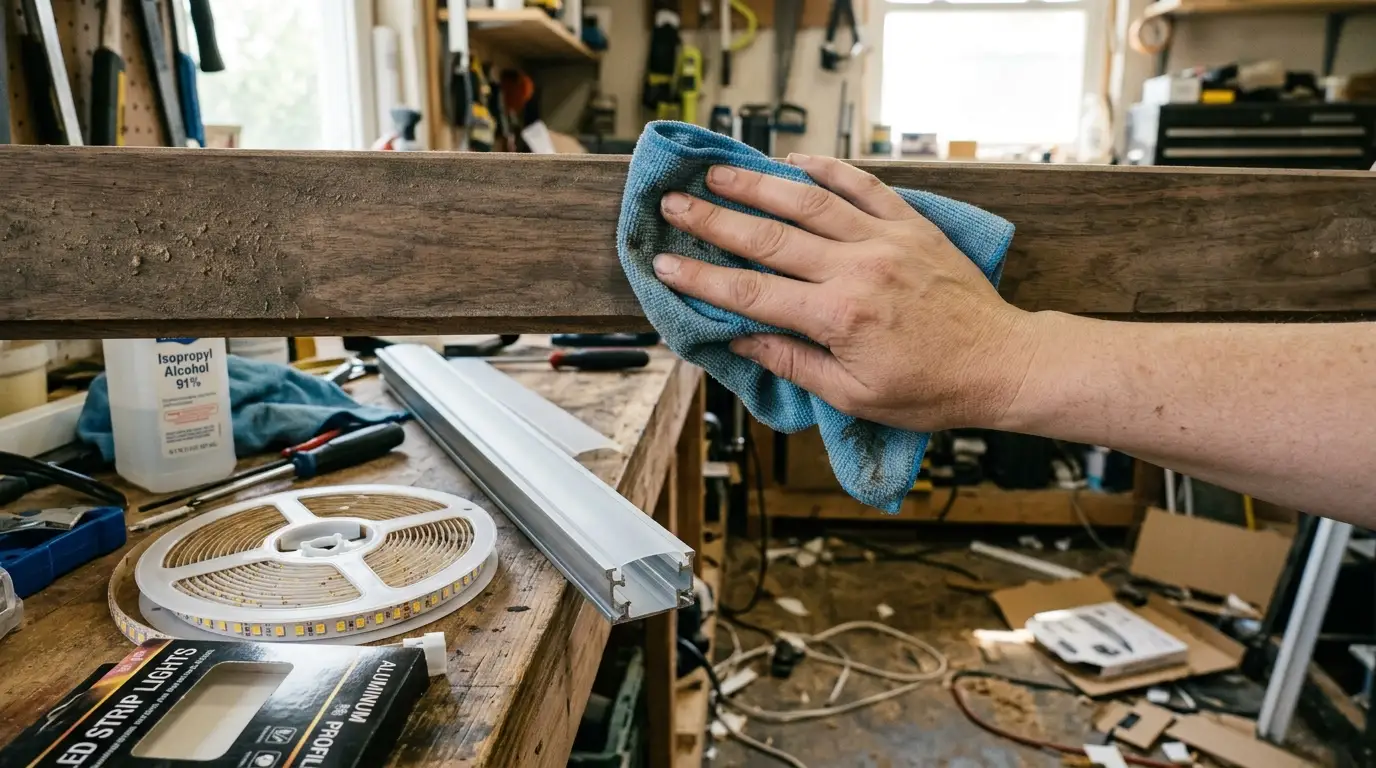
Work out three things before you buy anything. First, measure the run and add about ten percent, since corners eat length and you cannot stretch a strip that comes up short. Second, check the power supply. Strips draw a certain number of watts per metre or foot, and the driver needs to handle the total with about twenty percent headroom, otherwise it runs hot and dies early. Third, plan where the power comes from, because a beautiful hidden strip with a cable dangling down a wall to a visible plug undoes the whole effect. On quality, look for a higher CRI rating, ideally 90 or above, which measures how accurately the light renders color. Cheap low CRI strips make wood, food, and skin look slightly wrong in a way people notice without being able to name. Also check the density, since strips with more diodes per metre give a smoother line of light and fewer visible dots. On installation, clean the surface with rubbing alcohol before sticking anything down, because the adhesive on most strips is mediocre and will peel within months on a dusty or greasy surface. I use small mounting clips as backup on any run over about a metre. And the honest warning, do not cut a strip anywhere except the marked cut points, and if a project involves hardwiring into your home electrical rather than plugging into an outlet, get an electrician. Low voltage strip work is very approachable, mains wiring is not.
Frequently asked questions
What color LED light is best for a bedroom? Warm white around 2700K is best for bedrooms since it is closest to lamplight and does not interfere with winding down. Cool white above 4000K is better saved for task areas like kitchens and workspaces.
How do I hide LED strip lights? Mount them inside an aluminium channel with a frosted diffuser cover, or tuck them behind a lip, under a shelf edge, or into a recess. Seeing the glow rather than individual diodes is what makes an install look professional.
Are LED strip lights expensive to run? No, they use very little power. A typical five metre strip draws roughly the same as a single traditional bulb, so even running for several hours a night the cost is minimal compared to overhead lighting.
Do LED strips damage walls or paint? The adhesive can pull paint when removed, especially from older or freshly painted surfaces. Warming the strip gently with a hair dryer and peeling slowly at a low angle reduces the risk, and mounting in a channel avoids the problem entirely.
How long do LED strip lights last? Quality strips are rated for tens of thousands of hours, though the real lifespan depends on heat. Strips crammed into enclosed spaces with no airflow, or run on an undersized power supply, fail far sooner than the rating suggests.
Final thoughts
The best LED lighting in a house is the kind nobody comments on directly. They notice the kitchen counter is easy to work at, or that the hallway is not pitch black at 2am, without ever registering that there is a strip involved.
So start with one small install, hide the source properly, and set it warm. If you do the under cabinet run first, come back and tell me how it went, because that is the one people always say they should have done years earlier.