A desk hutch is one of those things that seems like pure upside. More storage, same footprint, and your desk stops being a pile of papers with a laptop balanced on top.
Mostly that is true.
But I bought mine in about four minutes of scrolling, without measuring anything, and it turned out to be nine inches deep on a desk that only had twenty four to give. My monitor ended up jammed forward, my keyboard hung off the front edge, and I put up with it for close to a year before admitting the problem.
What a hutch actually does to your desk

The important thing to understand is that a hutch does not add space. It moves space upward and takes some away from the surface, which is a trade that works brilliantly for some setups and badly for others.
If you work mostly on a laptop, write by hand, or use the desk for crafts, a hutch is usually a straight win. If you have a large monitor, especially a curved ultrawide, the maths gets tight fast, and this is the part people skip. I noticed after I finally measured properly that my viewing distance had dropped to about eighteen inches, which is well under the twenty to thirty inches most ergonomics guidance suggests for a monitor. My eyes had been telling me that for months.
1. Measure your desk depth before anything else
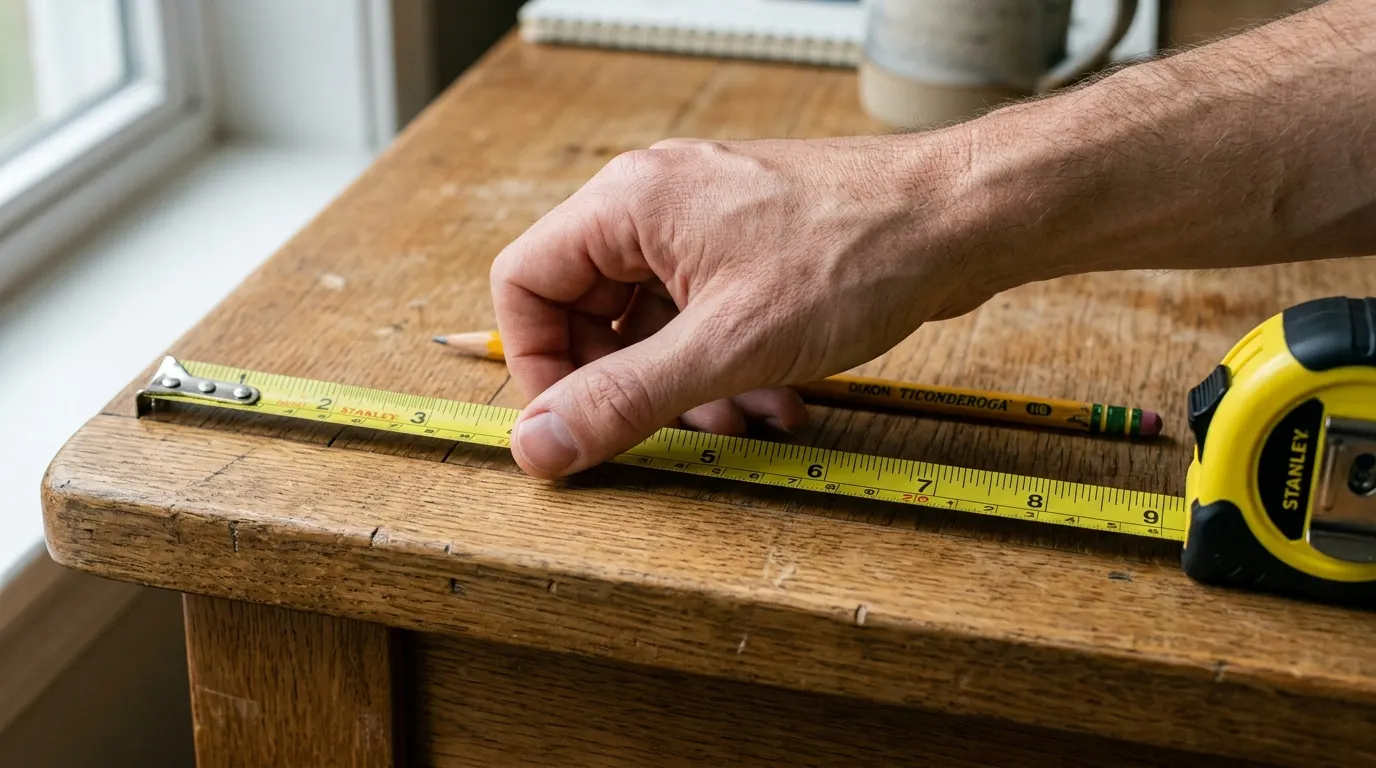
Standard desks run 24 to 30 inches deep. Subtract the hutch depth, then subtract another 4 to 6 inches for a monitor stand or laptop, and see what is left. If you end up with under 20 inches between your eyes and the screen, that hutch is too deep for that desk.
2. Check the height clearance you actually need
Measure from the desk surface to the underside of the first shelf. You want at least 14 to 16 inches if a monitor sits under there, more for anything larger than 24 inches, and around 10 inches is enough if only a laptop and papers live below. Nothing is more annoying than a hutch you cannot slide your monitor beneath.
3. Go with an open hutch in a small room
Solid doors and heavy backs make a small room feel closed in and dark. An open shelf hutch keeps the wall visible behind it and reads much lighter, which matters if your desk is in a bedroom or a corner of the living room. You lose the ability to hide clutter, so pair it with baskets.
4. Choose a closed hutch if the desk is in a shared space
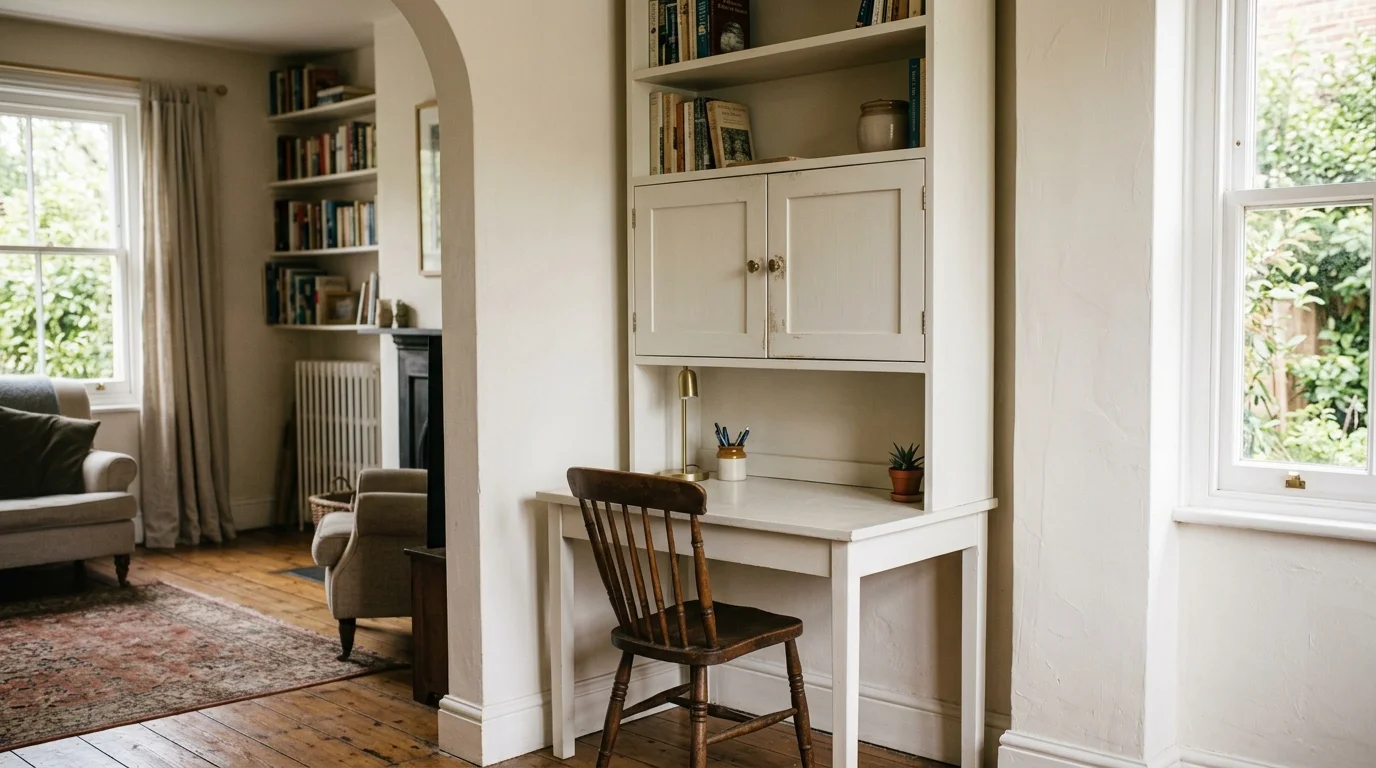
The opposite case. If your desk lives in a dining room or a living area where you want work to disappear at six in the evening, doors are the whole point. A hutch with two cabinet doors and a drop down front lets you close the day and stop looking at it.
5. Try a floating shelf instead of a hutch
Two shelves mounted on the wall above the desk give you the same storage with none of the desk depth loss, since the weight goes into the wall rather than sitting on your surface. Mount the lowest shelf at least 16 inches above the desk. Find the studs, or use proper toggle anchors rated well above the load.
6. Build a DIY hutch from a bookshelf
A short bookcase turned on its side, or a narrow one placed at the back of the desk, does most of what a purpose built hutch does for a fraction of the price. Anchor it to the wall with the strap that came with it, always, especially if children are anywhere nearby. This is the cheapest route on the list.
7. Add a riser instead if you only need one level
Sometimes the real problem is just that your monitor is too low and your keyboard has nowhere to go. A simple monitor riser with a shelf underneath solves both, costs very little, and takes up almost no depth. Try this before buying anything larger.
8. Light the underside of the first shelf
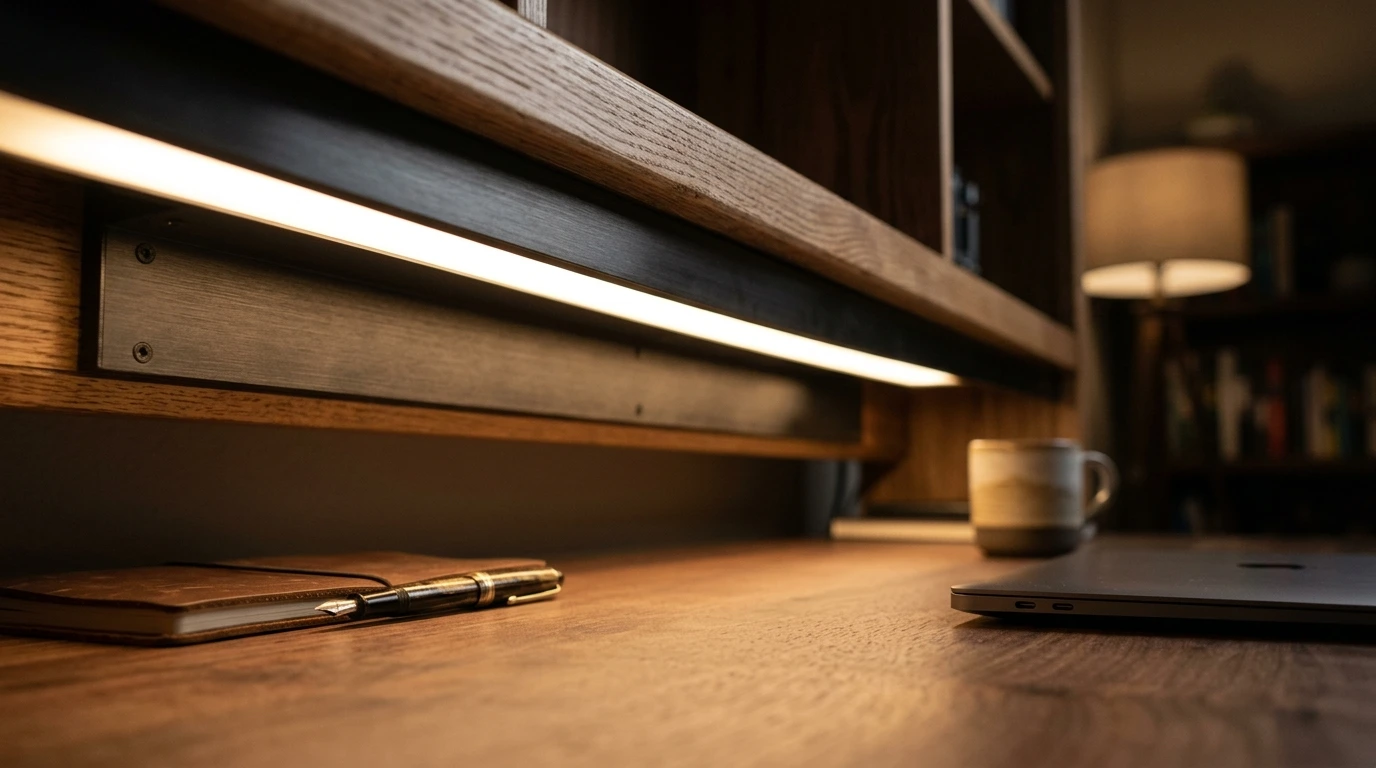
A hutch casts a shadow directly onto the part of the desk you work at, which is a genuine annoyance nobody warns you about. Run a warm LED strip in a channel along the underside front edge of the lowest shelf. It fixes the shadow and makes the whole setup look intentional.
9. Plan the cables before you fill the shelves
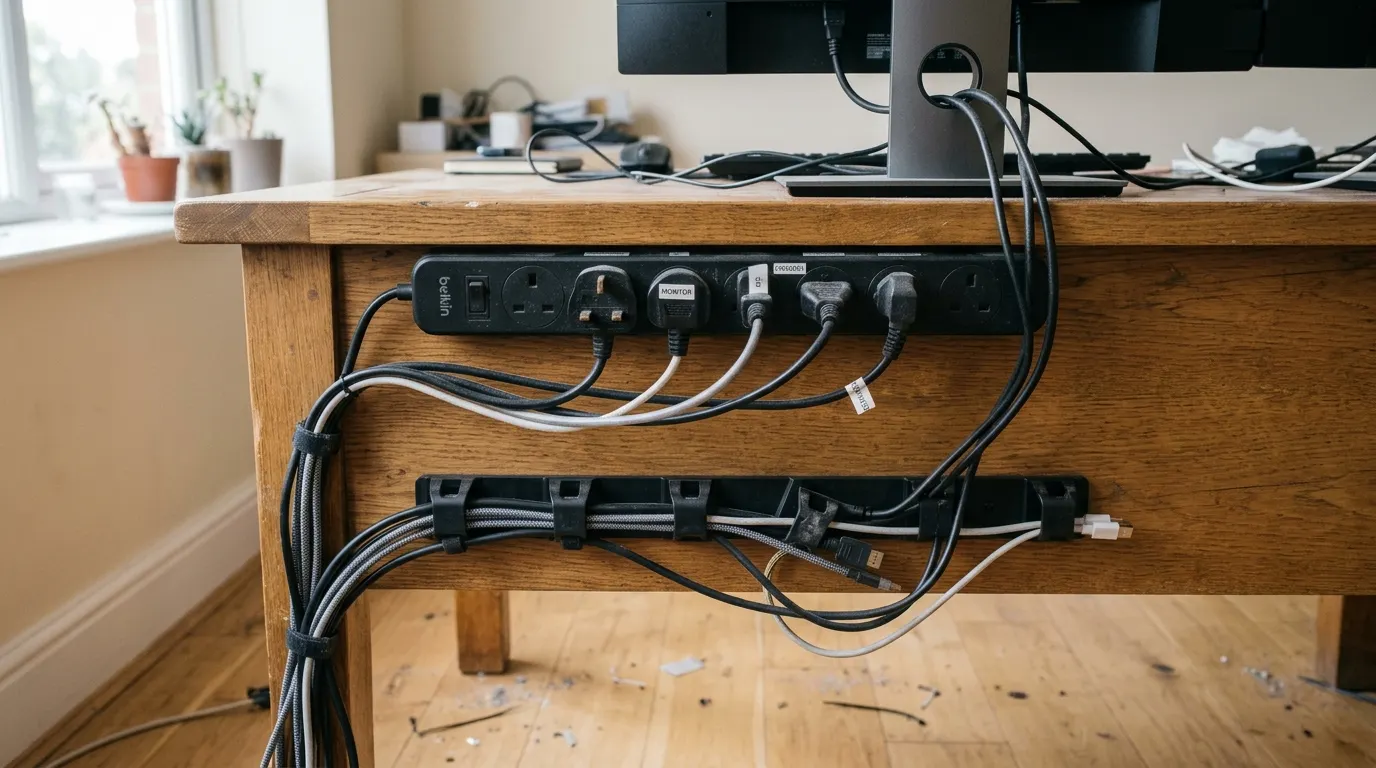
Drill or use an existing grommet hole, run a power strip up to the hutch, and clip the cables along the back edge. Doing this after everything is loaded means unloading everything. A single power strip mounted to the underside of the hutch keeps chargers off the desk surface entirely.
10. Store by frequency, not by category
The lowest shelf is for things you touch daily, eye level for reference material, and the top for storage you rarely open. Most people arrange by type and then reach past three things they never use to get the one they do. Rearranging by frequency took me ten minutes and I noticed the difference immediately.
11. Keep the styled part small
One plant, one photo, one nice object. That is enough. A hutch fully styled like a shop display leaves no room for the actual working stuff, and within two weeks the working stuff wins and it looks cluttered instead. Leave about a third of the shelf space genuinely empty.
12. Make sure the desk can take the weight
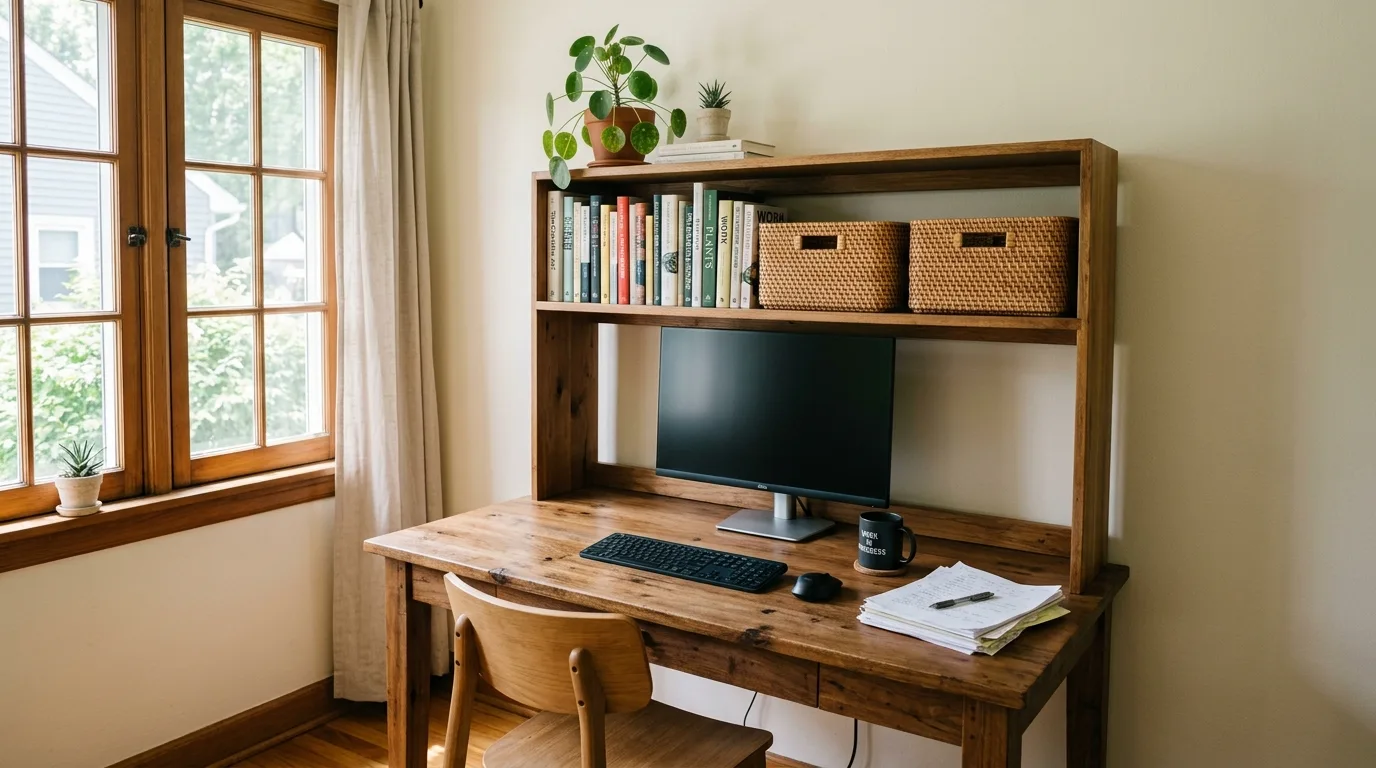
Cheap particleboard desks sag under a loaded hutch, and by the time you notice the bow in the middle it does not come back. Check the desk’s weight rating, or add a centre support leg. If the hutch is heavy and the desk is light, anchor the hutch to the wall instead of relying on the desk to hold it.
How to work out which setup fits you
Start with what you do at the desk, since that decides everything else. Heavy monitor use means either a shallow hutch under six inches deep, or better, wall shelves that take nothing off your working surface. Laptop and paperwork means a standard hutch will suit you well and probably improve your day considerably. Craft or hobby work means you want open shelving with lots of small bins where you can see everything at once. Then measure three numbers and write them down. Desk depth, available height between the desk and whatever is above it, and the depth of your monitor stand at its base. Those three tell you exactly what will fit before you look at a single product. On buying, secondhand office furniture is genuinely a great category, since solid wood hutches from older desk sets turn up constantly on marketplace listings for very little, and they are built better than most new ones. And the honest warning I would give my past self, if your desk is already comfortable and you just want it tidier, a drawer organiser and a wall shelf will probably serve you better than a hutch. A hutch is a good answer to a real storage problem and a poor answer to a tidiness problem, and I bought mine trying to solve the second one.
Frequently asked questions
What is a desk hutch? It is a shelving unit that sits on top of a desk, adding storage above the work surface without increasing the desk’s footprint. Hutches range from simple open shelves to closed cabinets with doors and small drawers.
How much clearance do I need under a desk hutch? At least 14 to 16 inches between the desk surface and the first shelf if a monitor sits underneath, and more for screens larger than 24 inches. Around 10 inches is enough if you only use a laptop and papers.
Will a hutch make my desk too shallow? It can. Subtract the hutch depth from your desk depth, then allow another 4 to 6 inches for a monitor stand, and check you still have at least 20 inches of viewing distance. Wall shelves avoid this problem entirely.
Can I add a hutch to any desk? Not safely. Lightweight particleboard desks can sag under the weight, so check the manufacturer’s weight rating first. For heavier hutches, anchor the unit to the wall rather than letting the desk carry the load.
Are desk hutches out of style? Chunky matching hutch and desk sets have fallen out of favour, but open shelf hutches and simple wall mounted shelving above a desk remain popular. The function is still useful, the styling has just become lighter.
Final thoughts
The best desk setups I have seen are not the ones with the most storage. They are the ones where the things you use every day are within reach and everything else is out of the way, which a hutch can do brilliantly or can quietly make worse.
So measure your desk depth before you shop, and be honest about how far your eyes actually sit from the screen. If you go the wall shelf route instead, come back and tell me, because that is what I would do differently if I were starting again.