Summer nails have a specific problem. Everything you save looks incredible and involves nine steps, three brushes, and a level of hand steadiness that I do not possess before coffee.
Then you chip it on day three at the beach.
So this list is the opposite of that. Twelve simple summer sets, most of them achievable at home with what you probably already own, and all of them the kind of thing that still looks good on day eight rather than needing constant repair.
What makes a simple set look intentional
Two things do almost all the work. Clean edges around the cuticle, and a proper top coat. A perfectly plain colour applied neatly beats an elaborate design applied messily every single time, and this is the thing people get backwards when they are starting out.
The other is colour choice, which matters more than design on a simple set. Summer pushes everyone toward brights, and brights are the least forgiving on hands, since they sit right next to your skin tone and either flatter it or wash it out. The quick test is to hold the bottle against the inside of your wrist in daylight rather than under shop lighting. I noticed the summer I switched from a cool neon pink to a warm coral that people started commenting on my nails, and it was the same amount of effort in both cases.
1. Milky white
The most worn simple summer set and my go to when I cannot decide. Two or three thin coats of a sheer milky white so it stays slightly translucent rather than flat and opaque. It suits every skin tone, it grows out gracefully, and it makes hands look tidy with no design at all.
2. Butter yellow
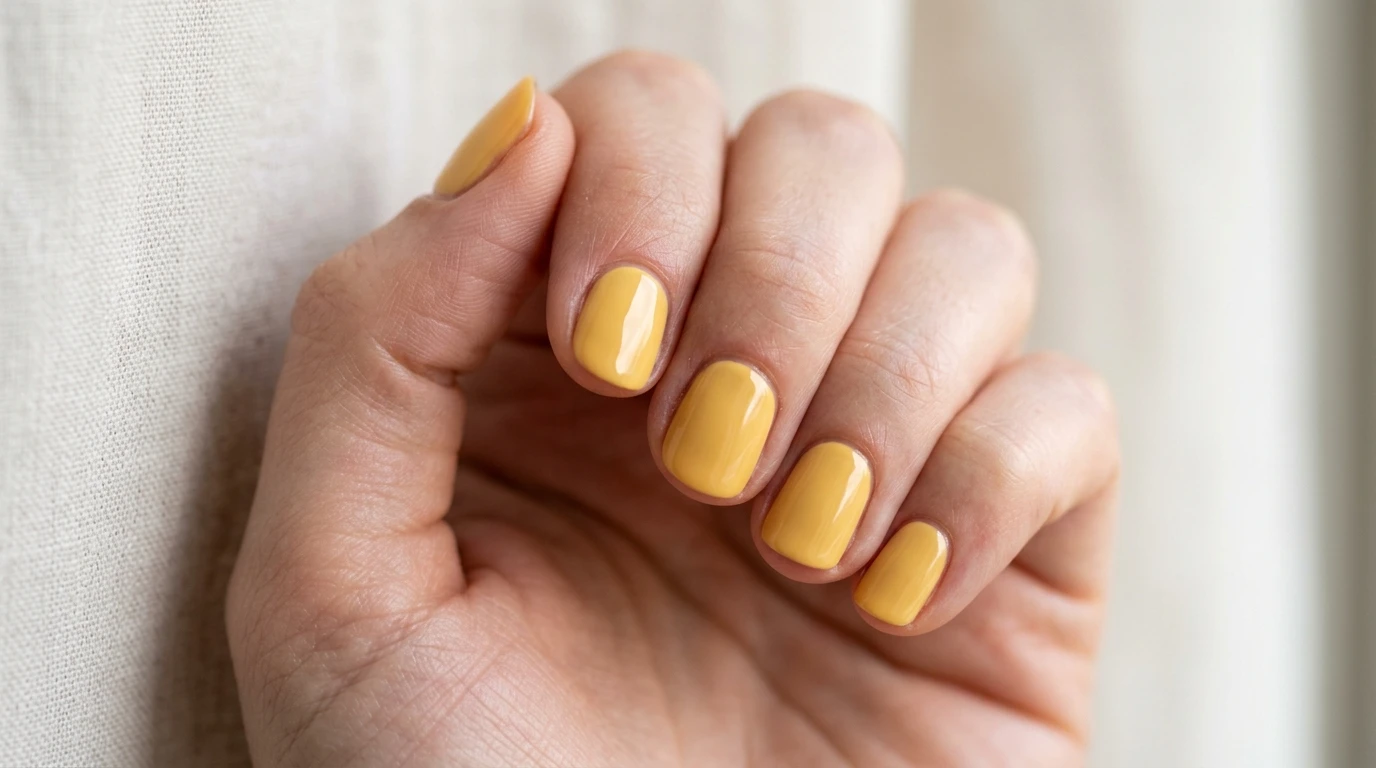
The soft warm yellow that took over recently and is genuinely easier to wear than a bright lemon. It reads cheerful without shouting and it flatters most skin tones, especially olive and deeper. Two coats minimum, since pale yellows go patchy in one.
3. Coral or warm pink
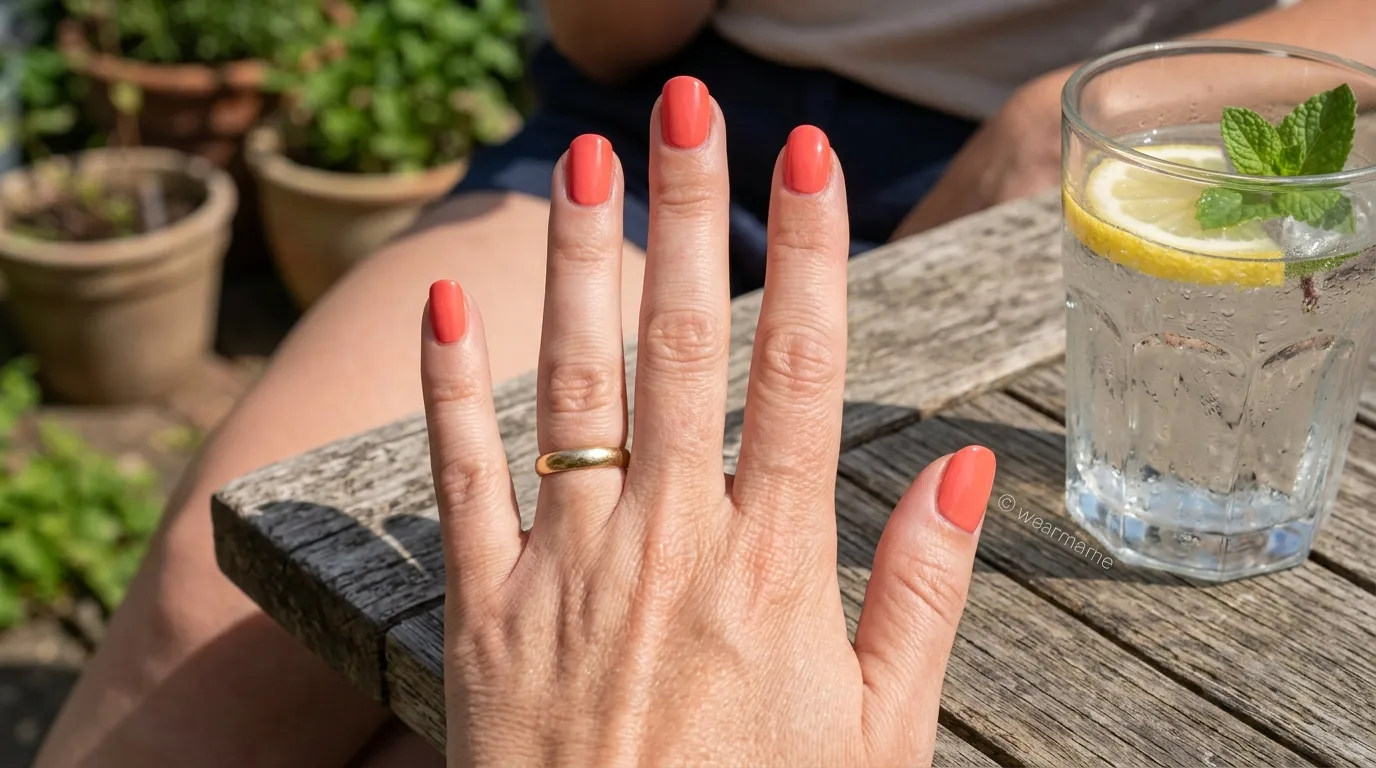
The safest bright on the list. Warm corals sit better against most skin than cool neon pinks, which can make hands look slightly grey. One of those colours that works on short nails, long nails, at a wedding and at a barbecue.
4. Sheer jelly tint
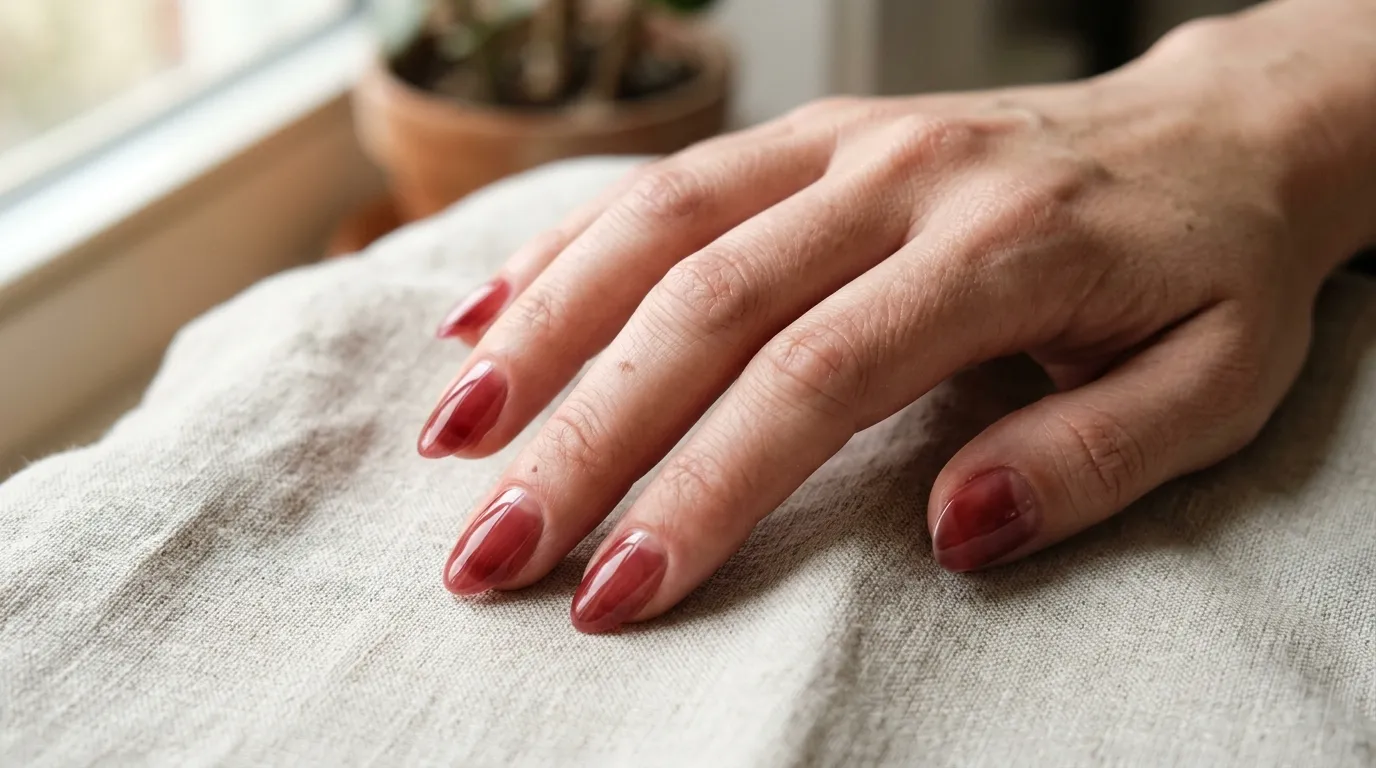
A translucent wash of colour, usually cherry, watermelon, or pink, that lets the natural nail show through. It is forgiving because chips are far less visible on a sheer colour than an opaque one. Three thin coats gives the best build.
5. Micro french in white or a colour
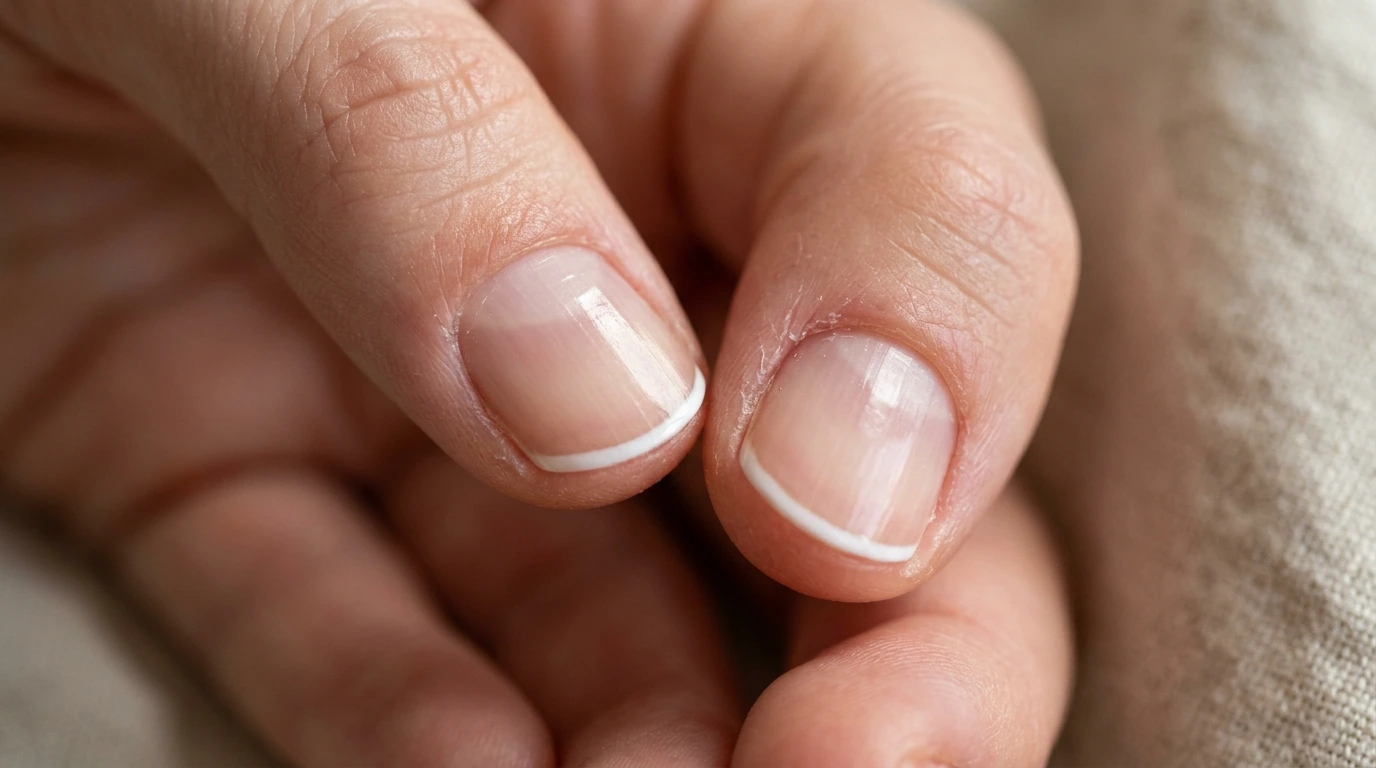
A classic french reduced to a hairline tip, about one millimetre. Thin is the whole point, since a thick tip visually shortens the nail. Use a fine brush rather than the bottle applicator and clean up any wobble with a small brush dipped in remover.
6. One accent nail, nothing else
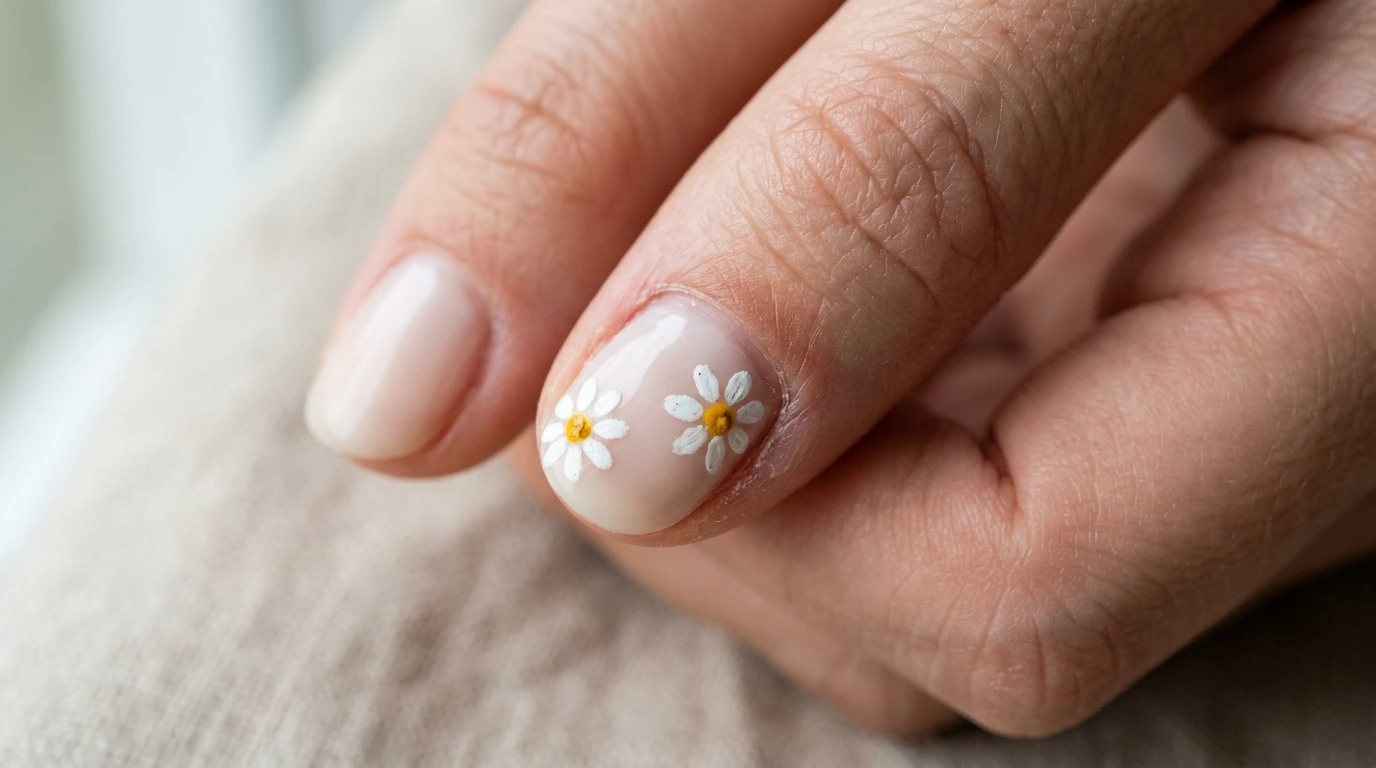
Nine nails plain and one carrying something small, a single dot, a tiny flower, a thin gold line. This is the highest impact for the least effort on the entire list. Ring finger is the default, though the index photographs better.
7. Tiny daisies with a dotting tool
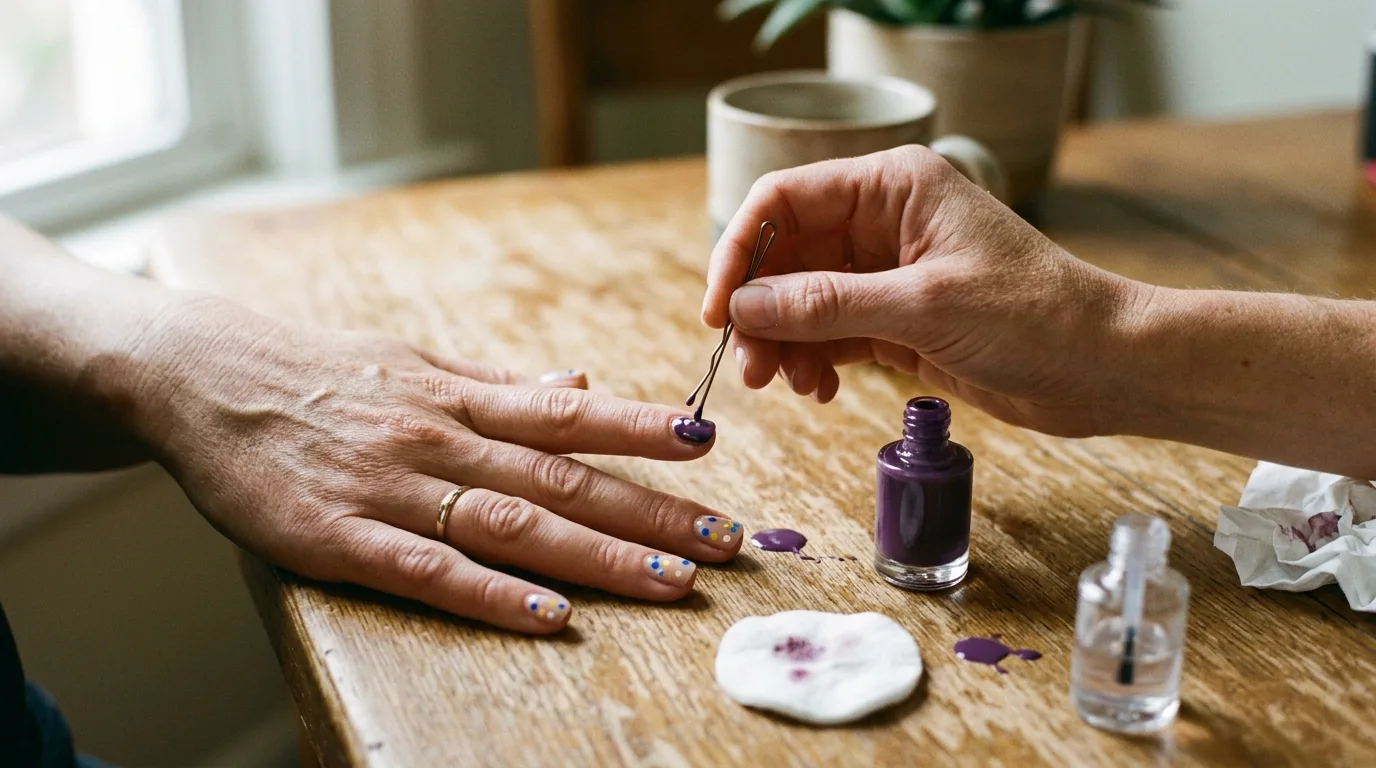
Five white dots in a circle with a yellow dot in the middle, done with the end of a bobby pin if you do not own a dotting tool. Keep them small, roughly a third of the nail width, and put them on one or two nails only. This is the one design that looks harder than it is.
8. Simple dots in a scattered pattern
Just dots, in one or two colours, spaced unevenly across a plain base. Uneven is better than a grid, which looks stiff. Two minutes and it turns a plain colour into a design.
9. Colour block half moons or tips
The tip or the cuticle area in a second colour, with a clean line between them. Because the shapes are large and simple, small wobbles are much easier to correct than they are with fine detail. Orange with cream, or blue with white, are my two favourites.
10. Chrome or glazed pearl
A neutral base with a pearl powder buffed over it for that soft iridescent shift. It looks expensive and involves no drawing whatsoever. It does need a gel base and a no wipe top coat to work properly, so this is a salon set or a home gel kit rather than regular polish.
11. A different colour on each nail
Four or five shades from the same family, one per finger. Keep them in one tonal range, so all warm pastels or all corals and oranges, otherwise it goes from playful to chaotic. Great way to use up small amounts of polish.
12. Bare and buffed with clear gloss
Tidy cuticles, a smoothed nail surface, and one coat of glossy clear. It sounds like a non answer and it looks genuinely polished, especially with a tan. This is what I do when I want two weeks of not thinking about my nails at all.
How to make them last through a summer
Prep does more for longevity than any product. Push back cuticles gently, wipe each nail with rubbing alcohol or acetone right before you paint so there is no oil on the surface, and never skip a base coat. Then apply thin coats rather than thick ones, since thick polish stays soft underneath and peels off in sheets a few days later, which is the single most common reason a home manicure fails early. Cap the free edge with every coat, meaning swipe the brush along the tip of the nail, because that is where chips start. And reapply a top coat every two or three days, which takes ninety seconds and can double how long a set lasts. On summer specifically, chlorine, salt water, and sunscreen are all hard on polish, so a gel or a very good top coat is worth it if you are swimming often. Heat also matters more than people realise, since polish left in a hot car goes thick and stringy and never really recovers, so keep bottles somewhere cool. And on nail health, if you wear gels back to back all summer, take a week off between sets and keep cuticle oil going daily, since constant filing and removal thins the natural nail over time.
Frequently asked questions
What colours are best for summer nails? Milky white, butter yellow, coral, and sheer jelly tints all work across skin tones and occasions. Warm shades generally flatter more hands than cool neons, so test a bottle against the inside of your wrist in daylight before committing.
What is the easiest summer nail design to do at home? Simple dots or one accent nail with a single small detail. Both take minutes, need no special brushes, and a bobby pin end works perfectly well as a dotting tool.
How do I make my nail polish last longer? Wipe the nail with rubbing alcohol before painting, always use a base coat, apply thin coats rather than thick, cap the free edge with each coat, and refresh the top coat every two or three days.
Do simple nails work for a wedding or an event? Yes, and often better than elaborate art. A milky white, a sheer jelly tint, or a micro french all photograph beautifully and suit almost any outfit without competing with it.
How do I stop my summer nails chipping at the beach? Sun, salt, sand, and sunscreen all break polish down faster. Gel lasts considerably better than regular polish in those conditions, and for regular polish a fresh top coat every couple of days makes the biggest difference.
Final thoughts
The sets I have liked most were never the complicated ones. They were a good colour, applied neatly, that I did not have to think about again for two weeks, which turns out to be most of what I actually want from a manicure.
So pick one colour off this list and do it properly this weekend, with the alcohol wipe and the capped edge and the thin coats. Come back and tell me how long it lasted, because that prep sequence is the thing people skip and it makes more difference than any polish you can buy.