My first classroom was a shrine to laminated paper. Every wall covered, three borders per board, a rainbow theme that took eleven days and most of my own money to assemble.
By October I had taken about half of it down.
Some of it faded, some of it fell off the cinderblock, and the rest was in the way of the actual student work that started piling up. So this list is the version I wish somebody had handed me that first summer, and there are a few ideas at the end for the first day at home too.
Before you buy a single thing
Find out what your building actually allows. Most districts have fire code rules limiting how much of a wall can be covered in paper, often around twenty percent, plus rules about keeping anything a certain distance below the ceiling and never hanging things from sprinkler heads or light fixtures. Fabric may need to be flame rated. Plenty of districts also ban those fluorescent light covers that circulate every August, which is worth knowing before you order six.
The other thing to sit with is how much decoration you actually want. Some research on young children has found that heavily decorated classrooms led to more off task behavior and less learning than sparser ones, and while that is one line of evidence rather than a settled rule, it matched what I saw. My calmest year was my plainest room. I noticed the students who struggled to focus in my rainbow classroom did noticeably better once the walls quieted down.
1. Pick two colors and one neutral, then stop
A tight palette makes a room look intentional even if half your materials are secondhand. Two colors plus black, white, or kraft brown is plenty. Themed sets with eight colors read as busy from the doorway and they date fast, so a restrained palette also survives more than one year.
2. Use fabric instead of bulletin board paper
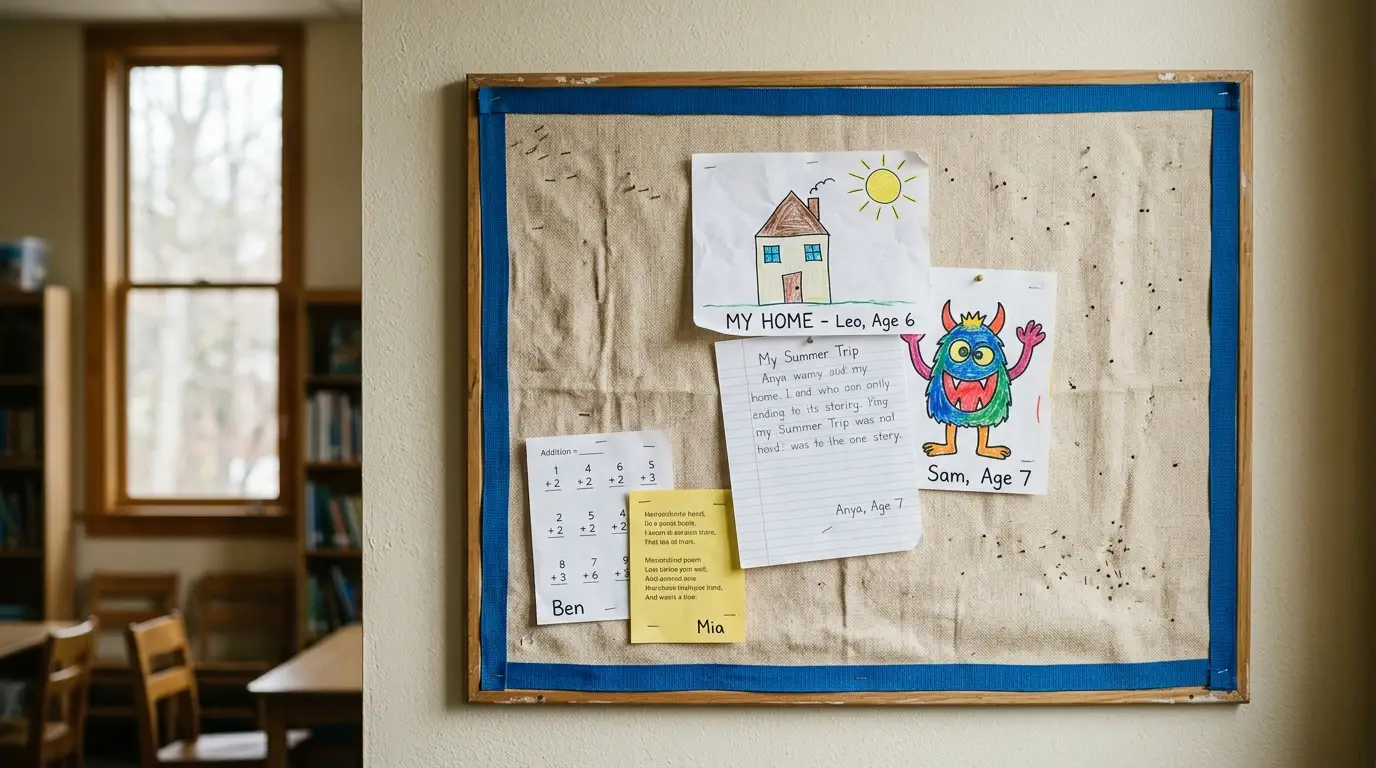
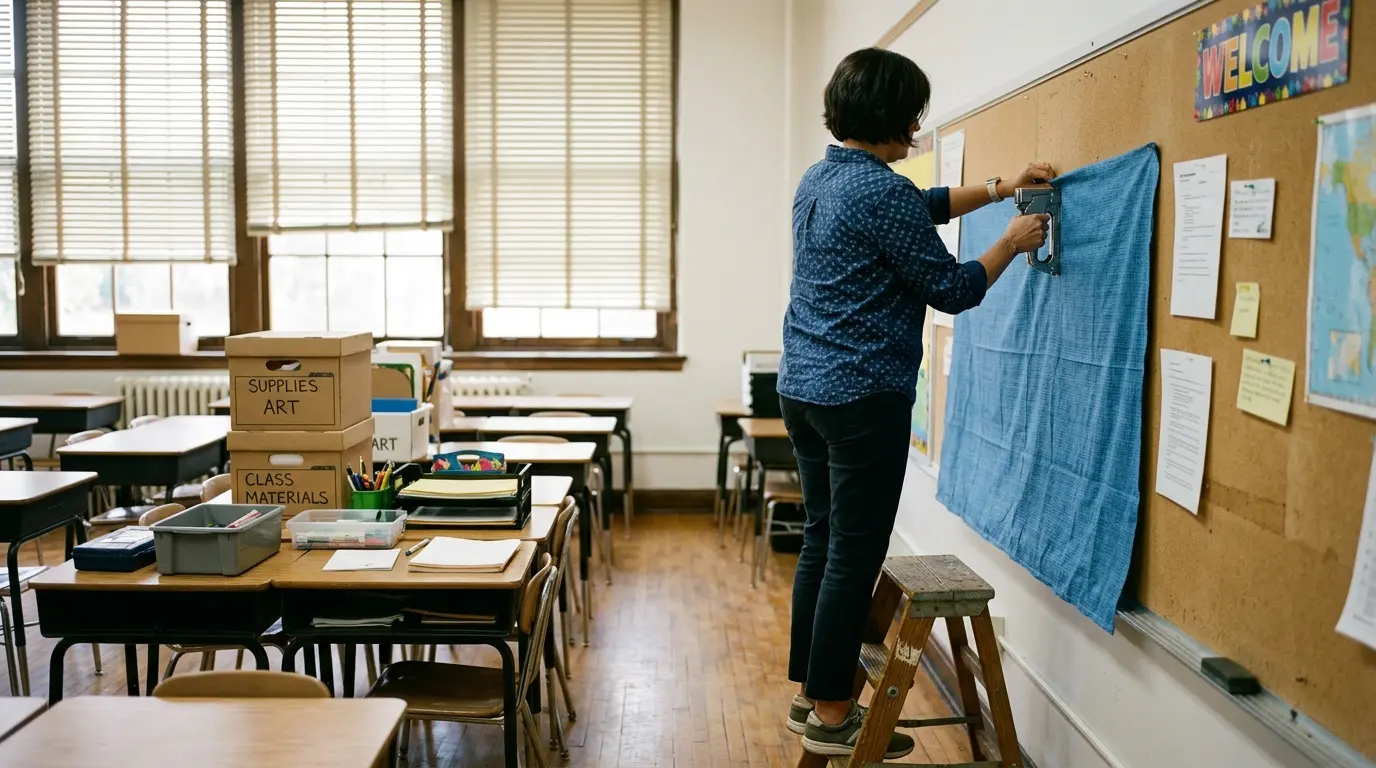
Cheap cotton, a flat sheet, or a plastic tablecloth stapled over a board will not fade, tear, or need replacing in January. I have had the same three fabric backings up for years and they still look new. Check the flame rating requirements in your building first, since some districts are strict about this.
3. Go black behind student work
Blue butcher paper fades to grey by December and everybody knows it. Black backing makes student work and anchor charts pop, hides staple holes, and never looks tired. This is the single cheapest upgrade on the list and it changes how photos of your room look immediately.
4. Leave two walls mostly empty in August
The room fills itself. Anchor charts, student writing, projects, a word wall that grows, and by November you will want that space badly. Setting up with bare walls feels wrong for about three weeks and then feels smart for the other thirty six.
5. Fix the lighting before the decor
Overhead fluorescents are the reason classrooms photograph badly and feel tiring. Two lamps with warm bulbs around 2700K in a reading corner and by your desk change the whole feel of the room for under forty dollars. Check whether your building allows personal lamps, since some do not for electrical reasons.
6. Build one anchor board that does a real job
Pick a single focal board and make it useful rather than decorative. A schedule, a learning target space, a birthday chart, or a classroom jobs board. Decoration that does a job stays up all year, while decoration that does nothing gets covered over by week six.
7. Skip the tape and use the right hardware
Painted cinderblock eats tape and returns it with a chunk of paint attached. Use heavy duty adhesive strips rated well above the item weight, magnetic hooks on any metal door frames or window frames, and binder clips on drop ceiling grids where that is permitted. Test one strip in a hidden spot for a week before doing an entire wall.
8. Decorate the door and let the hallway go
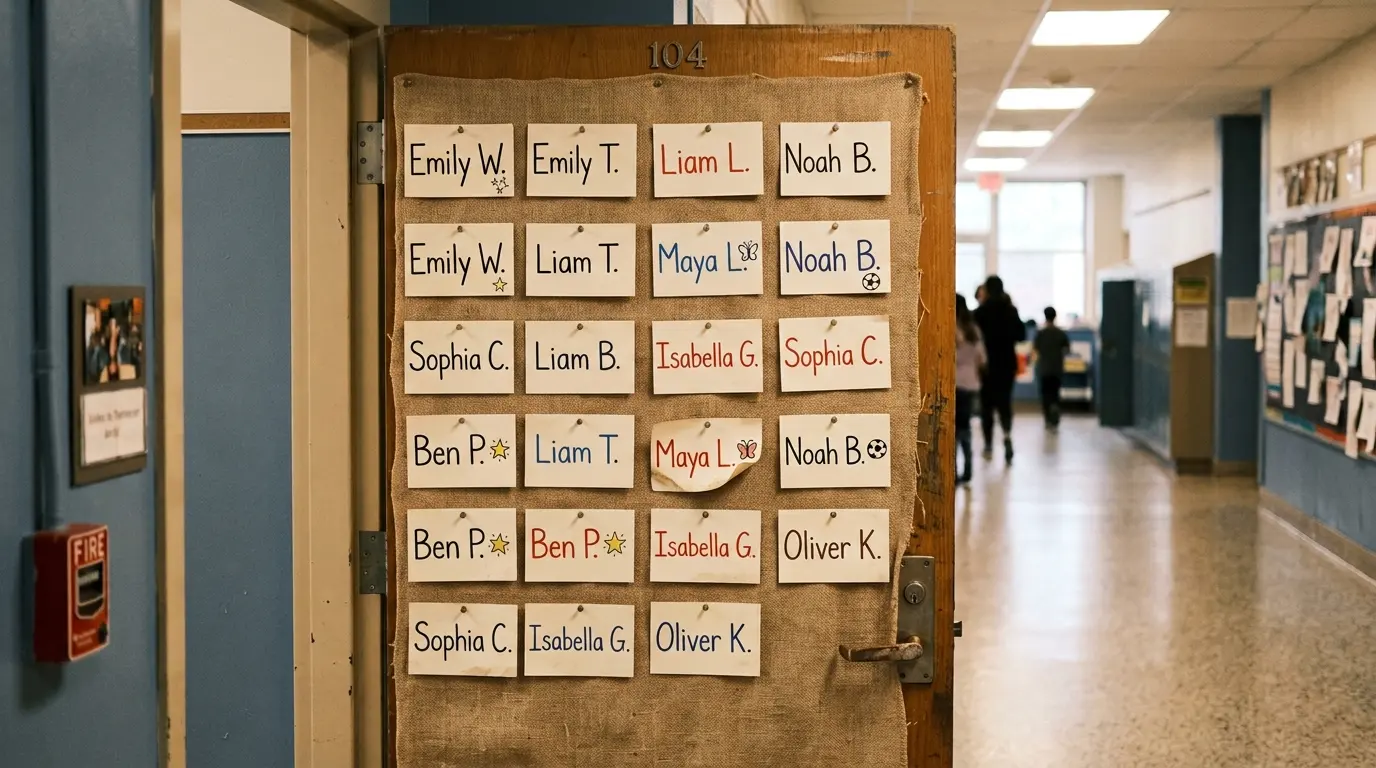
The door is what students see first on day one and it takes twenty minutes rather than two days. A fabric backing, a simple welcome message, and a photo or name tag for each student is enough. Nobody has ever remembered the hallway, and I say that as somebody who once made a hallway display with individual paper leaves.
9. Label everything with pictures for younger students
Photos of what belongs in each bin, taped to the front, will do more for your classroom than any bunting. Kids who cannot read yet can still match a picture to an object, which means clean up becomes something they do rather than something you supervise. It looks tidy too, which is a bonus rather than the point.
10. Make one genuinely cozy corner
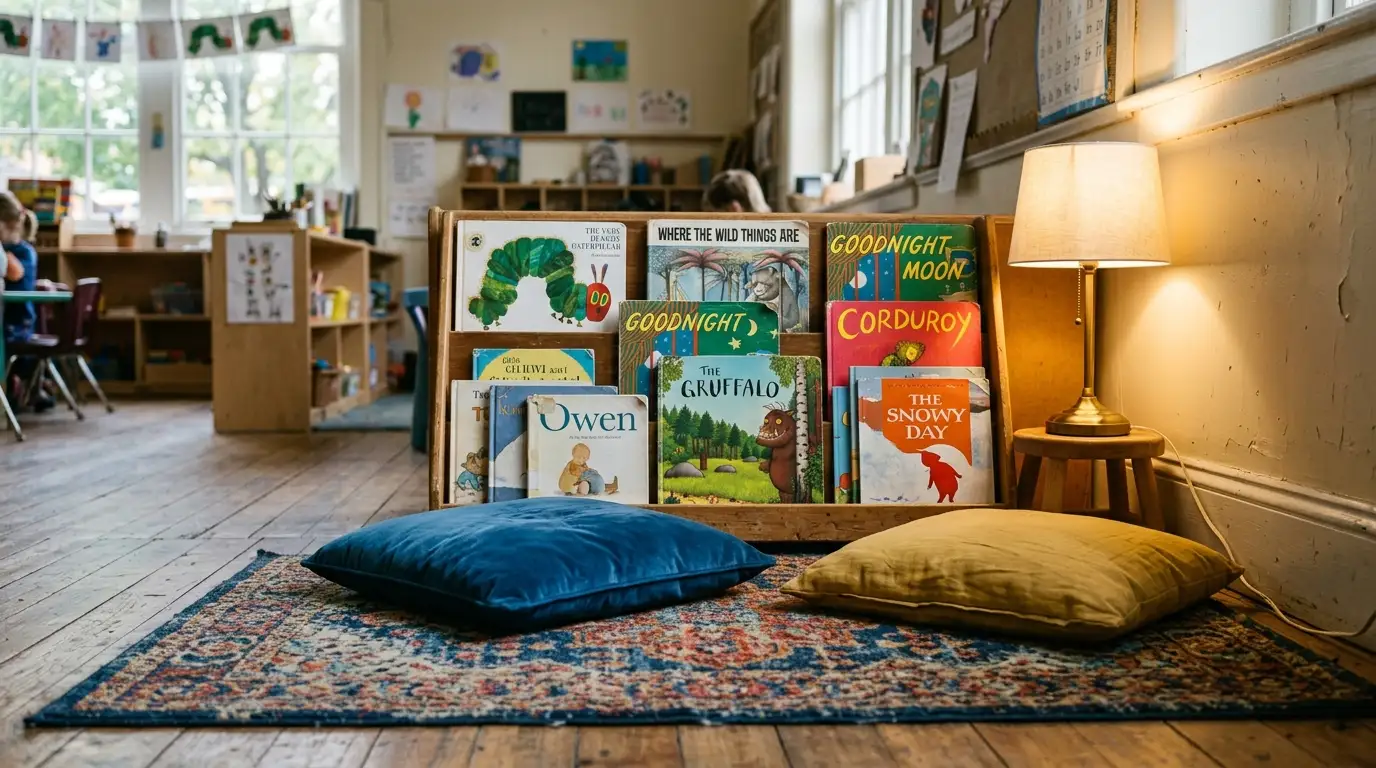
A rug, two floor cushions, a lamp, and a low shelf of books facing outward. This is the spot students actually gravitate toward and it costs less than decorating four walls. Face the books cover out rather than spine out, since children choose by cover and a full spine out shelf gets ignored.
11. Do the first morning at home properly too
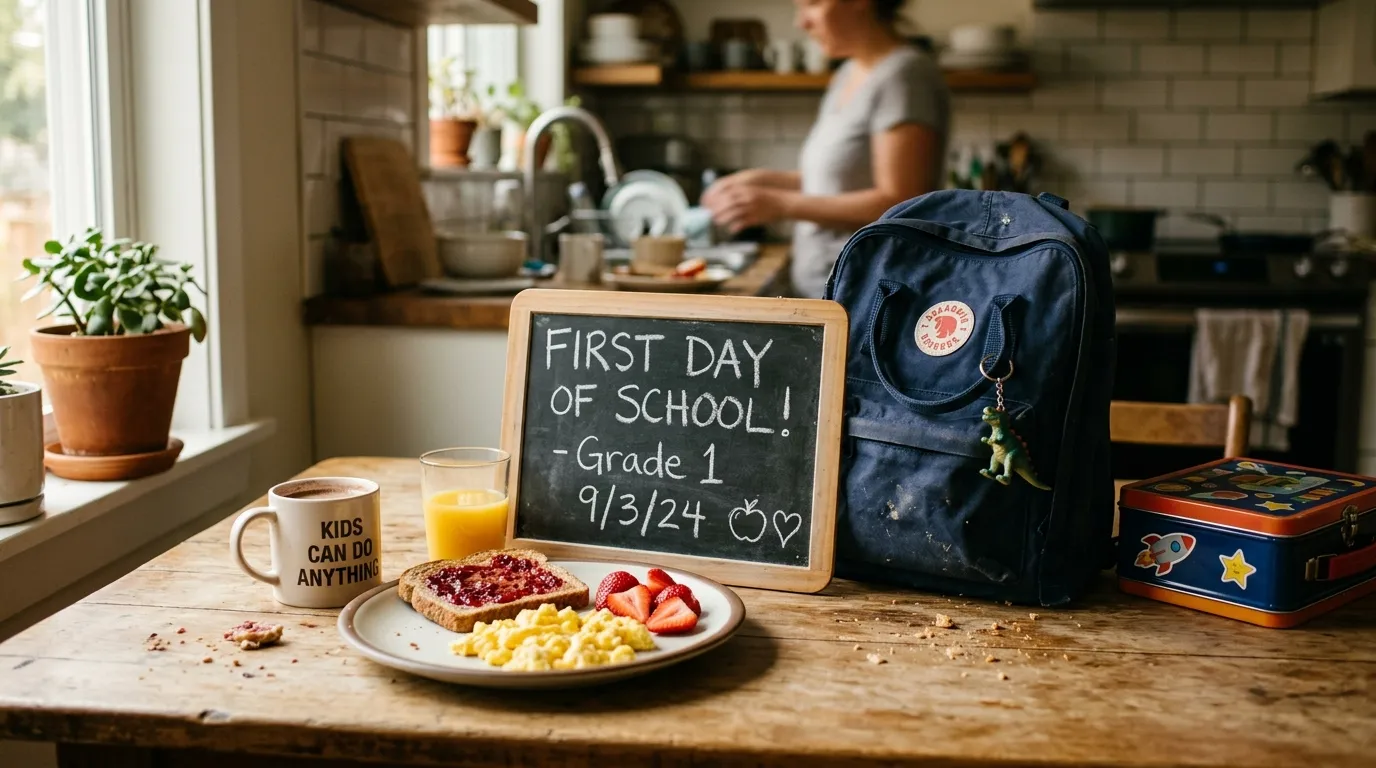
A chalkboard or paper sign for the first day photo, the outfit laid out the night before, and a small breakfast setup with a note in the lunchbox. That is genuinely all it takes. My one rule here is to write the sign the night before, because nobody can spell at 7am on the first day of school and you will notice the mistake later in every photo.
12. Store it so next August takes half the time
Roll fabric backings rather than folding them, keep each board’s border and letters together in one labeled zip bag, and photograph every wall on the last week of school. That photo file is worth more than anything you buy. Setting up my third classroom took two days instead of eleven because of it.
How to spread it out and what to spend
If you are starting from an empty room, work in this order and stop when you run out of time or money. Fabric backings and black paper first, since those set the tone for everything. Then the door and your one anchor board. Then the cozy corner. Then lighting. Then labels and small stuff, which you can add over the first two weeks once you see how students actually move around the room. On budget, most of this can be done for under a hundred dollars if you are patient. Thrift shops in late summer are full of lamps, baskets, and rugs, fabric remnant bins are cheap, and a lot of families are genuinely happy to donate a rug or a set of cushions if you ask in a first week newsletter. Do not laminate anything until you have used it for a full term, because laminating something you will redesign in six weeks is money and time you will not get back. And give yourself permission to have an unfinished room on day one. Some of the best classrooms I have been in were half bare in September and covered in student work by spring, which is the right direction for a room to move in.
Frequently asked questions
How much should a classroom be decorated? Less than most people assume. Research on young children suggests heavily decorated rooms can increase off task behavior, and most districts cap paper wall coverage at around twenty percent for fire safety anyway. Leaving space for student work is generally the better use of a wall.
What are you not allowed to hang in a classroom? This varies by district, but common restrictions include anything suspended from ceilings, sprinkler heads, or light fixtures, paper covering more than a set percentage of wall space, non flame rated fabric, and fluorescent light covers. Check with your building administrator before you buy.
How do I decorate a classroom on a budget? Use fabric and flat sheets instead of bulletin board paper, buy lamps and baskets secondhand in late summer, and ask families for donations of rugs or cushions. Black butcher paper backing costs very little and improves the look of everything on the wall.
When should I set up my classroom? A few days before students arrive is plenty for the essentials, and it is better to leave things unfinished than to fill every wall. Photographing your setup at the end of the year makes the following August dramatically faster.
What are simple back to school decorations for home? A first day photo sign written the night before, the outfit laid out ready, a small decorated breakfast spot, and a note tucked into the lunchbox. Simple beats elaborate here, since the morning is already busy enough.
Final thoughts
The rooms students remember are not the most decorated ones. They are the ones where their own work is on the wall, where there is a soft corner to sit in, and where somebody clearly thought about how the space would be used rather than how it would photograph.
So start with two colors, leave some walls empty, and let the room fill up as the year goes. If you try the black backing trick this August, come back and tell me, because it is the tip I pass on most often and nobody believes it until they see it.