Some desserts try really hard. This one doesn’t have to.
Rice krispie treats are the ultimate low-effort, high-reward snack three ingredients, no oven, ready in about fifteen minutes, and somehow loved by everyone from toddlers to grandparents. They’re what you make when you suddenly remember you signed up to bring something. They’re also the thing people quietly come back for thirds of.
But here’s what nobody tells you: most rice krispie treats are kind of… dry. Hard. Little sad bricks. The good news is that a couple of tiny tweaks turn them into the soft, buttery, gooey version you actually dream about. Let me show you how.
Why You’ll Love This Recipe
It comes together fast, it’s nearly impossible to mess up, and it uses ingredients you probably already have. There’s no baking, no fancy equipment, and no waiting around. Kids can help, it scales up easily for a crowd, and the gooey-versus-firm texture is completely in your control. Basically, it’s the perfect last-minute treat.
Ingredients You’ll Need
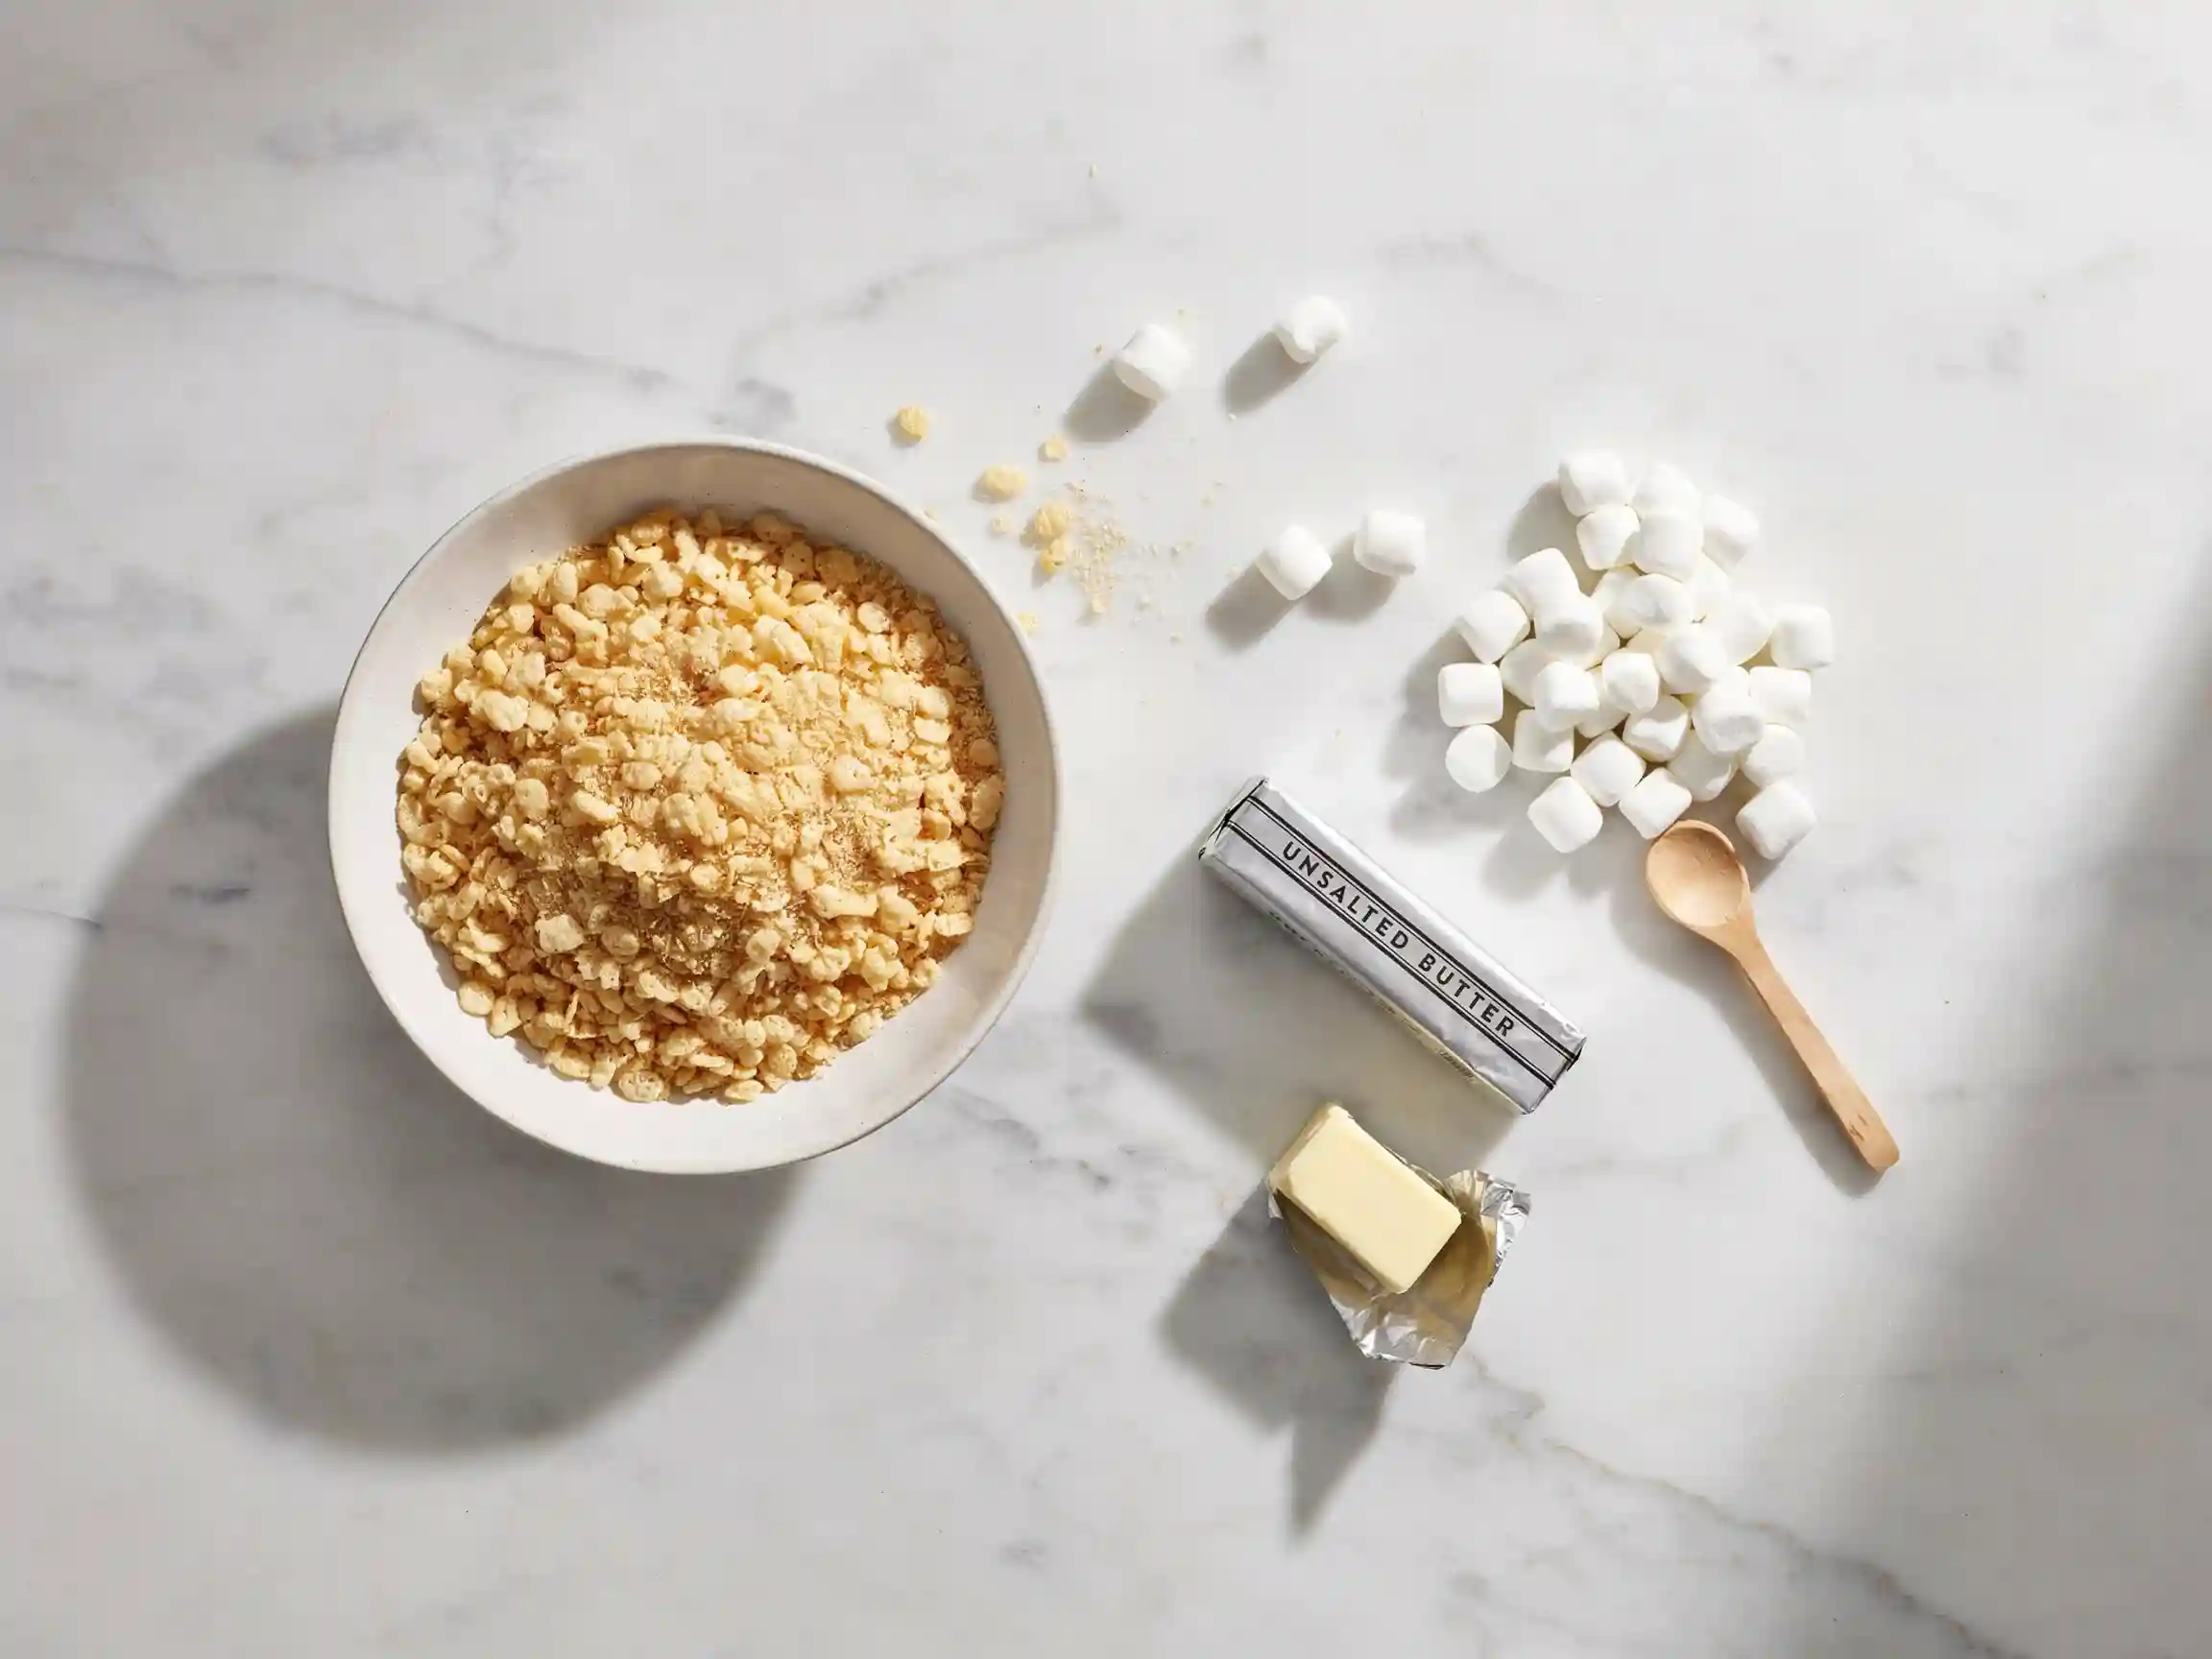
- 6 tablespoons unsalted butter a little extra butter is the difference between okay and amazing.
- 1 (16-ounce) bag mini marshmallows, divided most of it gets melted, and a handful gets folded in at the end (that’s the secret).
- 6 cups crispy rice cereal the classic puffed rice cereal you already know.
- 1 teaspoon vanilla extract optional, but it adds a lovely warmth.
- 1/4 teaspoon salt optional too, but it balances the sweetness beautifully.
How to Make Rice Krispie Treats
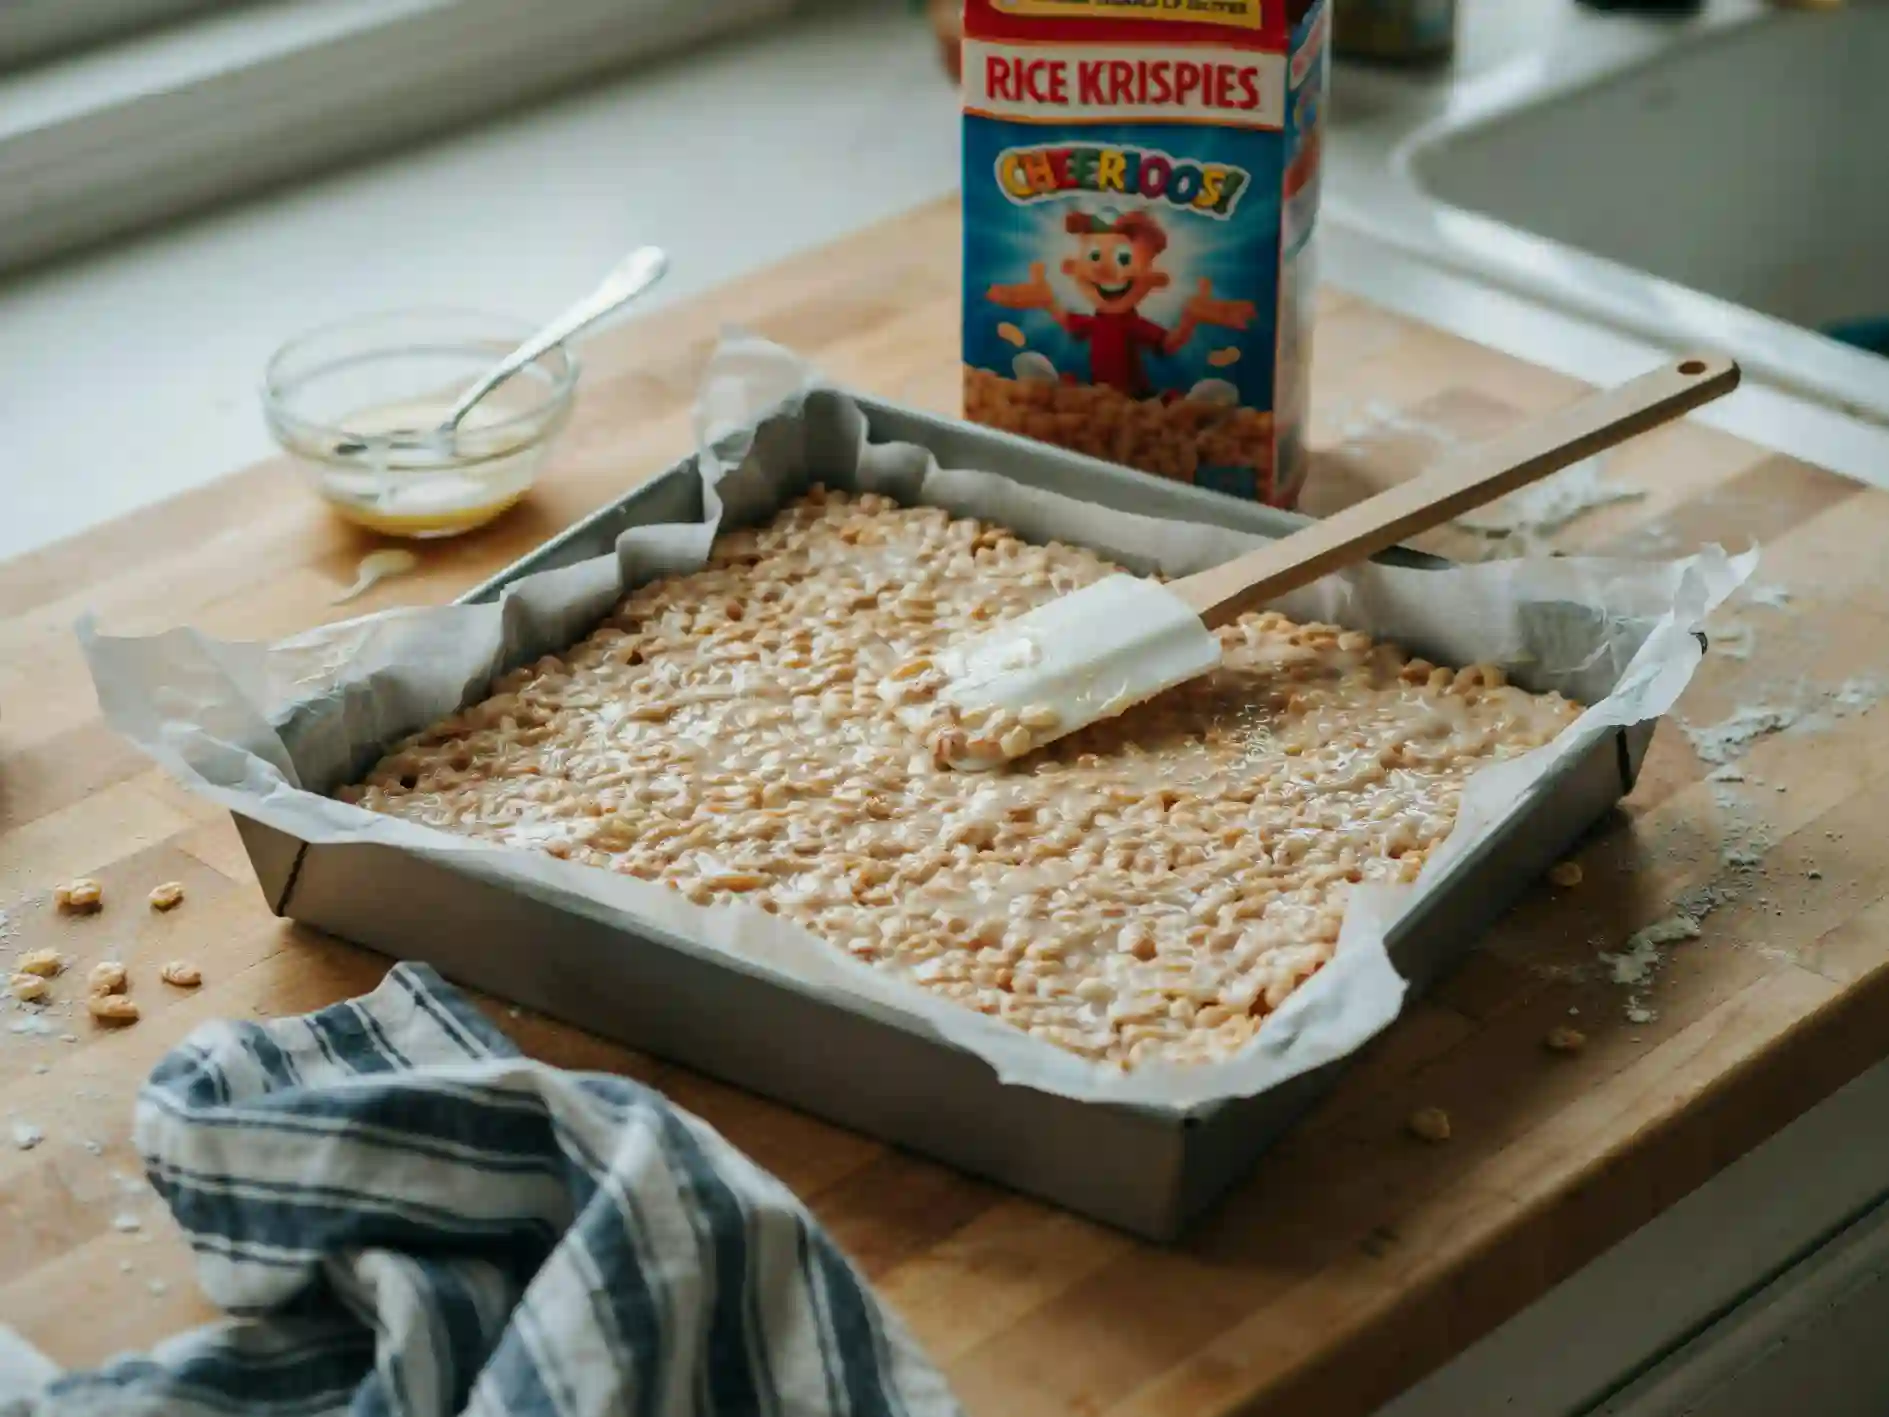
- Prep your pan. Line an 8×8 or 9×9 inch pan with parchment paper and lightly grease it. This saves you from a sticky fight later.
- Melt the butter. In a large pot over low heat, melt the butter completely. (Want next-level flavor? Keep cooking it a minute or two until it turns golden and smells nutty that’s browned butter, and it’s incredible here.)
- Add most of the marshmallows. Stir in about three-quarters of the bag and melt them down, stirring constantly, until smooth. Keep the heat low so nothing scorches.
- Flavor it. Take the pot off the heat and stir in the vanilla and salt.
- Add the cereal. Pour in the crispy rice cereal and gently fold until every piece is coated.
- Fold in the rest. Add the reserved marshmallows and stir just once or twice. These stay partly whole and create gooey little pockets throughout.
- Press gently. Transfer to your pan and press lightly into an even layer. Use a buttered spatula or wax paper so it doesn’t stick to your hands.
- Cool and cut. Let it set at room temperature for about 30 minutes, then lift out and cut into squares.
The Secret to Soft, Gooey Treats
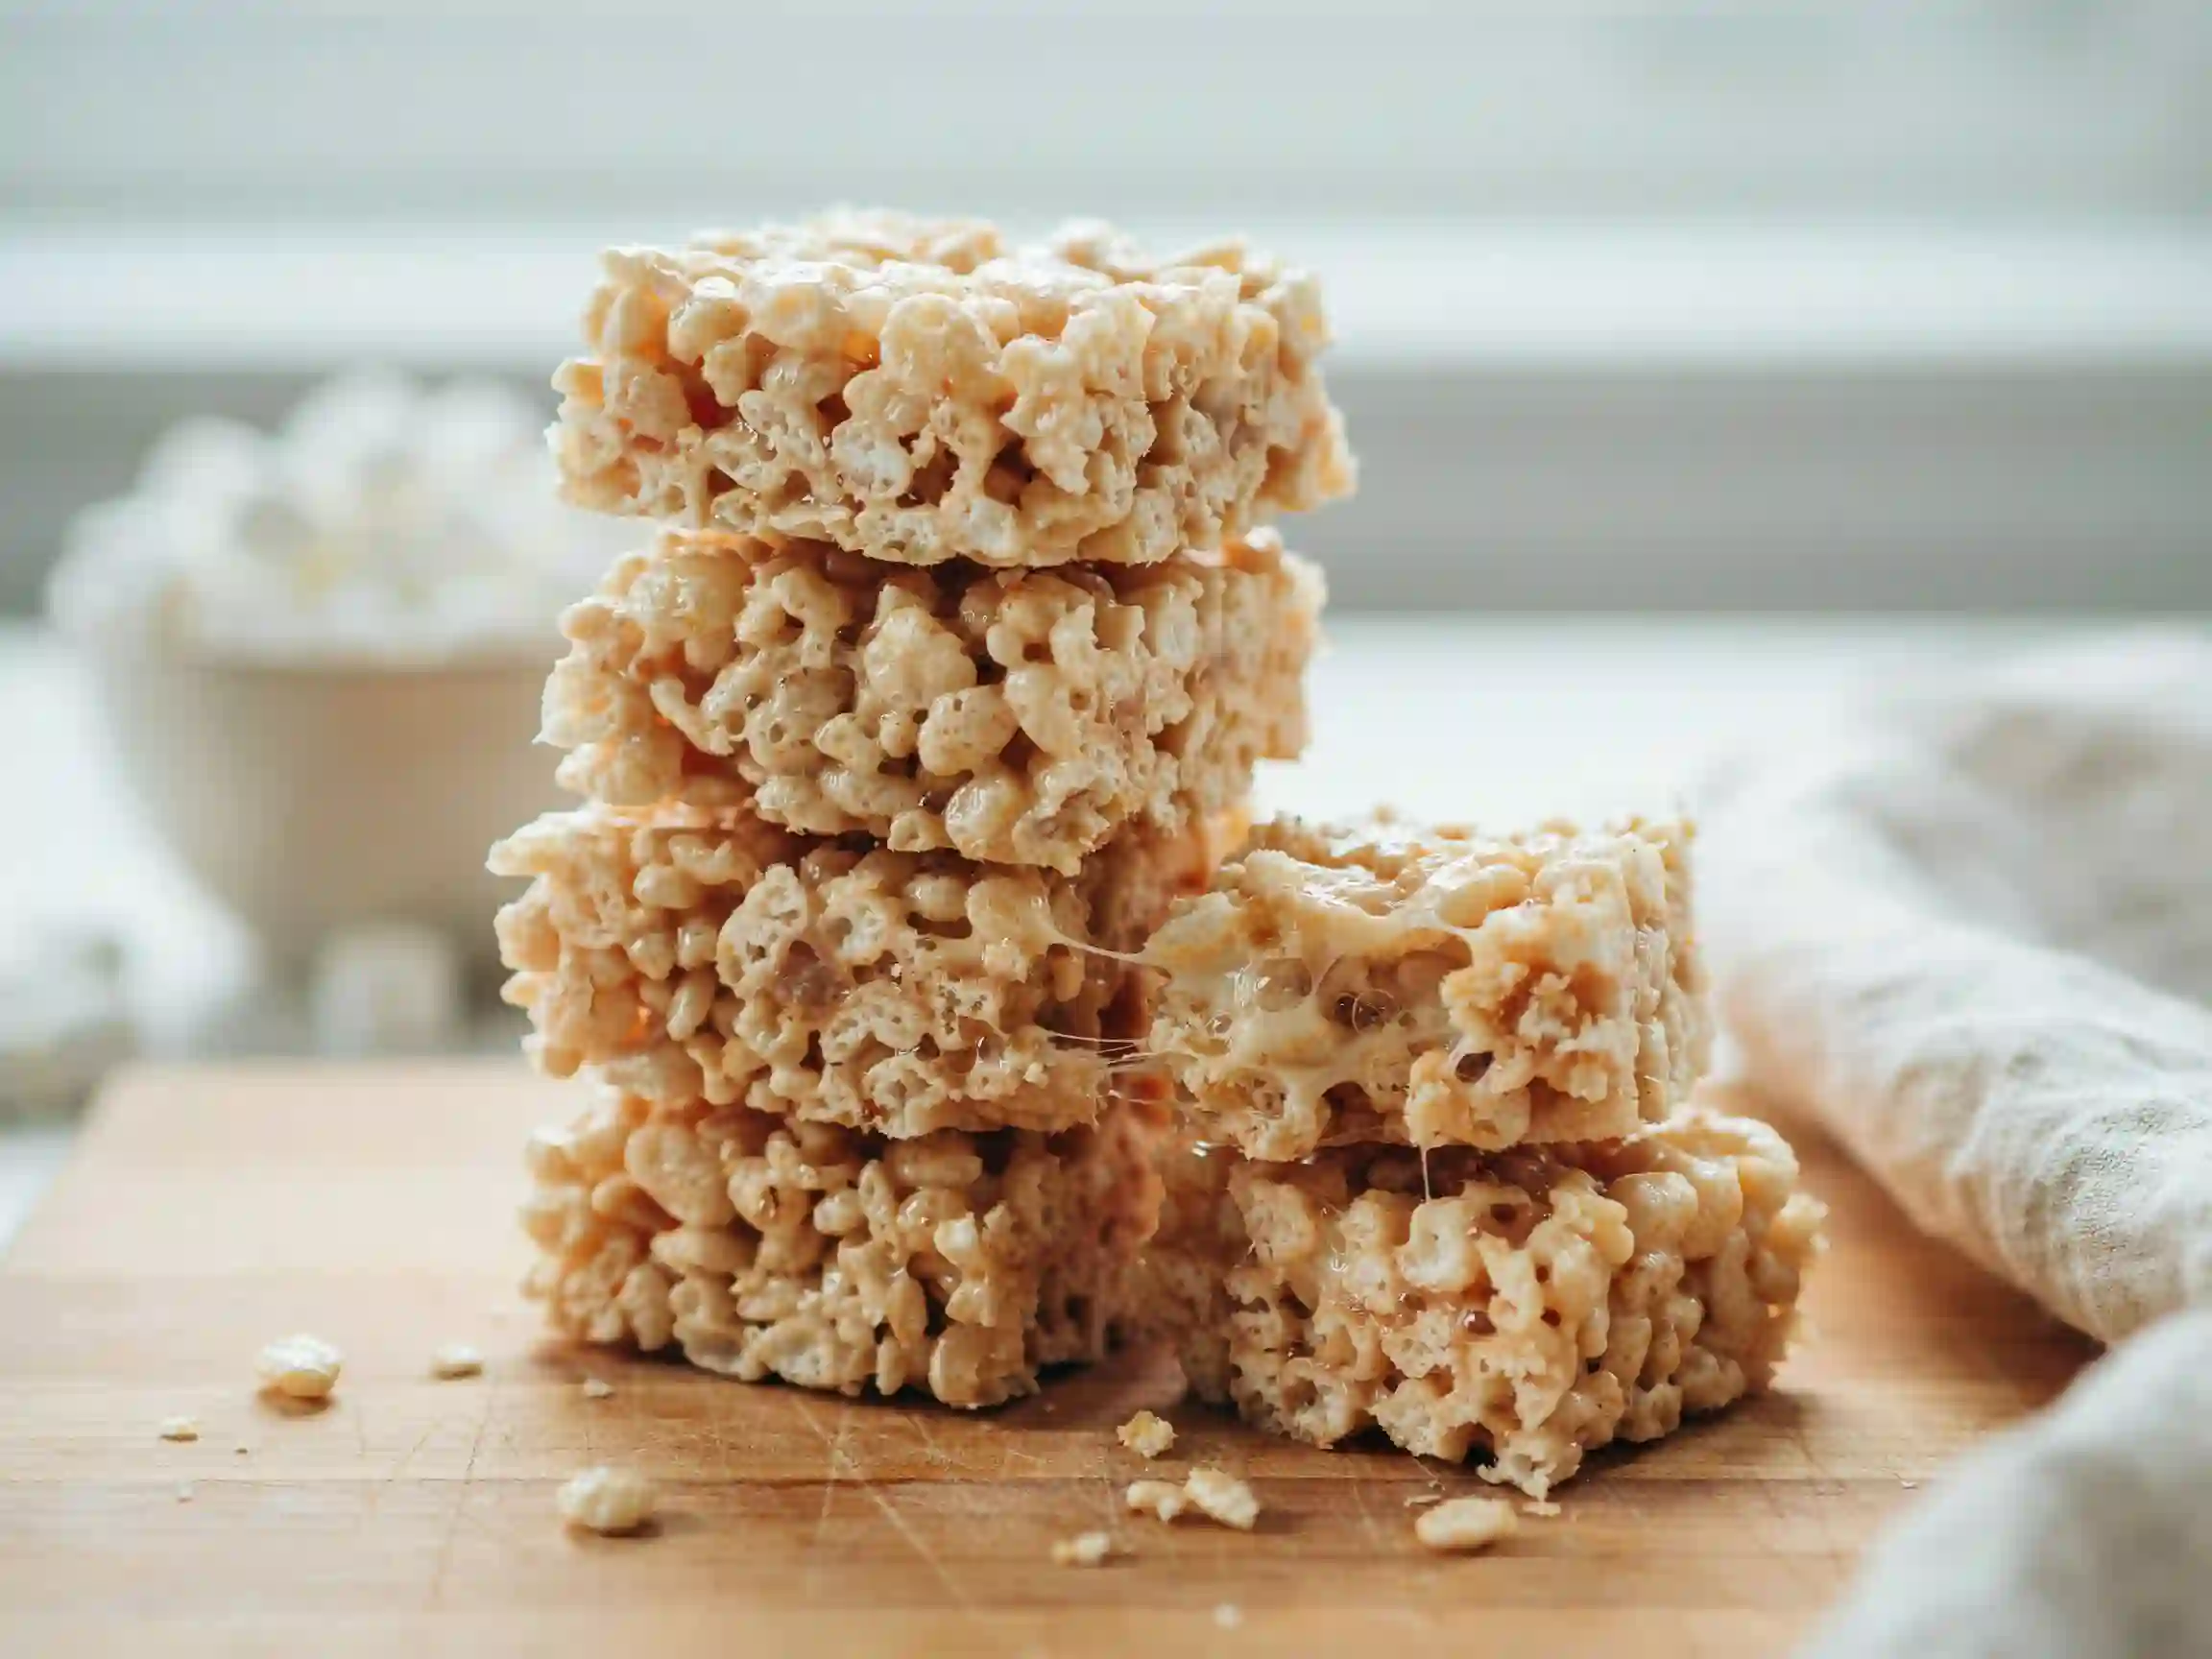
The number one mistake people make is pressing the mixture down too hard. Packing it tight is exactly what gives you those dense, tough bricks. Press gently just enough to hold the shape and you’ll keep that light, soft bite.
The second trick is the extra marshmallows you fold in at the end. Because they don’t fully melt, you get warm, stretchy pockets of marshmallow throughout. That’s the gooey factor right there.
And keep your heat low. Overheating the marshmallows is what makes treats turn hard once they cool, so go slow and gentle the whole way through.
Tips for the Best Results
- Use fresh marshmallows. Old, slightly stale ones don’t melt smoothly and can make your treats tough.
- Measure cereal generously, not aggressively. Too much cereal and they won’t hold together; too little and they’re overly sweet. Six cups is the sweet spot.
- Work somewhat quickly once the cereal goes in, since the mixture firms up as it cools.
- Butter everything that touches the mix your spatula, your hands, the pan. It makes the whole process a thousand times easier.
Fun Variations to Try
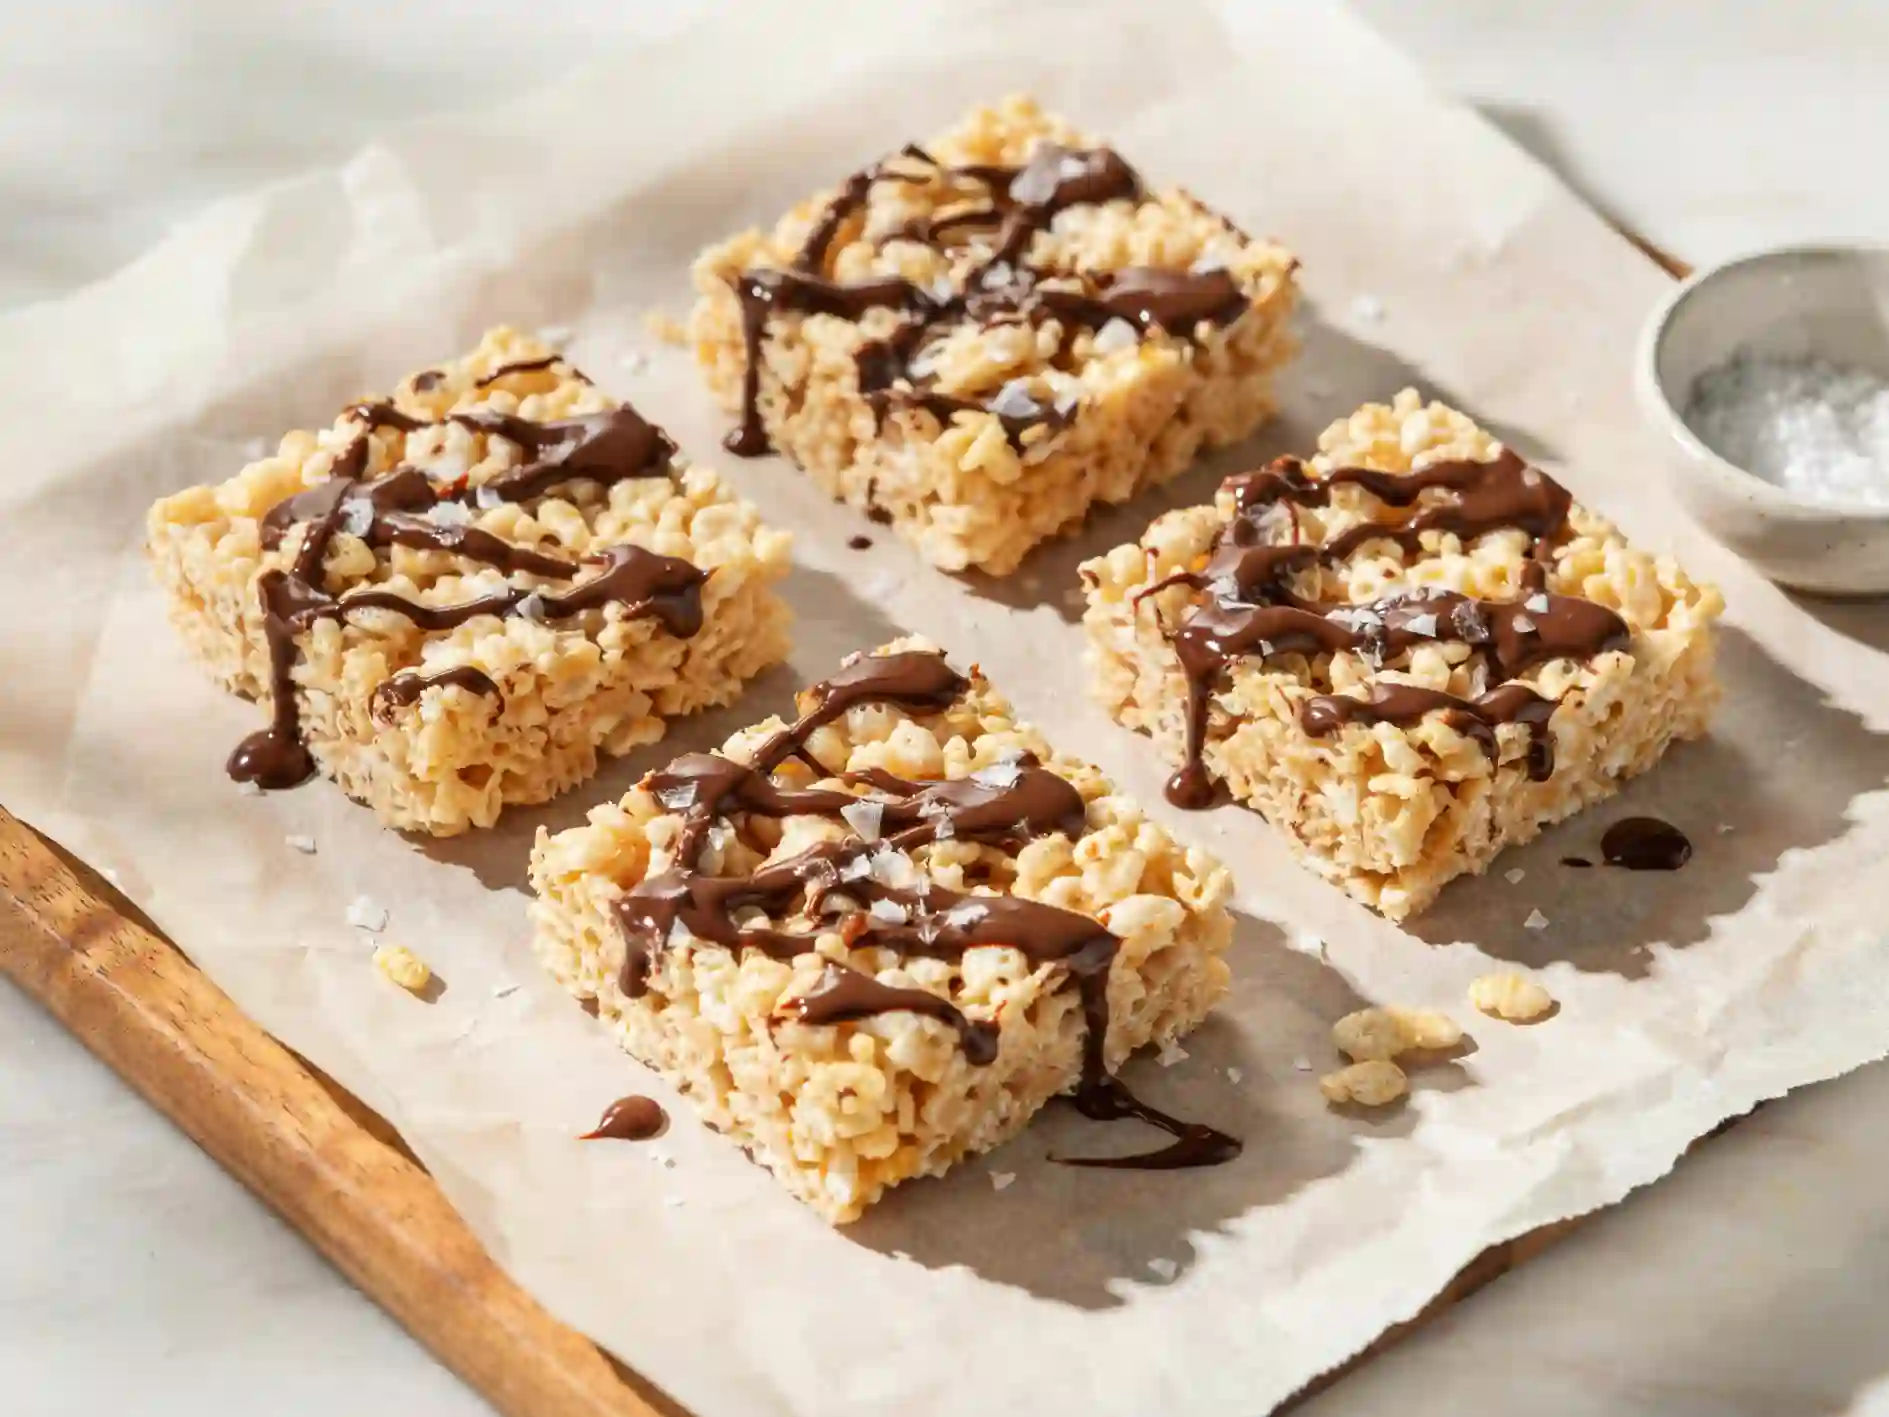
Once you’ve got the base down, it’s easy to switch things up. Brown the butter for a deeper, caramel-like flavor. Add a little flaky salt on top for a sweet-salty thing. Drizzle melted chocolate over the cut squares, swirl in a spoonful of peanut butter or chocolate-hazelnut spread, or toss in sprinkles for a funfetti version that kids go wild for. You can even tint the marshmallow mixture with food coloring for holidays and birthdays.
How to Store Them
Keep your treats in an airtight container at room temperature, where they’ll stay soft for about two to three days. Don’t refrigerate them the fridge dries them out and makes them hard. If you want to keep them longer, wrap individual squares and freeze for up to six weeks, then let them come back to room temperature before eating.
Frequently Asked Questions
Why did my rice krispie treats turn out hard? Usually it’s one of two things: the marshmallows got overheated, or the mixture was pressed down too firmly. Melt on low heat and press gently, and they’ll stay soft.
Can I use marshmallow fluff instead of mini marshmallows? You can, but the texture comes out softer and stickier. Regular marshmallows give you that classic chewy bite, so they’re the better choice if you want the traditional treat.
How do I keep rice krispie treats fresh and soft? Store them airtight at room temperature and eat within a few days. Skip the fridge, and if you’re making them ahead, freezing keeps them fresher than chilling.
Can I double the recipe? Absolutely. Double everything and use a 9×13 pan. Just make sure your pot is big enough to comfortably stir all that cereal without spilling.
Can I make them without butter? You can swap in a plant-based butter or even coconut oil for a dairy-free version. The flavor changes slightly, but they’ll still set up nicely.
Final Thoughts
This rice krispie treats recipe proves that the simplest desserts are often the best ones. With a little extra butter, a handful of marshmallows saved for the end, and a gentle hand when pressing, you get treats that are soft, gooey, and genuinely crave-worthy not the dry squares you remember from school bake sales.
Make a batch this week. Fair warning, though: they have a way of disappearing before they’ve even fully cooled.