I walked into my first pottery class expecting to make a mug. What I actually made was a puddle, then a slightly taller puddle, then something that looked like a bowl if you squinted and were being generous.
The instructor was lovely about it. Everyone’s first session goes like that, apparently, and nobody mentions it in the ads.
So here is what I know now, two years in, plus what I wish someone had said before I started. Number three is the physical thing nobody warns you about, and it explains a lot of early frustration.
What to expect from your first go
You will not make anything good. That sounds harsh and it is genuinely freeing once you accept it, because the pressure to produce something disappears and you can concentrate on the actual skill. Most people need three or four sessions before something survives the whole process.
The other thing is that pottery is slower than it looks. A piece you throw today gets trimmed next week, bisque fired the week after, glazed, then fired again. Six weeks from wet clay to finished mug is normal, and that lag is part of the appeal once you stop expecting instant results.
1. Start with hand building, not the wheel
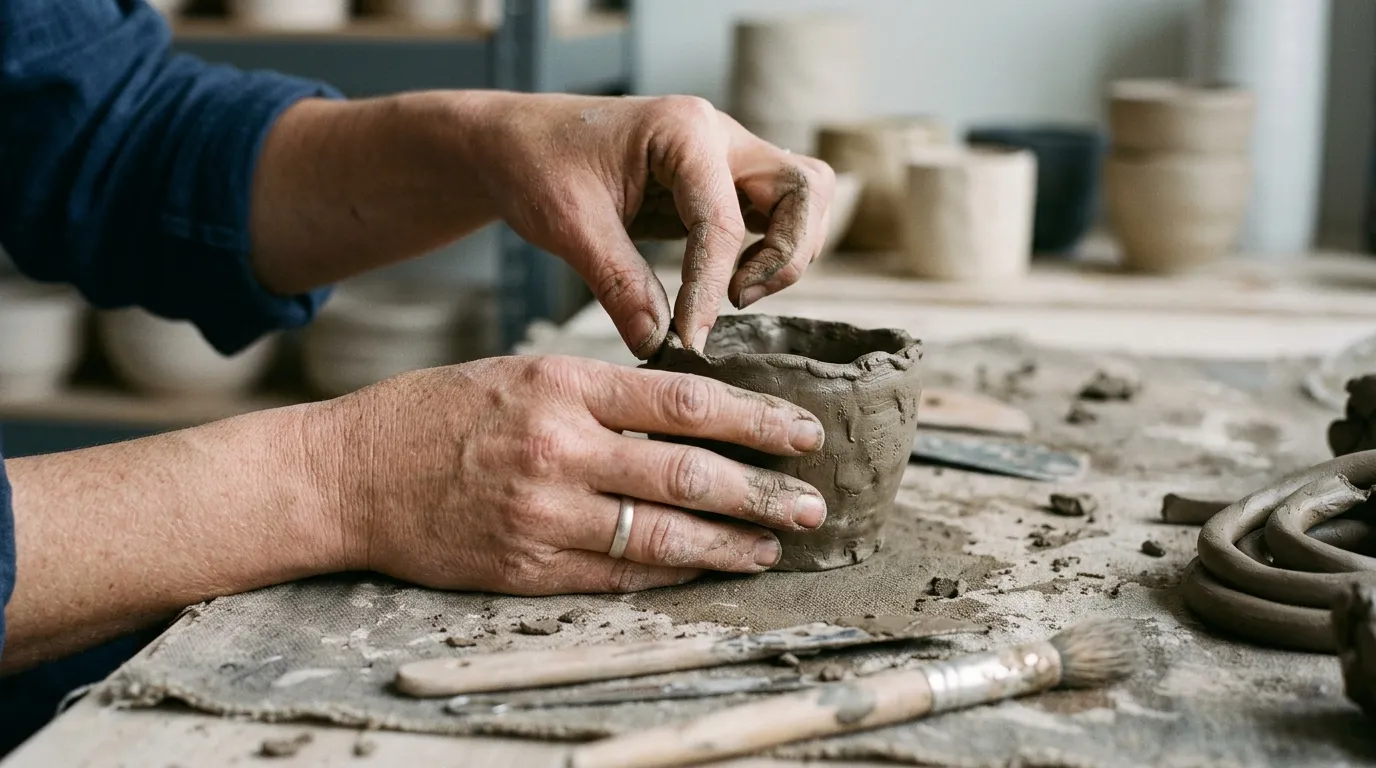
Pinch pots, coil pots and slab work teach you how clay behaves without the added chaos of a spinning wheel. Most studios push wheel classes because they sell better, and honestly a hand building session first makes wheel throwing click much faster. Ask if they offer both.
2. Centring is the whole first month
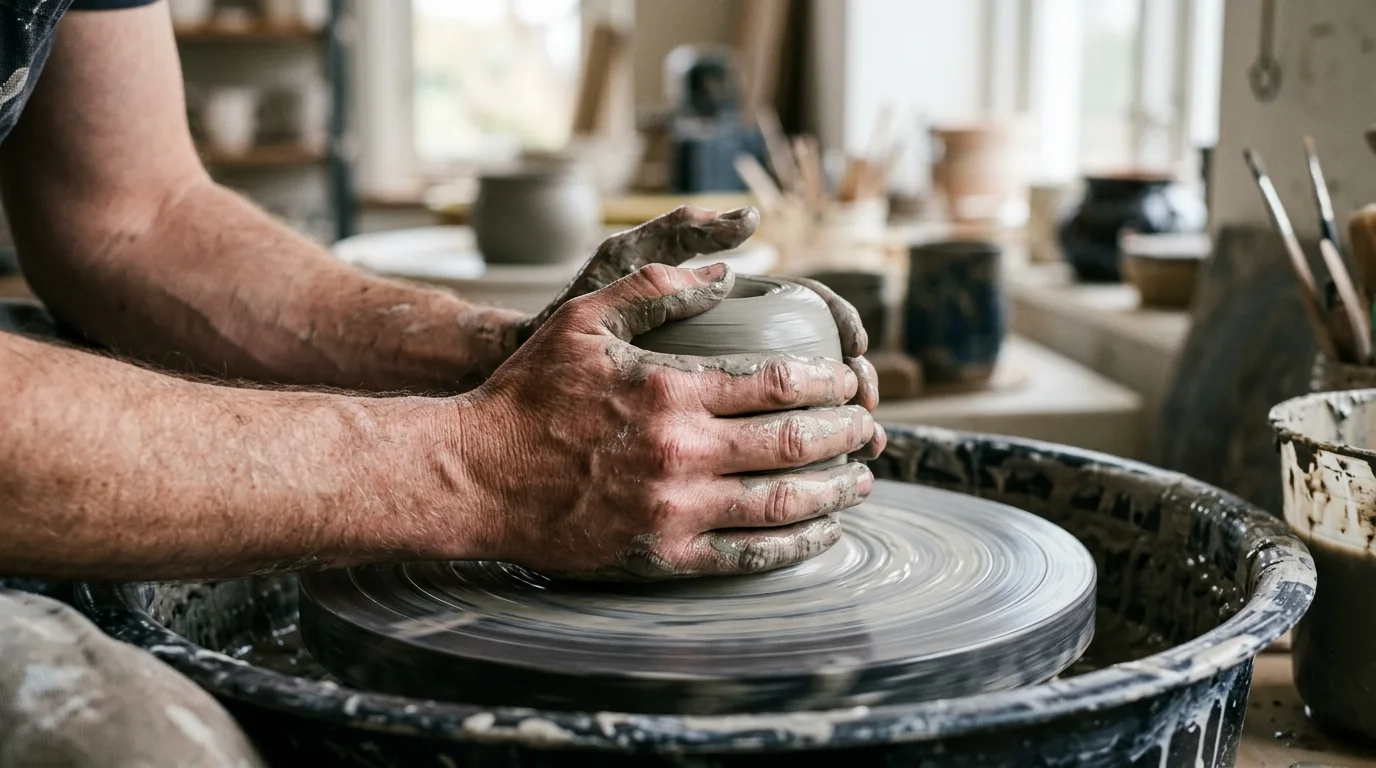
Getting the clay perfectly centred on the wheel is boring, unglamorous and completely non negotiable. Nothing works until it is centred. Expect to spend several sessions on it, and know that the moment it finally goes still under your hands is one of the better feelings in the hobby.
3. Brace your elbows against your thighs
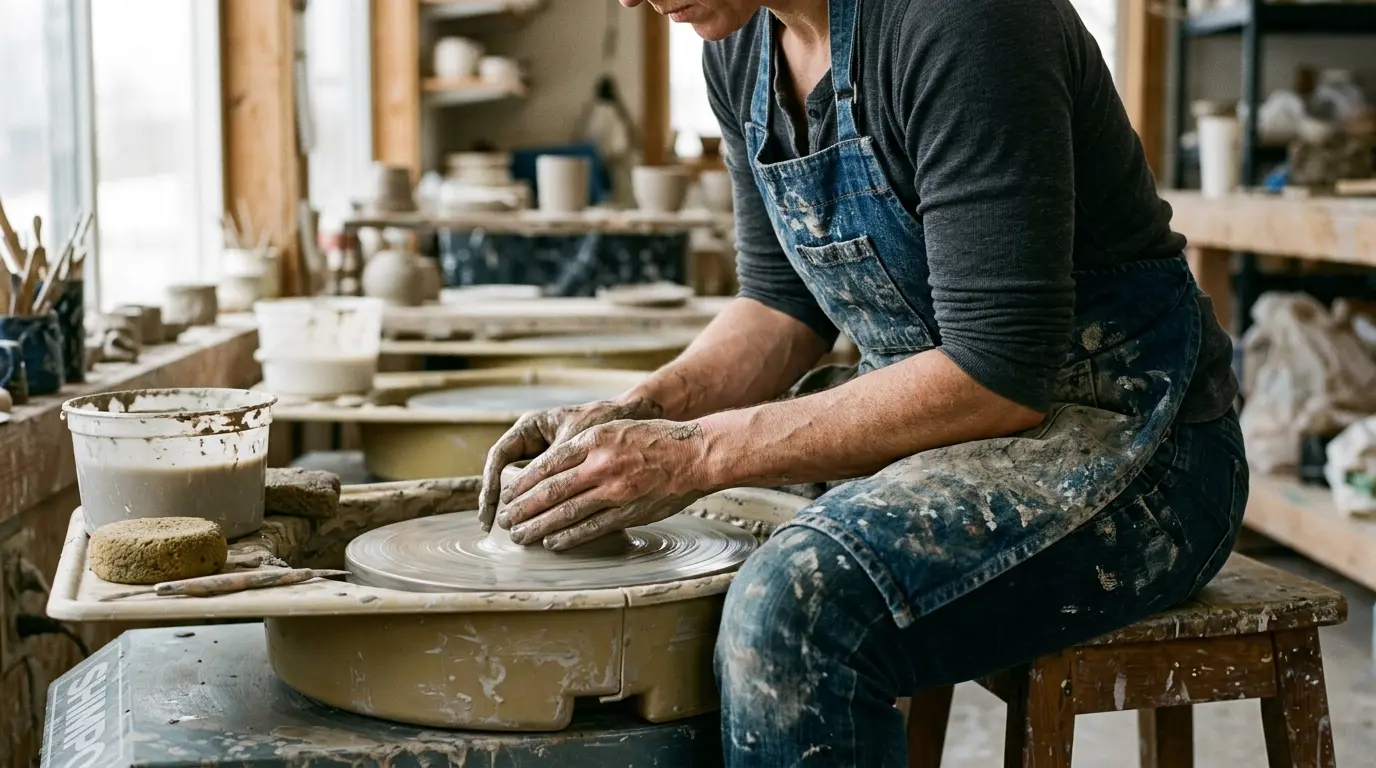
Here is the physical fix. Centring is not about arm strength, it is about being a rigid structure the clay cannot push. Lock your elbows into your thighs, lean in with your body weight, and let your skeleton do the work. I fought clay with my arms for a month and got nowhere.
4. Keep your hands wet, but not soaking
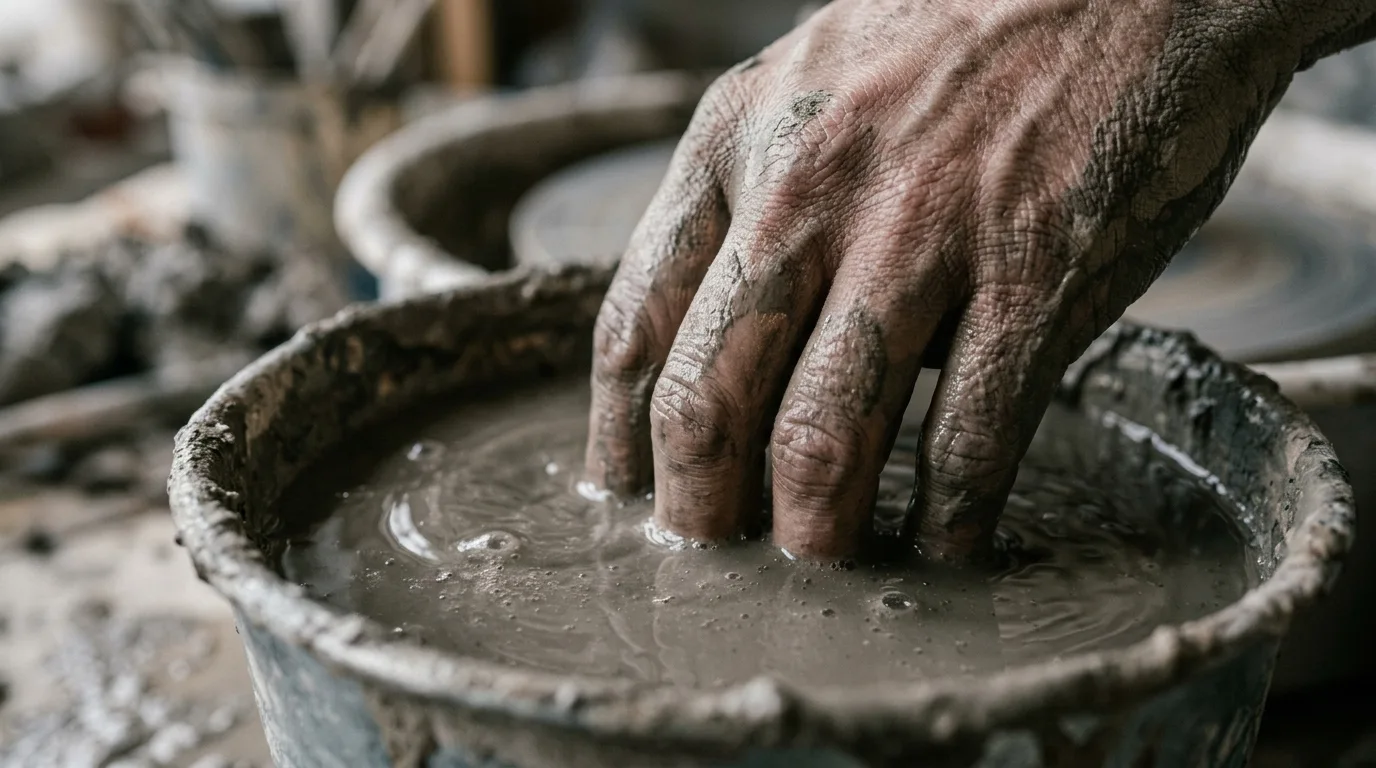
Dry hands drag and tear the clay, and too much water makes it slippery and weak. A quick dip every twenty seconds or so is about right. If your pot suddenly goes floppy and collapses, waterlogged clay is usually why, and it is the most common beginner cause.
5. Wear clothes you do not care about

Clay slip goes everywhere and it does not fully wash out of most fabrics. Old shorts or trackpants and a t shirt, plus an apron if the studio has them. Short nails help enormously too, since clay packs under long ones and it is genuinely unpleasant.
6. Do not make it too thin
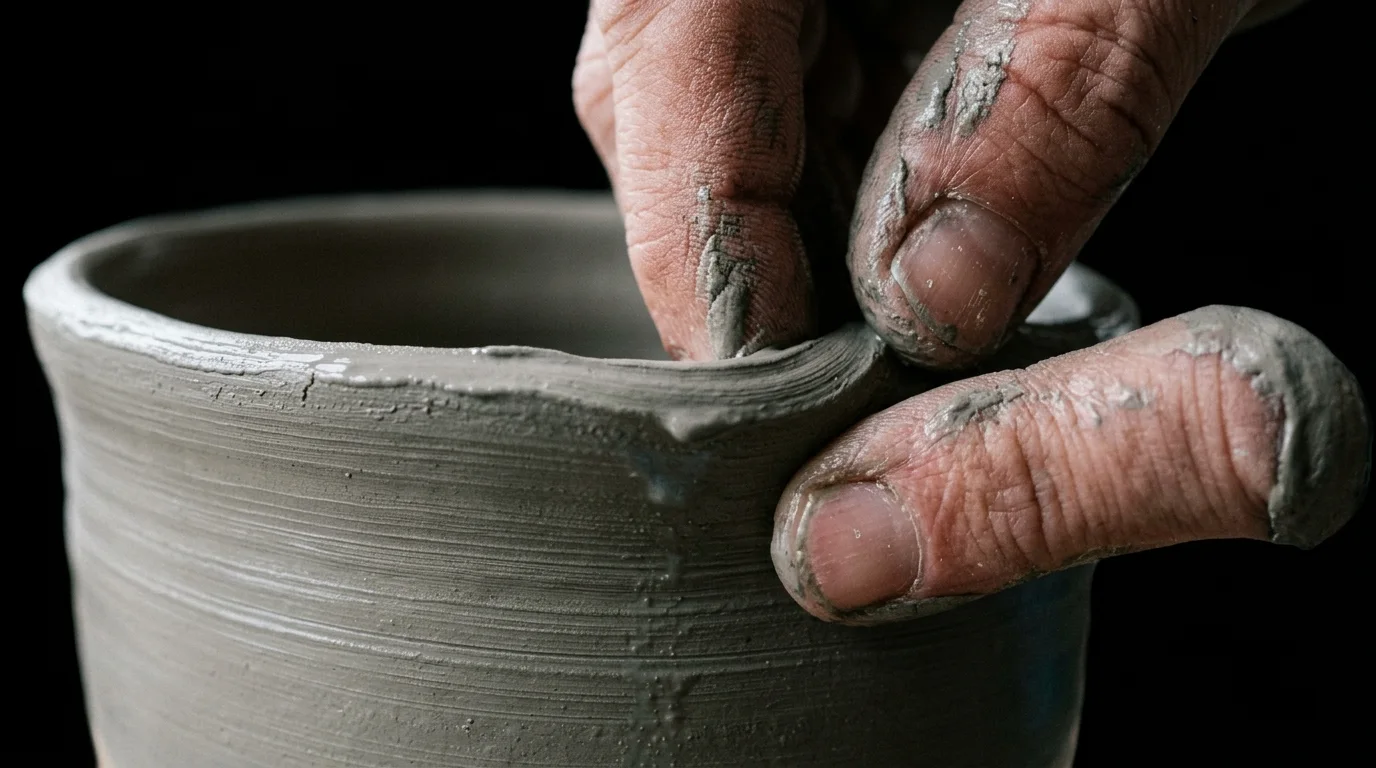
Beginners either leave walls thick and heavy or push them so thin they tear. Aim for about the thickness of your little finger, roughly eight millimetres, and check by pinching gently at the rim. Slightly thick survives the kiln, too thin does not.
7. Trimming is where pots become good
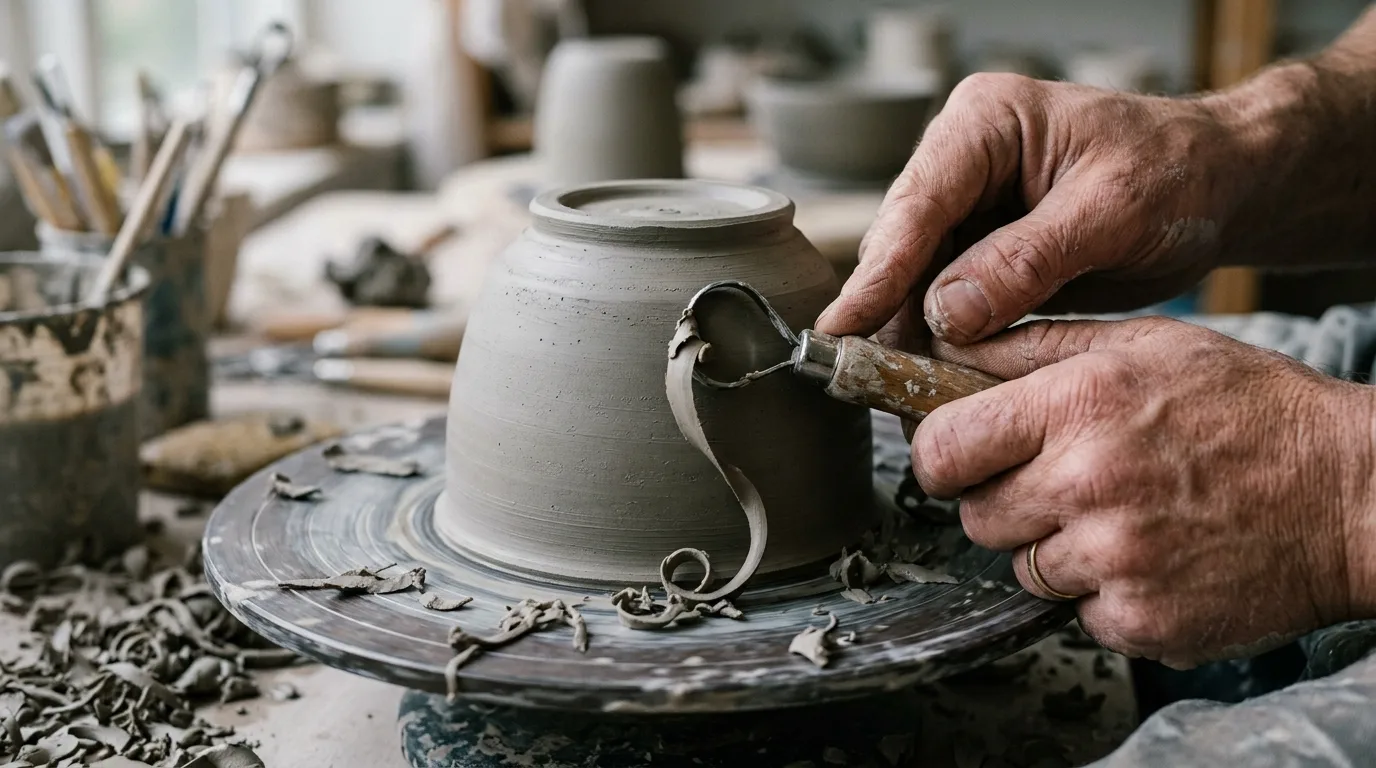
The leather hard stage, where clay is firm but not dry, is when you turn the pot over and trim the base. This is where a lumpy heavy pot becomes a light elegant one. Do not skip it, and do not let a piece dry past leather hard or trimming becomes impossible.
8. Cover work in plastic between sessions
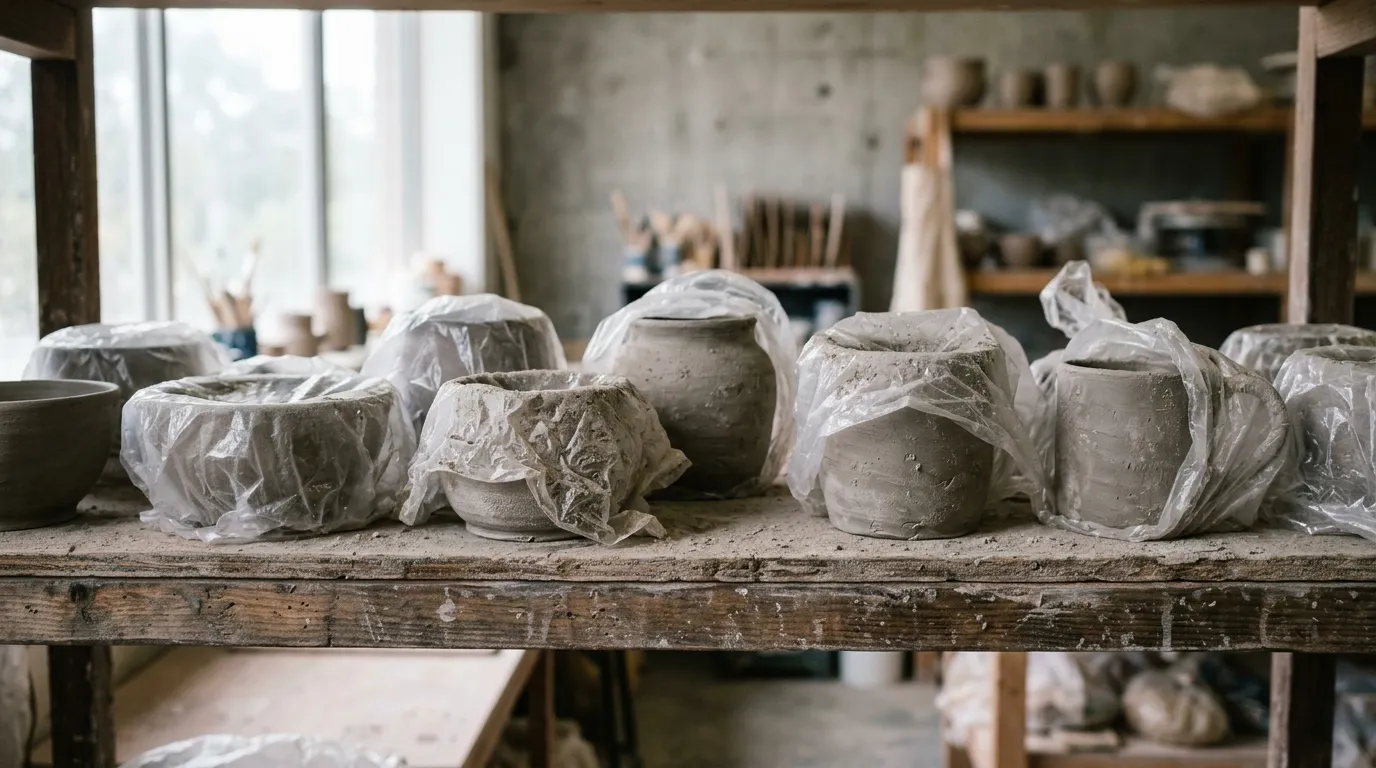
Clay dries faster than you expect, especially in an Australian summer. A plastic bag loosely over a piece keeps it workable for a week. If it dries out fully before trimming, that is usually the end of it, and rehydrating rarely works well.
9. Glazing looks nothing like the finished result
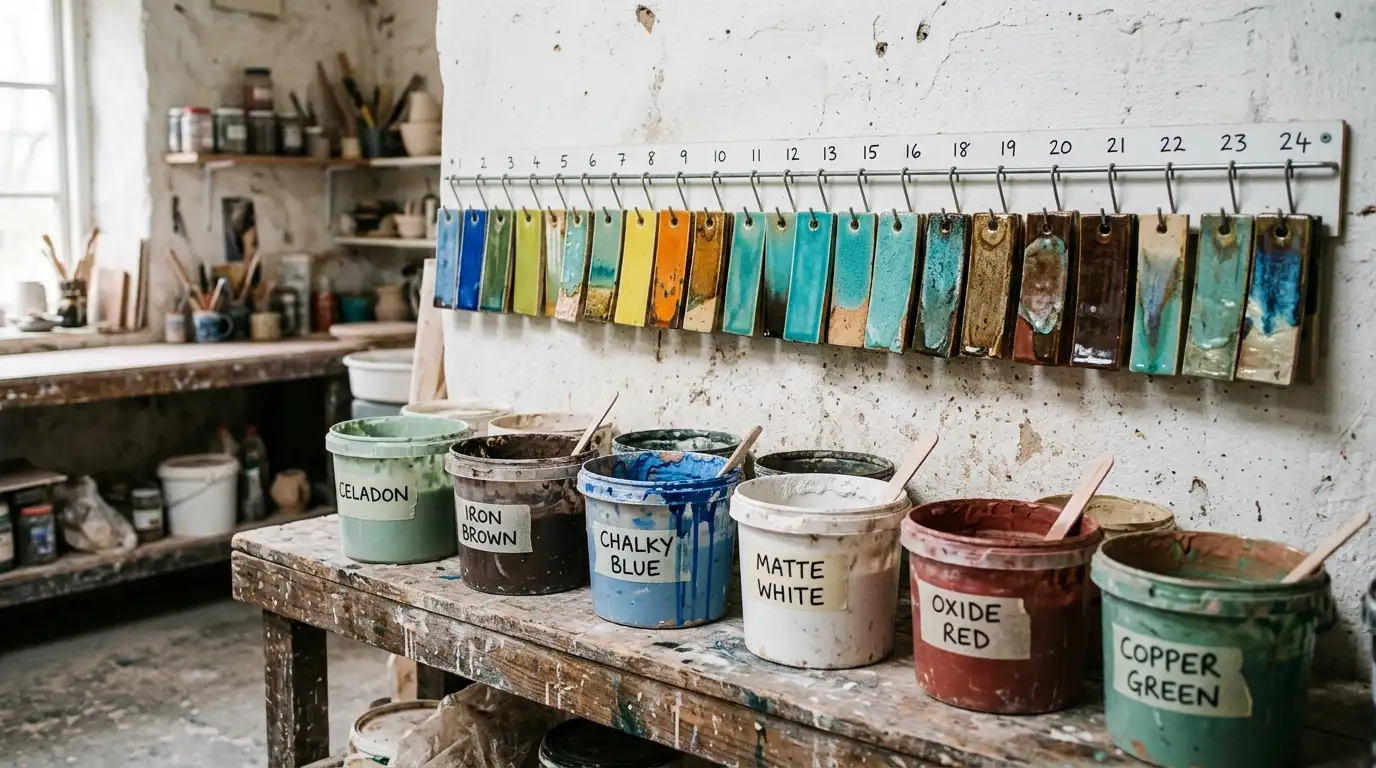
Raw glaze is chalky and often a completely different colour from what comes out of the kiln. Pale pink can fire deep green. Always check the studio’s fired test tiles rather than judging from the bucket, since that is where most disappointing surprises come from.
10. Expect to lose pieces, regularly
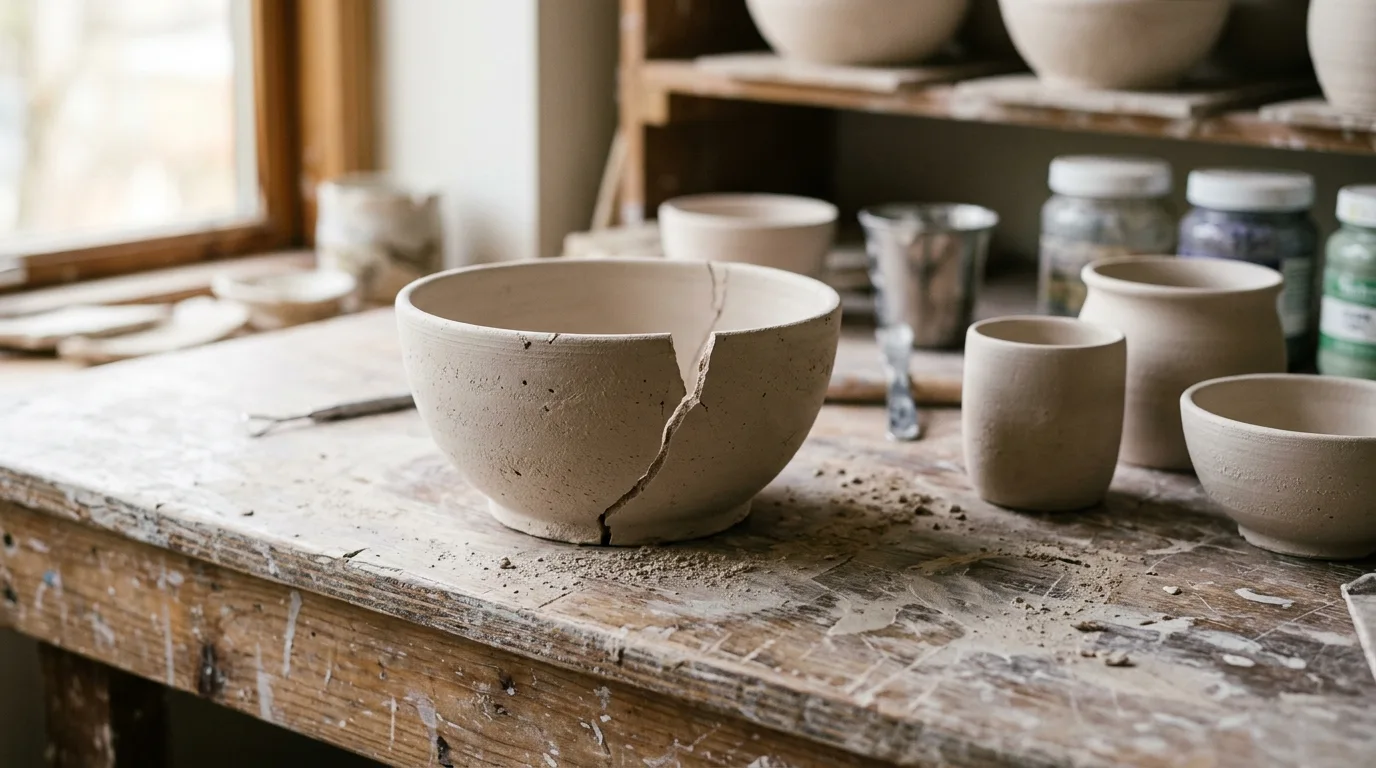
Cracks, warping, glaze running, a kiln shelf disaster. Losing a piece you liked is part of it for everyone, not a sign you are bad at this. My best mug exploded in a bisque firing because I trapped an air bubble, and now I wedge properly every single time.
11. Wedge your clay properly first
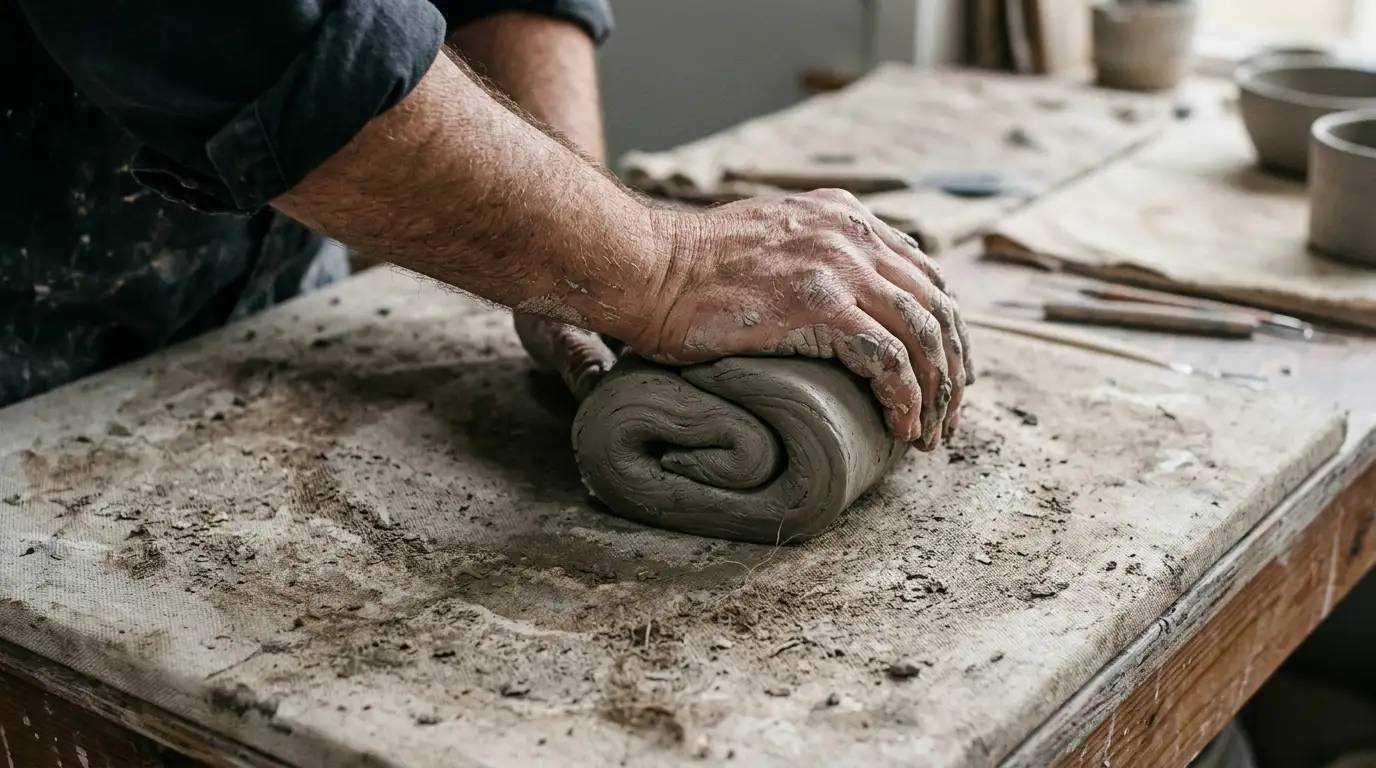
Wedging is kneading the clay to remove air pockets and even out the moisture. Skip it and an air bubble expands in the kiln and takes your pot with it. Ten good pushes on a plaster or canvas surface is usually enough for a small piece.
12. Book a term, not a single class
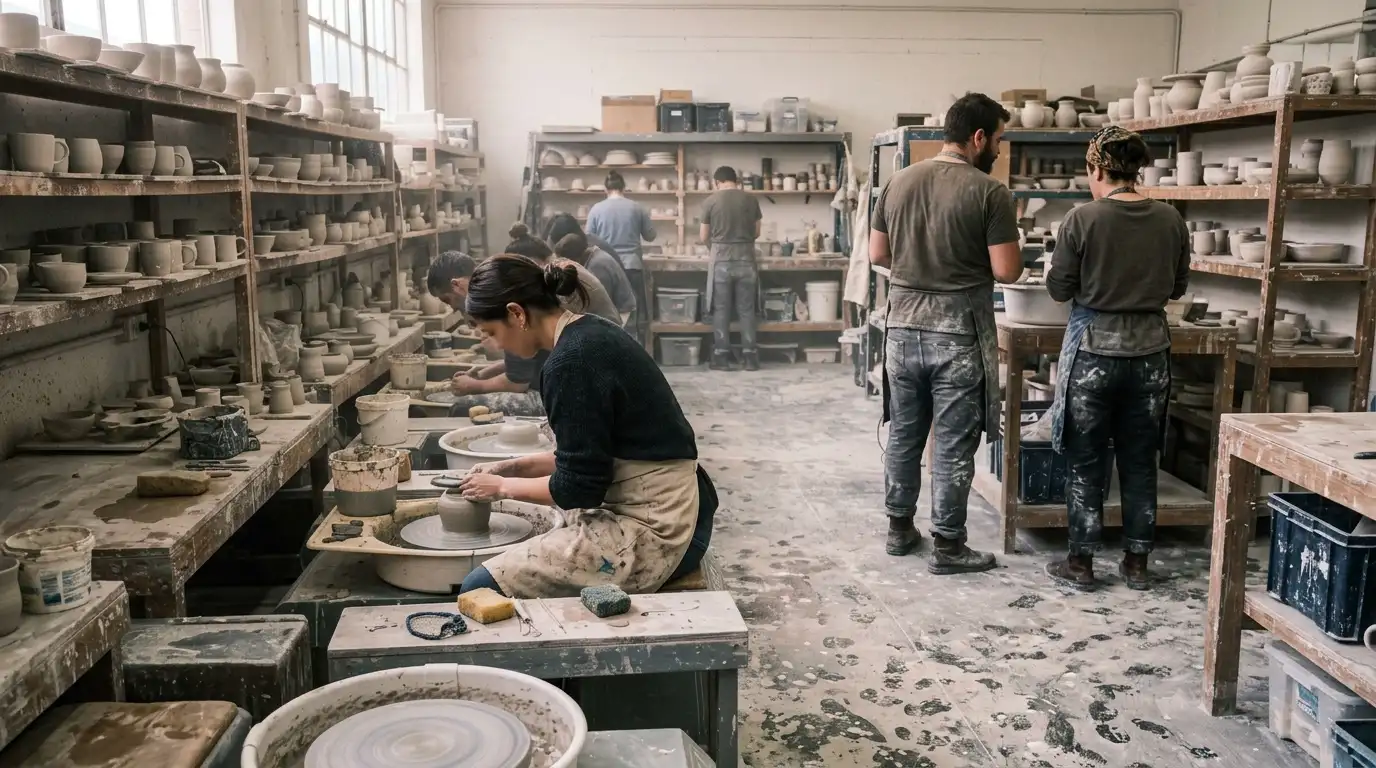
A one off taster is fun and you will not learn much in two hours. A six or eight week term is where things actually click, because you get repetition and you see pieces through the full process. Most studios run terms and they are far better value per session.
How to choose a studio and get going
Look for a studio that includes clay, firing and glazing in the class fee, since paying separately for firing adds up fast and it makes you hesitant to experiment. Ask how many people are in a wheel class too, because more than about eight per instructor means very little individual help, and in the early weeks that help is the whole point.
Then be realistic about the mess and the time. Pottery needs a couple of hours per session plus travel, and you cannot rush the drying stages. If you want a hobby you can do in twenty minute bursts at home, this is not it. And if you are tempted to buy a wheel for the house, wait at least six months, because most people who buy one early end up with an expensive item under a spare bed. Studio membership costs far less and includes the kiln, which is the genuinely expensive part.
Frequently asked questions
Is pottery hard to learn as a beginner? The basics are learnable and the wheel takes longer than most people expect. Centring alone usually takes several sessions, so plan for a term of classes rather than judging yourself after one.
Should I start with the wheel or hand building? Hand building first, if the studio offers it. Pinch pots and coil work teach you how clay behaves without the added difficulty of a spinning wheel, and it makes throwing considerably easier later.
How long does a pottery piece take to finish? Usually around six weeks from throwing to finished piece. It gets trimmed at leather hard, dried fully, bisque fired, glazed and then fired again, and none of those stages can be rushed.
What should I wear to a pottery class? Old clothes you do not mind ruining, since clay slip does not fully wash out. Short nails help too, as clay packs underneath long ones and makes the work uncomfortable.
Do I need to buy my own wheel? Not for at least six months. Studio membership is much cheaper and includes kiln access, which is the genuinely expensive part, and most people who buy a wheel early end up rarely using it.
Final thoughts
Pottery is one of the few hobbies where being bad at it is genuinely enjoyable. The clay does not care, the process is slow in a good way, and two hours disappears without you touching your phone once.
If you have been thinking about it, ring a local studio and ask whether they run a hand building term rather than a one off wheel taster. It is a better introduction and it will tell you fairly quickly whether the slow pace suits you.