My first blinged phone case lost eleven stones in four days. I found them in my bag, my coat pocket, and once in a bowl of cereal.
The problem was not the stones. It was that I had used a craft glue meant for paper on a surface I had not cleaned, which is roughly the worst combination possible.
So here are twelve things worth blinging and how to actually do each one, plus the adhesive rules that changed everything. Number three is the glue advice, and it is the difference between a week and a year.
Where most bling goes wrong
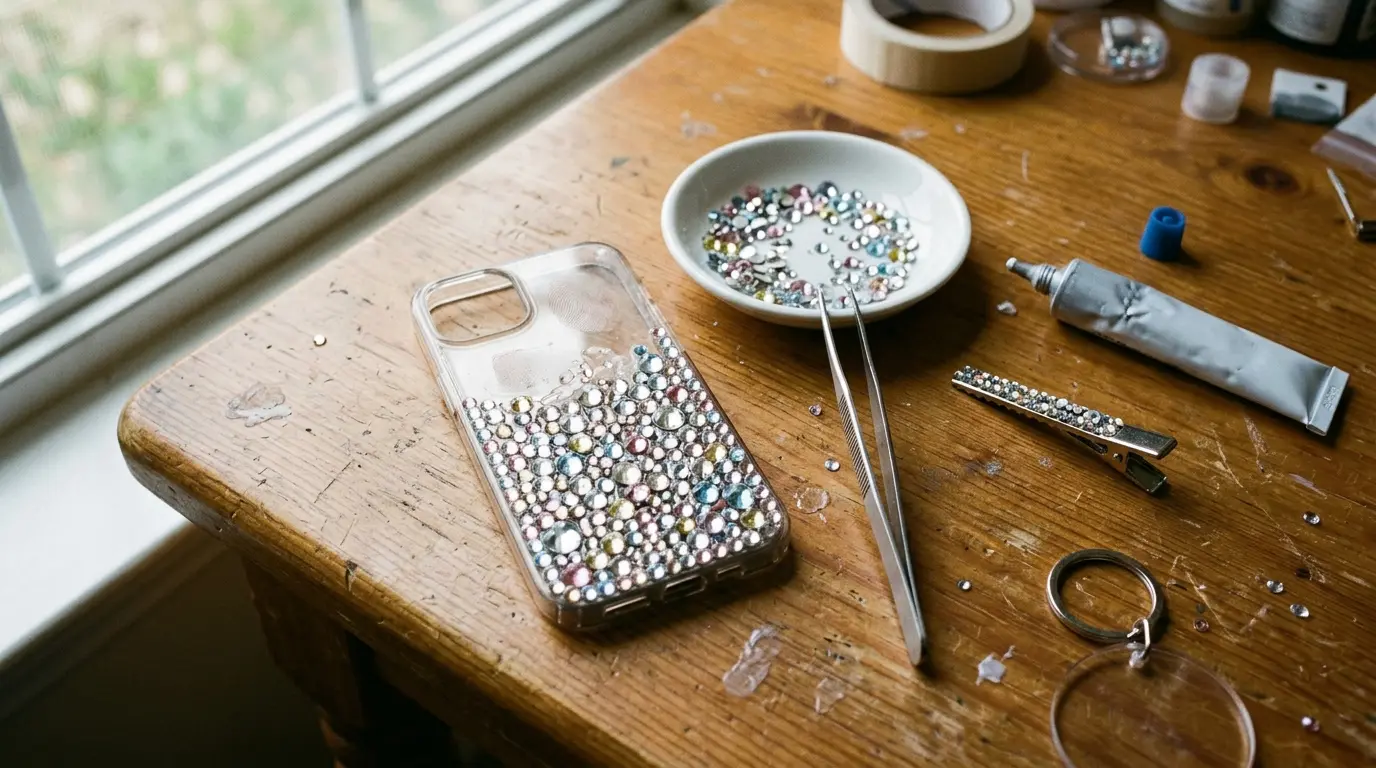
Two things. Surface preparation and the wrong adhesive. Almost every stone that falls off does so because the surface had oil, dust or a coating on it, or because the glue was never designed for that material in the first place.
The second issue is placement. Scattering stones evenly across a whole surface reads as cheap, while clustering them densely in one area and letting them thin out looks deliberate and expensive. That single change in approach made my projects look ten times better, and it costs nothing.
1. Blinged phone case
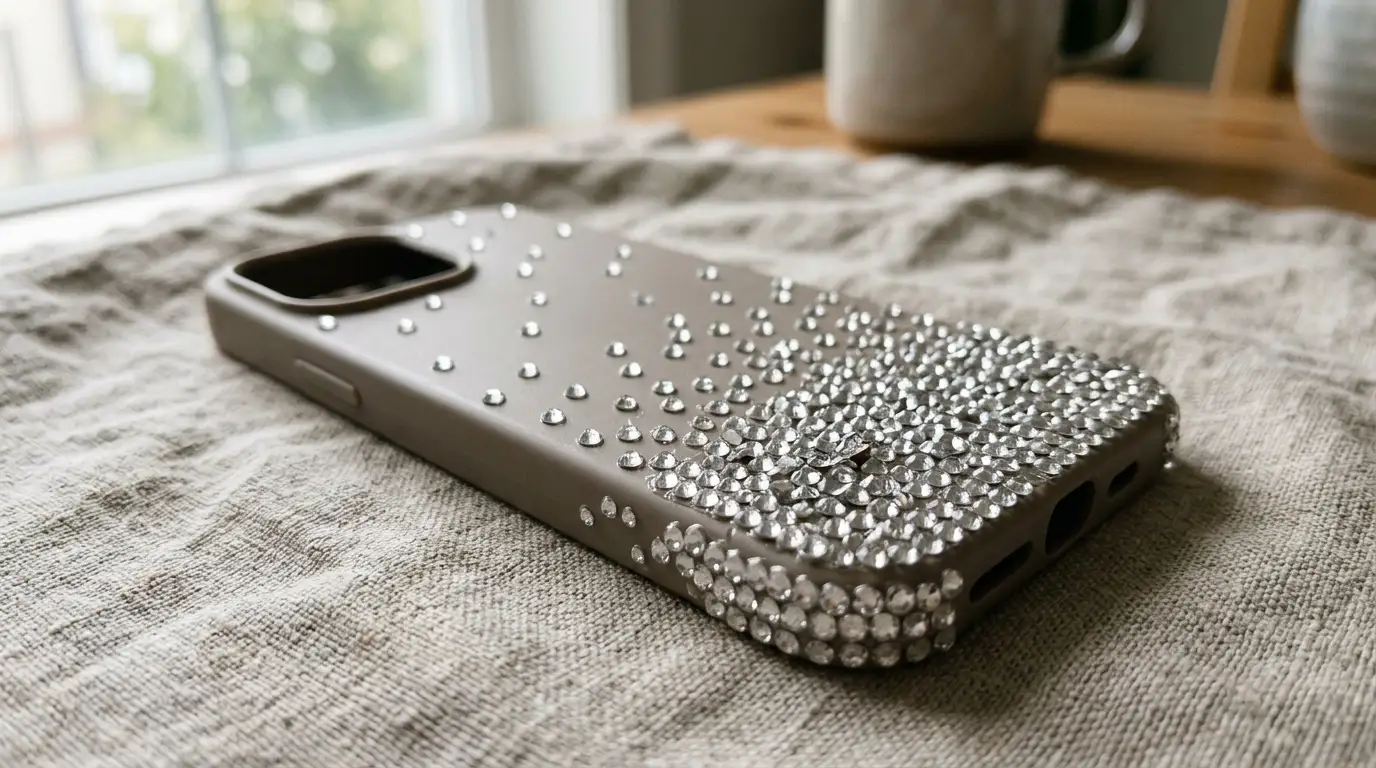
The classic starting project. Buy a plain hard case, clean it with rubbing alcohol first, and work in small sections with E6000 or a similar industrial adhesive. Cluster the stones near one corner and fade them out rather than covering the whole back evenly.
2. Nail bling with lash glue
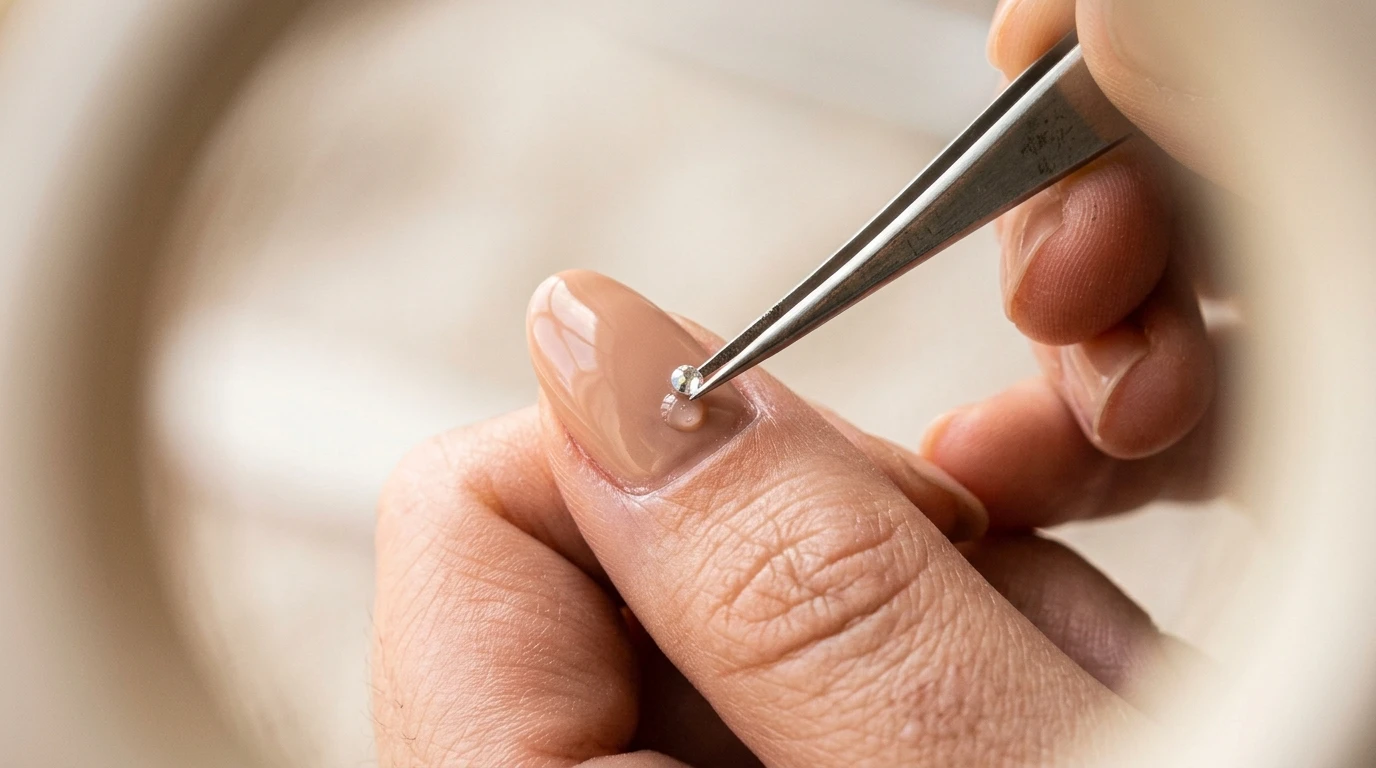
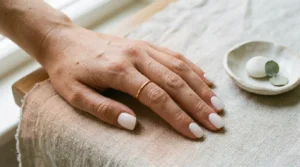
For nails, lash glue beats top coat every time. Apply a tiny dot, place the stone with the flat end of a tweezer, and press for five seconds. Top coat over stones looks cloudy and does not hold, which is why salon gems last and home ones tend not to.
3. Match the glue to the material
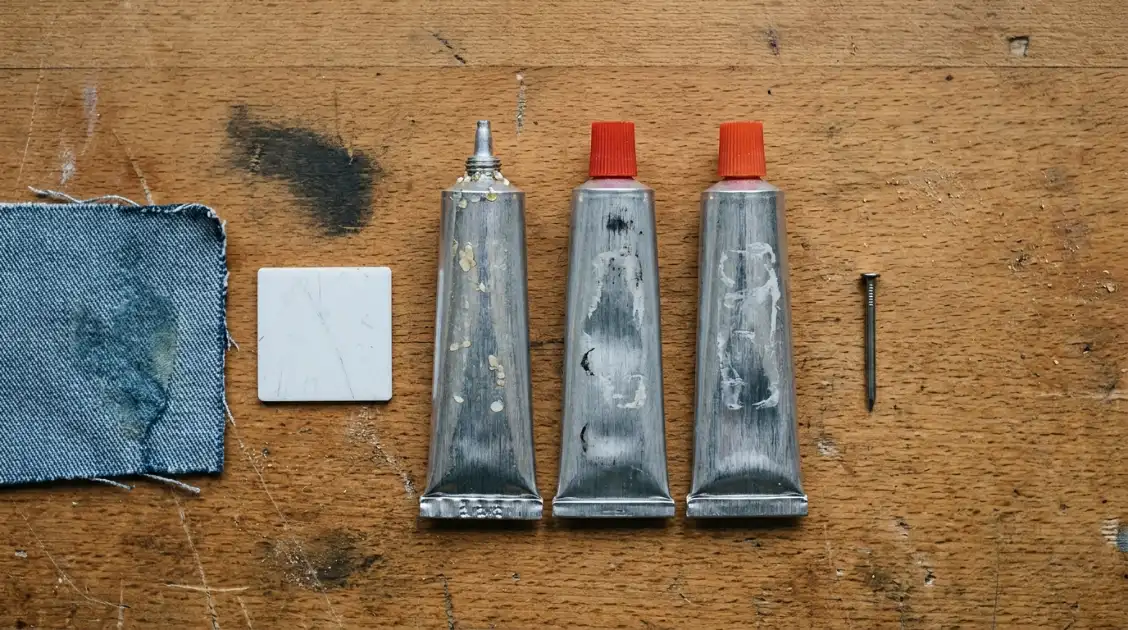
Here is the rule that fixes most problems. E6000 for plastic, metal and hard cases. Fabric glue or hot fix stones for clothing. Lash glue for skin and nails. Craft PVA for absolutely nothing you want to keep. Read the tube before you start rather than after.
4. Blinged sunglasses
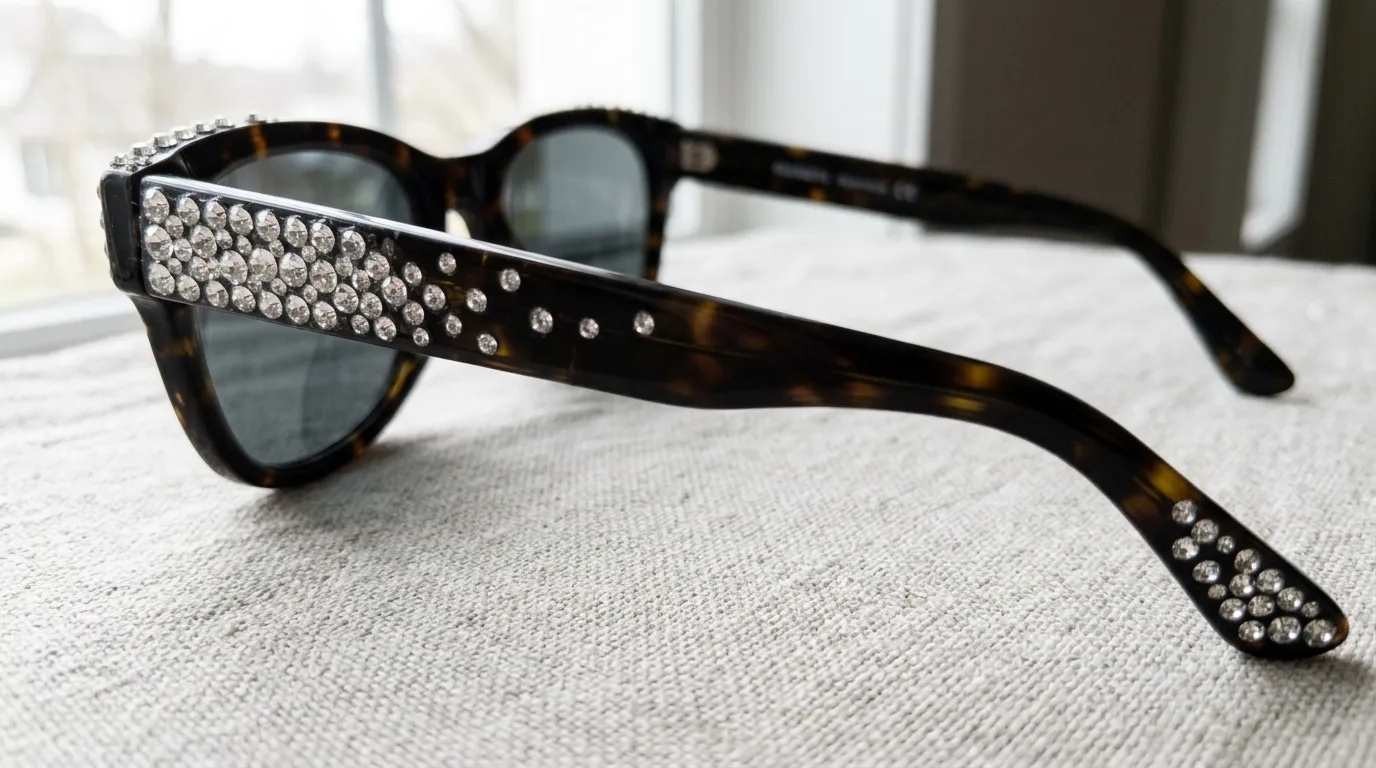
Along the top rim of the frame only, thinning toward the temples. It takes about twenty minutes and turns a five pound pair into something that looks considered. Avoid the arms where they touch your face, since skin oils loosen the adhesive faster there than anywhere else.
5. Hair clips and slides
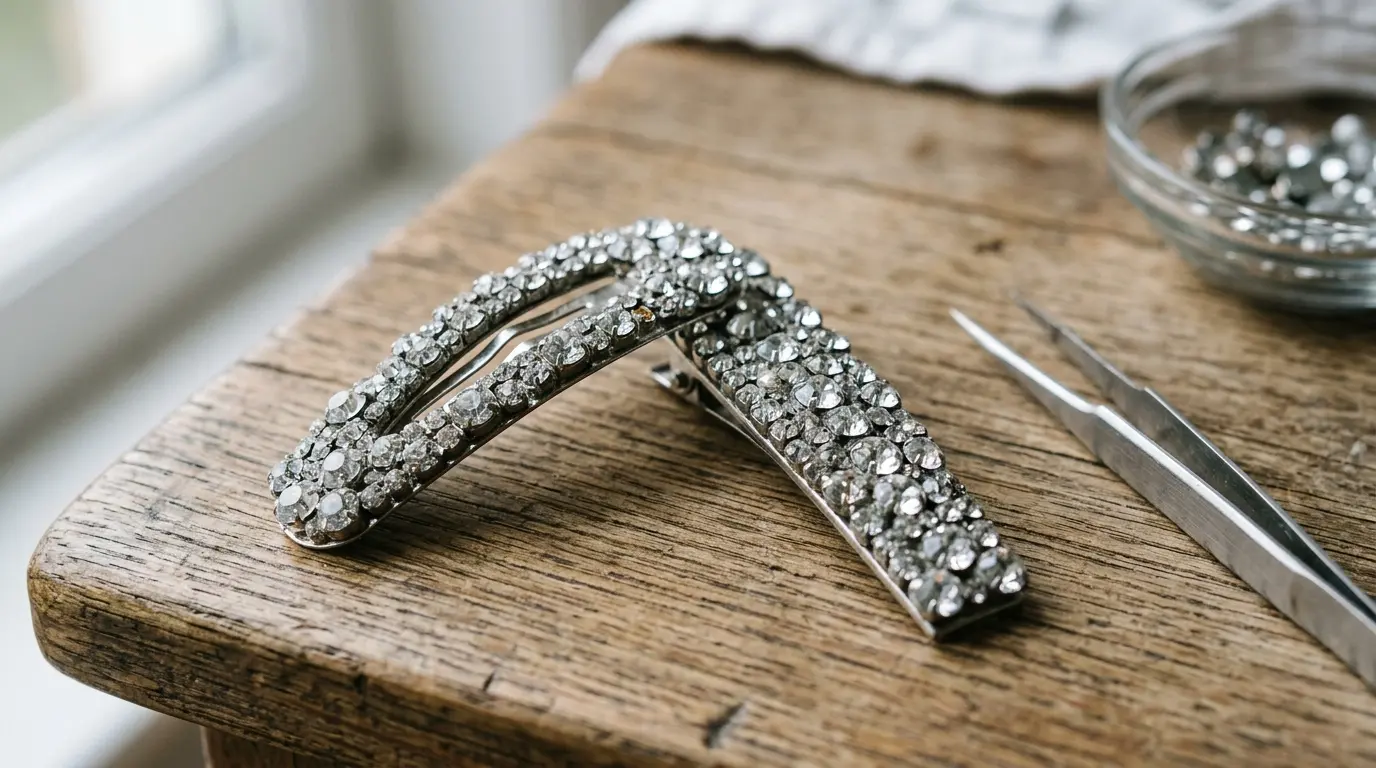
Plain metal clips covered in a dense cluster of stones. Cheap to make, extremely visible, and they photograph beautifully. Roughen the metal surface with fine sandpaper before gluing, because smooth metal gives the adhesive nothing to grip onto.
6. Denim jacket collar or pockets
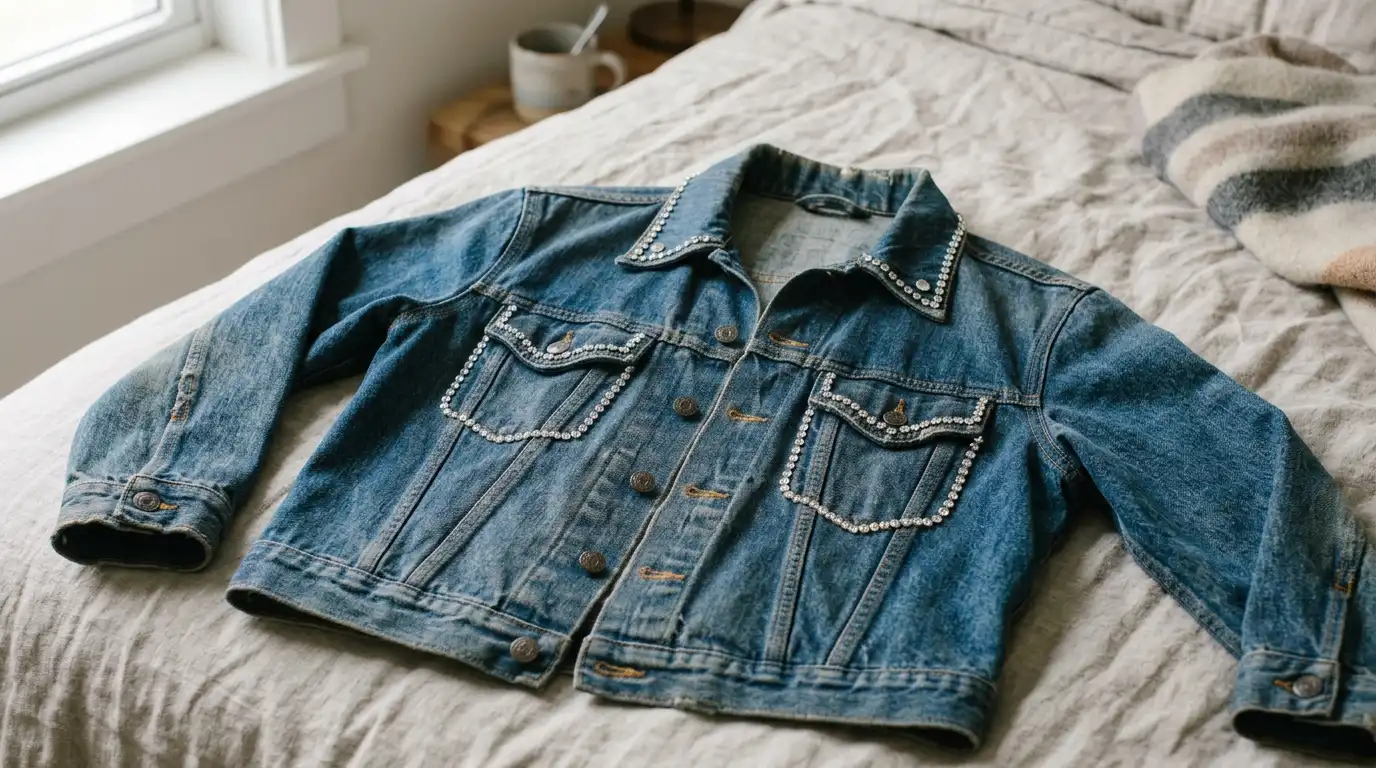
Hot fix rhinestones with an applicator wand, on the collar points and pocket edges. Press for fifteen seconds each and let the fabric cool completely before moving the jacket. Fabric flex is what pops stones off, so keep them off areas that bend, like the elbows.
7. Blinged water bottle or tumbler
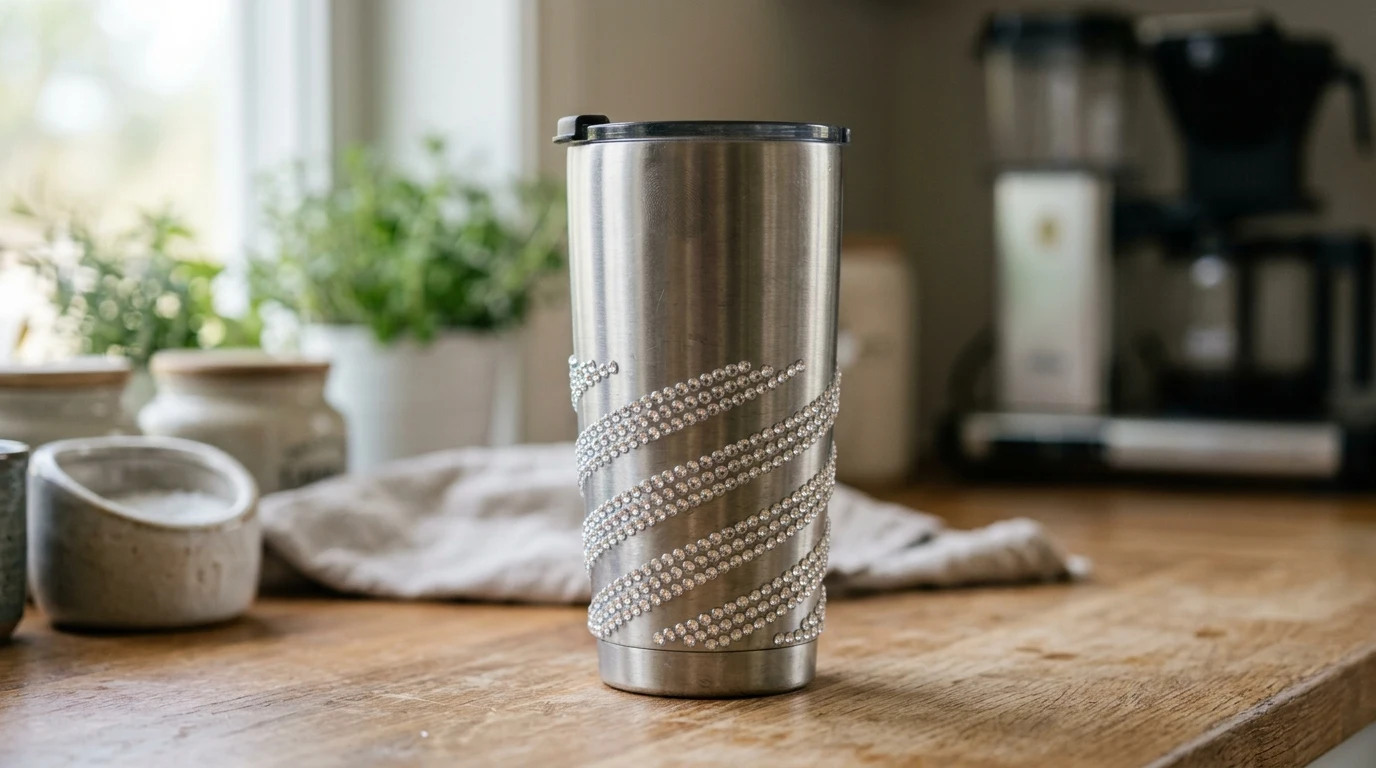
Surprisingly satisfying and very visible. Clean thoroughly with alcohol, work in a spiral around the bottle, and let it cure for a full twenty four hours before it goes anywhere near water. Hand wash only afterwards, since a dishwasher will strip the lot in one cycle.
8. Shoes, on the heel or the strap
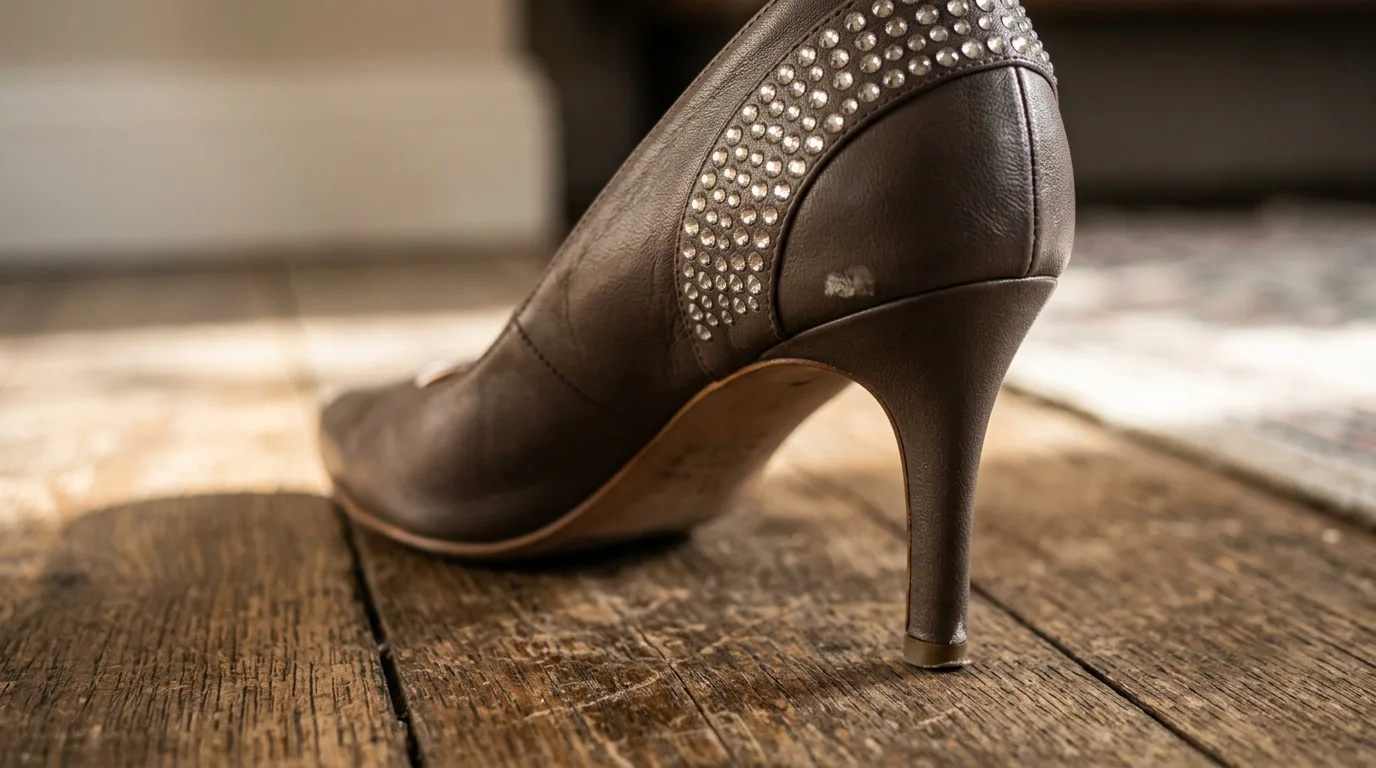
Heels and sandal straps take bling well. Sneakers do not, because the flex points destroy the adhesive within a fortnight. If you want blinged trainers, keep the stones on the rigid heel counter and the tongue rather than the flexible sides.
9. Bag charms and keyrings
Small, low commitment, and a good practice project if you have never done this. A plain acrylic charm covered in stones takes about fifteen minutes. Because it swings and knocks against things, use more adhesive than feels necessary and let it cure properly.
10. Mix stone sizes, do not use one size
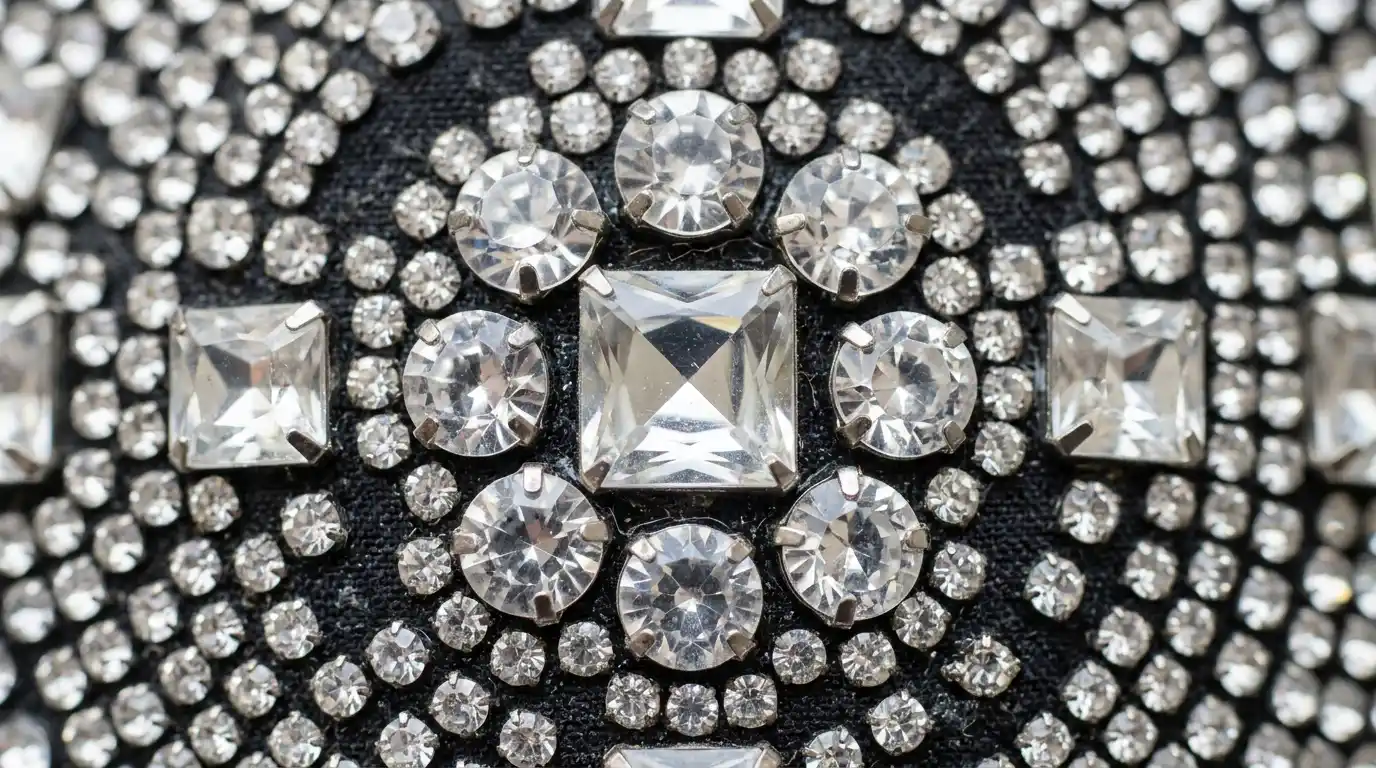
The tip that makes homemade bling look professional. Use three sizes together, with the largest as anchors and the smallest filling the gaps between them. Uniform stones in neat rows look like a craft kit, while mixed sizes look like actual jewellery.
11. Tweezers, not fingers
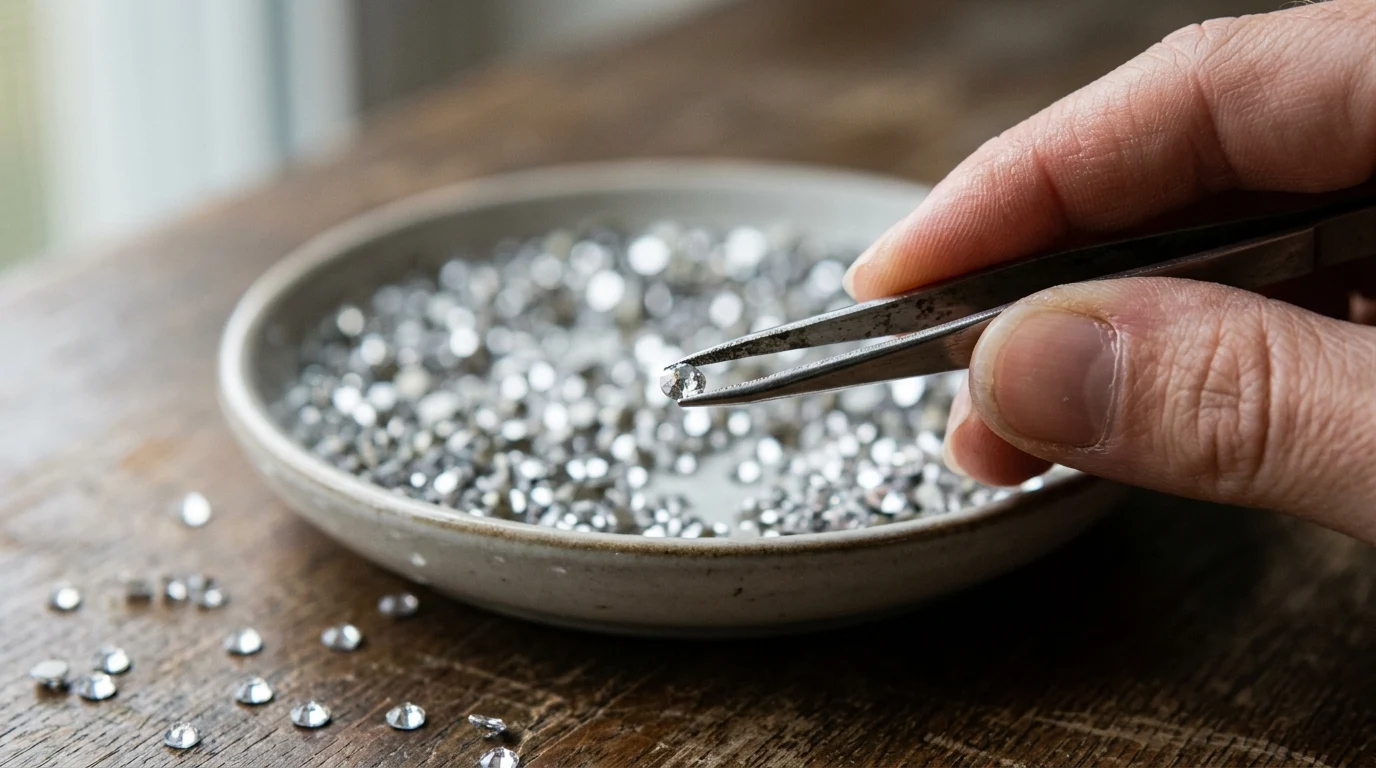
A wax pencil or a pair of fine tweezers, always. Fingers transfer oil onto the back of each stone, which weakens the bond, and you will place them less accurately. A rhinestone picker pencil costs about two pounds and it is the best small purchase in this whole hobby.
12. Let everything cure for a full day
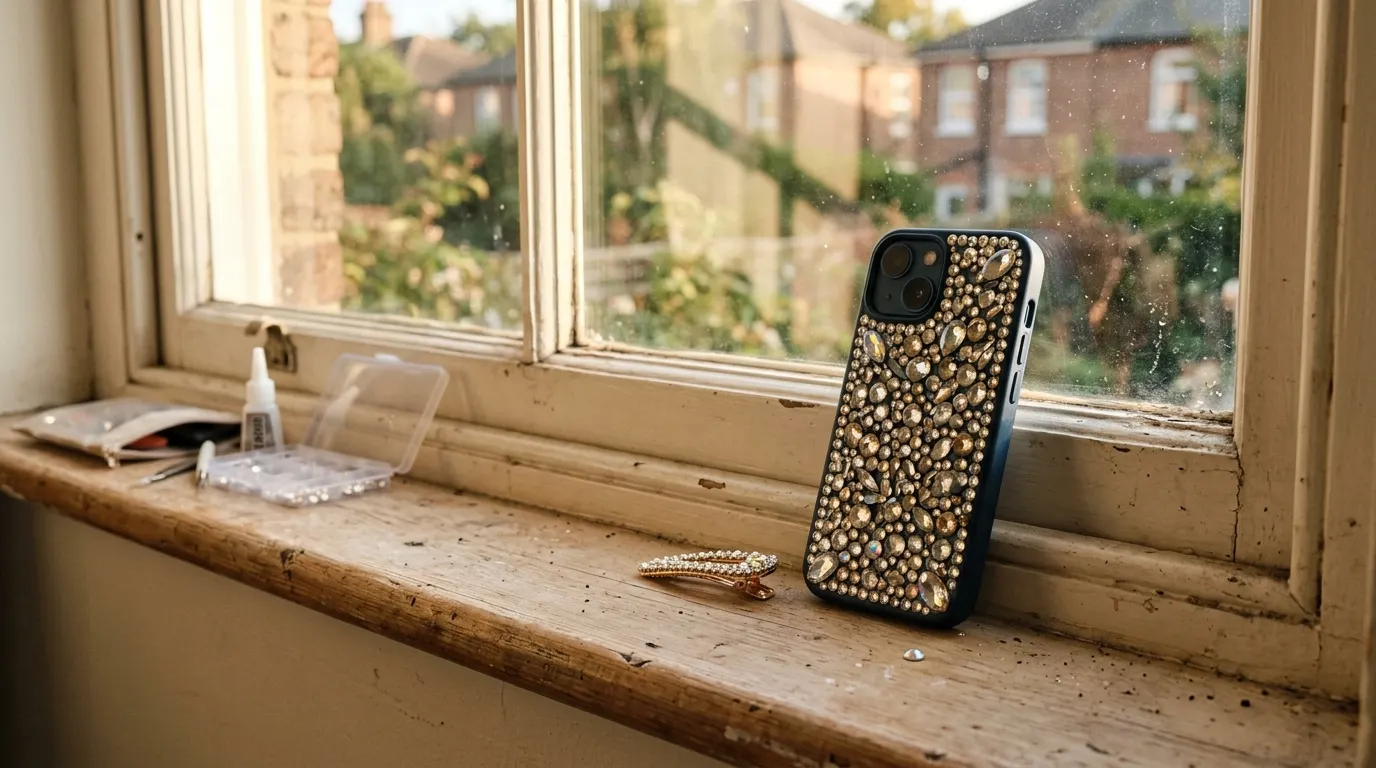
The step everyone rushes. Most strong adhesives are touch dry in an hour and not properly cured for twenty four. Using a blinged item at the twelve hour mark is exactly why stones start dropping, and I have learned this the hard way more than once.
How to plan a project so it actually looks good
Sketch the placement before you glue anything. Even a rough pencil outline on the surface, or a photo with the stones laid out unglued, will save you from a design that goes wrong halfway through. Once E6000 is down you are not repositioning anything neatly.
Then work in small sections. Apply adhesive to about a five centimetre area at a time and place stones into it while it is still wet, rather than dotting glue on every stone individually. It is faster and the bond is more even. And build density where the light hits, meaning the raised or curved parts of an object, since sparkle only reads where light actually catches it. Flat shadowed areas can stay bare and nobody will notice, which also saves you a fair number of stones. On my first case I covered every square millimetre and half of them never caught the light at all.
Frequently asked questions
What is the best glue for rhinestones? E6000 or a similar industrial adhesive for hard surfaces like plastic, metal and glass. Fabric glue or hot fix stones work best on clothing, and lash glue is the right choice for nails and skin.
Why do my rhinestones keep falling off? Usually surface contamination or the wrong adhesive. Clean everything with rubbing alcohol first, avoid touching the backs of the stones with your fingers, and allow a full twenty four hours to cure before use.
Can I bling something and put it in the dishwasher? No. Heat and detergent will loosen almost any adhesive, so blinged tumblers and bottles need hand washing only, and even then you should avoid soaking them.
How do I make homemade bling look professional? Mix three stone sizes rather than using one, cluster them densely in one area and fade out, and place everything with tweezers or a wax pencil. Uniform rows of identical stones are the main giveaway of a craft kit look.
Can I bling trainers? Only on the rigid parts, like the heel counter and the tongue. The flexible side panels bend constantly with every step, and no adhesive holds stones on a flex point for more than a couple of weeks.
Final thoughts
There is something genuinely satisfying about taking a plain object and making it catch the light. It is fiddly, slightly meditative, and the results get noticed far more than the effort involved would suggest.
If you fancy trying it, start with a keyring or a hair clip rather than something expensive. Fifteen minutes, a few pounds of materials, and you will find out quickly whether the fiddly bit is enjoyable or maddening before committing to a whole phone case.