The first shirt I ever cut up ended up with one sleeve shorter than the other and a neckline so wide it fell off my shoulder every time I moved. I wore it once. To take the bins out.
The problem was not the scissors. It was that I cut freehand, on a curve, while the shirt was on my body.
So here are the twelve cuts I actually use now, in rough order of how much nerve they take. Read the section right before the numbered list first, because those two rules save more shirts than anything else here.
Two rules before you cut anything
Rule one: always cut less than you want. Fabric does not grow back and every cut looks bigger once the shirt is on. I take off about two thirds of what I plan, wear it, then cut more the next day if I still want to.
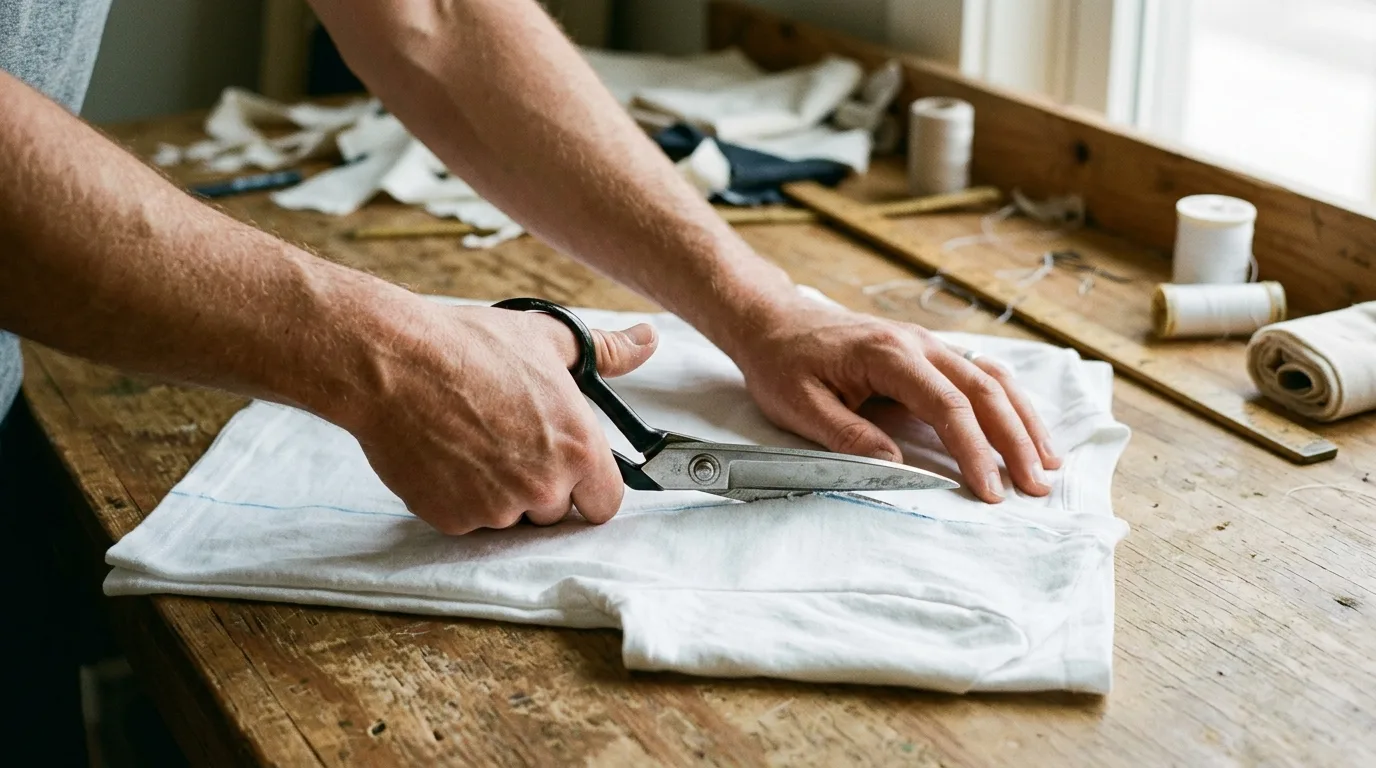
Rule two: lay the shirt flat and fold it in half at the shoulder seams. Cut through both layers at once so both sides match. Freehand cutting while wearing it is exactly how I got one long sleeve and one short one, and it is the mistake almost everyone makes first.
1. The classic crop, straight across
Simplest one there is. Lay the shirt flat, decide your length, then add an inch because it will ride up. Use chalk or a bar of soap to draw a straight line across, then cut with fabric scissors in one smooth pass rather than lots of small snips, which is what causes that wavy jagged edge.
2. High-low crop
Shorter at the front, longer at the back. It flatters almost everyone and it hides the bit most people are self conscious about. Mark your front point, mark the back point about three inches lower, then connect them with a gentle curve up the sides.
3. Cut off the sleeves for a muscle tee

Cut just outside the sleeve seam, not through it, so the shoulder shape stays intact. If you want a deeper armhole, extend it down toward the side seam but stop at least two inches above where your bra band or armpit sits, because deeper than that stops being wearable in public.
4. Off-shoulder by removing the collar
Cut the ribbed collar off completely, then cut a wider curve about two inches down from where the collar was. Cotton jersey rolls slightly at a raw edge and it looks intentional, so do not hem it. Stretch the cut edge firmly with both hands afterwards to get that rolled finish faster.
5. Side ties on a crop
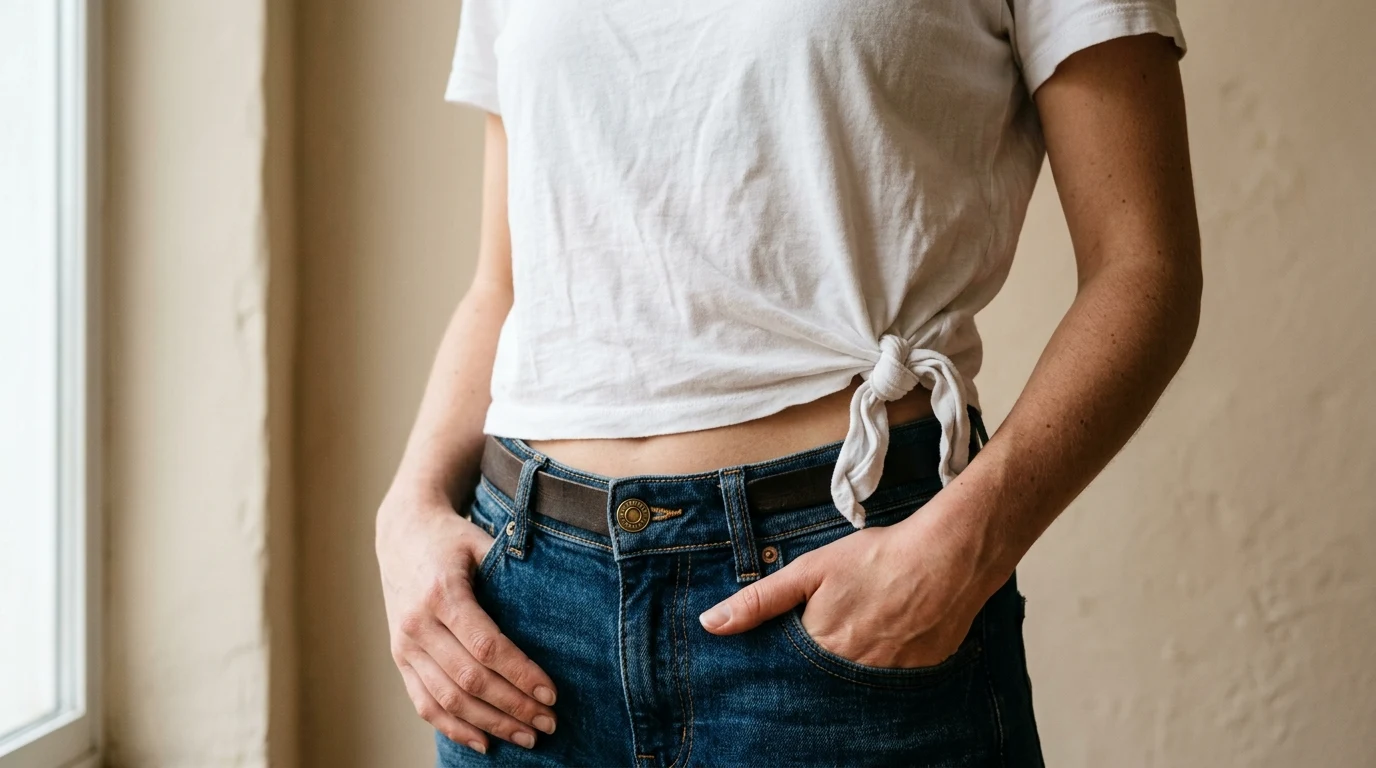
Cut your crop line, then cut a two inch vertical slit up each side seam. Knot the front and back layers together at each side. It gives you an adjustable fit and it is the fix I use when I crop something slightly too short by accident.
6. Back cut-out with a tie
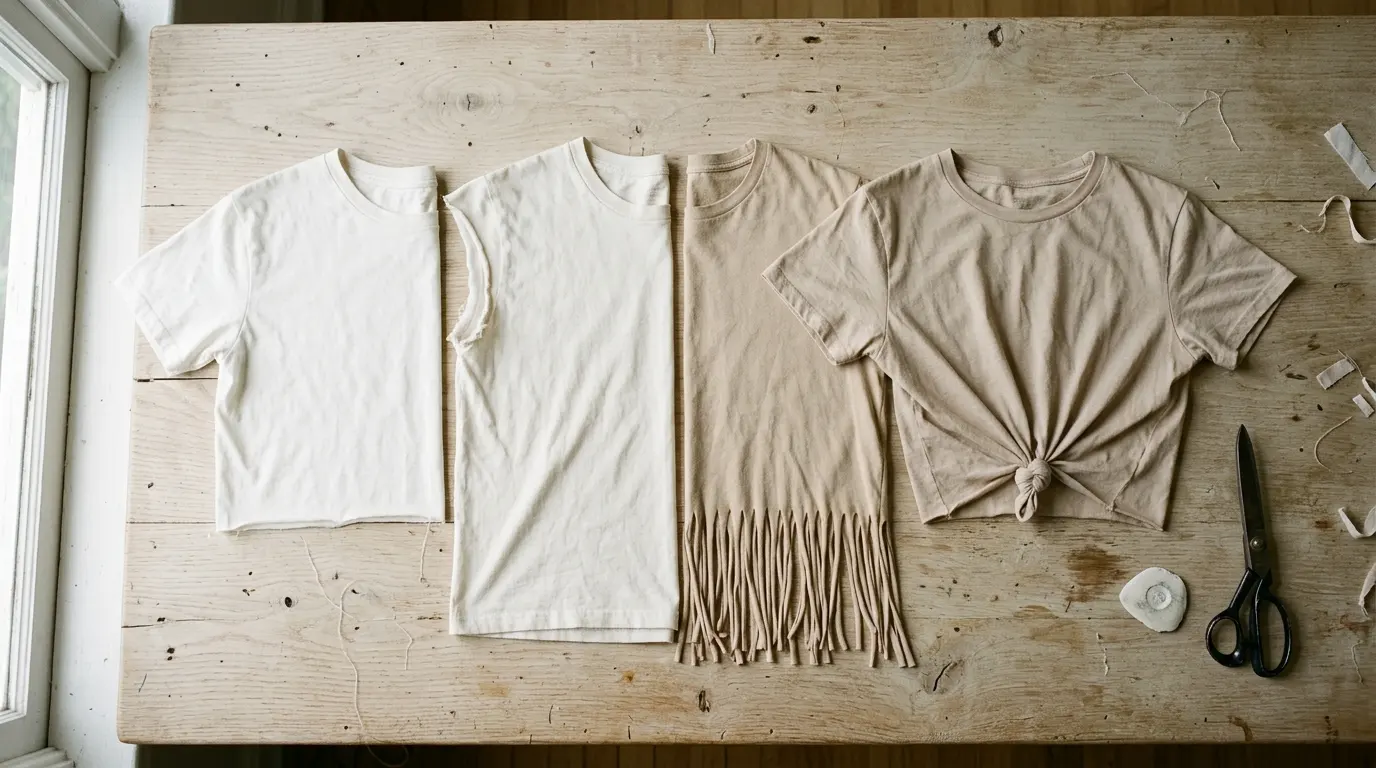
Lay the shirt face down, cut a circle or teardrop shape out of the upper back, and leave two inches of fabric at the top for the shoulder area. Save the offcut and use it as the tie. Test the size against a piece of paper on the shirt first, because back cut-outs always come out bigger than they look flat.
7. Racerback tank
Cut the sleeves off first, then cut inward on the back, tapering from the armholes up toward the centre of the neckline. Keep at least three inches of fabric across the top of the back. This is one where cutting through both folded layers really matters, since asymmetry shows badly on a racerback.
8. Fringe hem
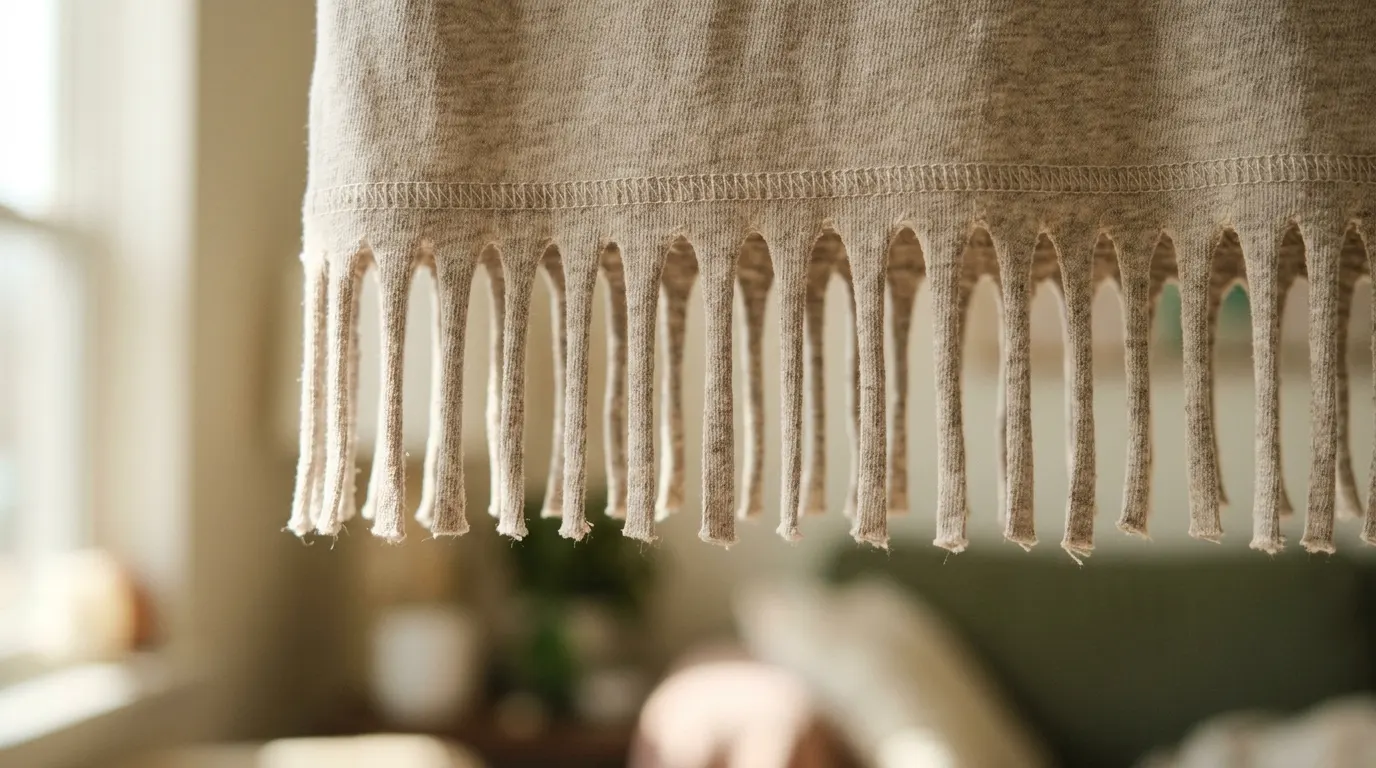
Cut your length, then cut vertical strips about half an inch wide and three inches deep all the way around. Pull each strip firmly between your fingers so it curls into a rounded cord. Ten minutes of work and it completely changes the shirt, though be warned it does shed a little on the first wash.
9. Laddered shoulders
Fold the shoulder area flat and cut a series of small horizontal slits, about an inch apart, straight across the shoulder from neckline to sleeve. Stretch each one gently. This works best on a slightly oversized shirt, since a fitted one puts too much tension on the strips and they can tear.
10. Deep V neckline
Fold the shirt in half vertically, then cut a diagonal line from the shoulder down to your chosen depth. Because it is folded, you get a symmetrical V in one cut. Go shallower than you think, and remember the neckline will stretch and drop another inch or so with wear.
11. Tie-front knot shirt
No cutting needed at the front, just a vertical slit up the middle of the hem about four inches. Tie the two halves in a knot or a bow. This is the one I recommend to people nervous about ruining a shirt, since it is almost reversible and takes about a minute.
12. Cropped and boxed with a fold
Crop it, then fold the raw edge up an inch and press it with an iron on medium heat. Cotton holds a fold surprisingly well without sewing. If you want it permanent, run a line of fabric glue inside the fold and it will survive plenty of washes without a stitch.
How to choose which cut for which shirt
Weight of the fabric decides more than style does. Thin jersey drapes and works well for off-shoulder, deep V, and fringe. Heavier cotton, the kind band shirts and thick basics are made of, holds its shape better and suits cropping, muscle tees, and racerbacks. Trying a fringe hem on heavy cotton gives you stiff strips that stick out rather than hanging softly, which I found out the hard way with a thick charity shop tee.
And a practical note on tools. Use proper fabric scissors, not kitchen ones, because dull blades chew jersey instead of slicing it and that is what causes the ragged edges people blame on their technique. A sharp pair costs about ten pounds and lasts years if you never let anyone cut paper with them. Practice on a shirt you do not care about first. Every single person I know who is good at this ruined three or four shirts learning.
Frequently asked questions
Will a cut up shirt fray or unravel? Cotton jersey does not fray. The raw edge curls slightly, which most people actually like, and it stays stable through washing. Woven fabrics like poplin or linen will fray badly though, so those need a hem or fabric glue.
What scissors do I need to cut up a shirt? Sharp fabric shears, ideally 8 inch. Kitchen or craft scissors leave a chewed edge because they drag the jersey instead of cutting it cleanly. Keep the fabric pair for fabric only, since cutting paper dulls them fast.
How do I stop my cut edges looking wonky? Lay the shirt completely flat on a table, fold it in half at the shoulder seams, and cut through both layers together. Mark your line with tailor’s chalk first and cut in long smooth passes rather than short snips.
Can I cut up a shirt without sewing anything? Yes, almost all of these need no sewing at all. Knots, ties, and rolled raw edges hold fine, and fabric glue handles anything you want more permanent, like a folded hem.
How much should I cut off for a crop top? Measure to where you want it to sit, then leave an extra inch. Shirts ride up as you wear them and jersey stretches wider as it shortens, so nearly everyone cuts too much on their first attempt.
Final thoughts
The best thing about this is how low the stakes are. A shirt that has been sitting unworn in your drawer for two years is already doing nothing, so cutting it badly costs you almost nothing and cutting it well gets you something you actually reach for.
Grab whatever tee you have not worn since last summer and try the side tie crop first. It takes about five minutes, it is very hard to ruin, and it will tell you fairly quickly whether you enjoy doing this.