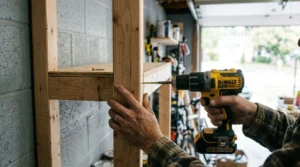
For two years I parked on the street. Not because I had a small garage, but because the middle of it was a pile of things I could not throw away and could not find a home for.
The turning point was not buying storage. It was realizing I had zero vertical storage and about eleven boxes of stuff I had not opened since moving in.
So here is what actually worked, with the measurements and the costs. Skip to item four if you have already tried and failed at pegboard, because I did that twice before I got it right.
Start with the wall, not the stuff
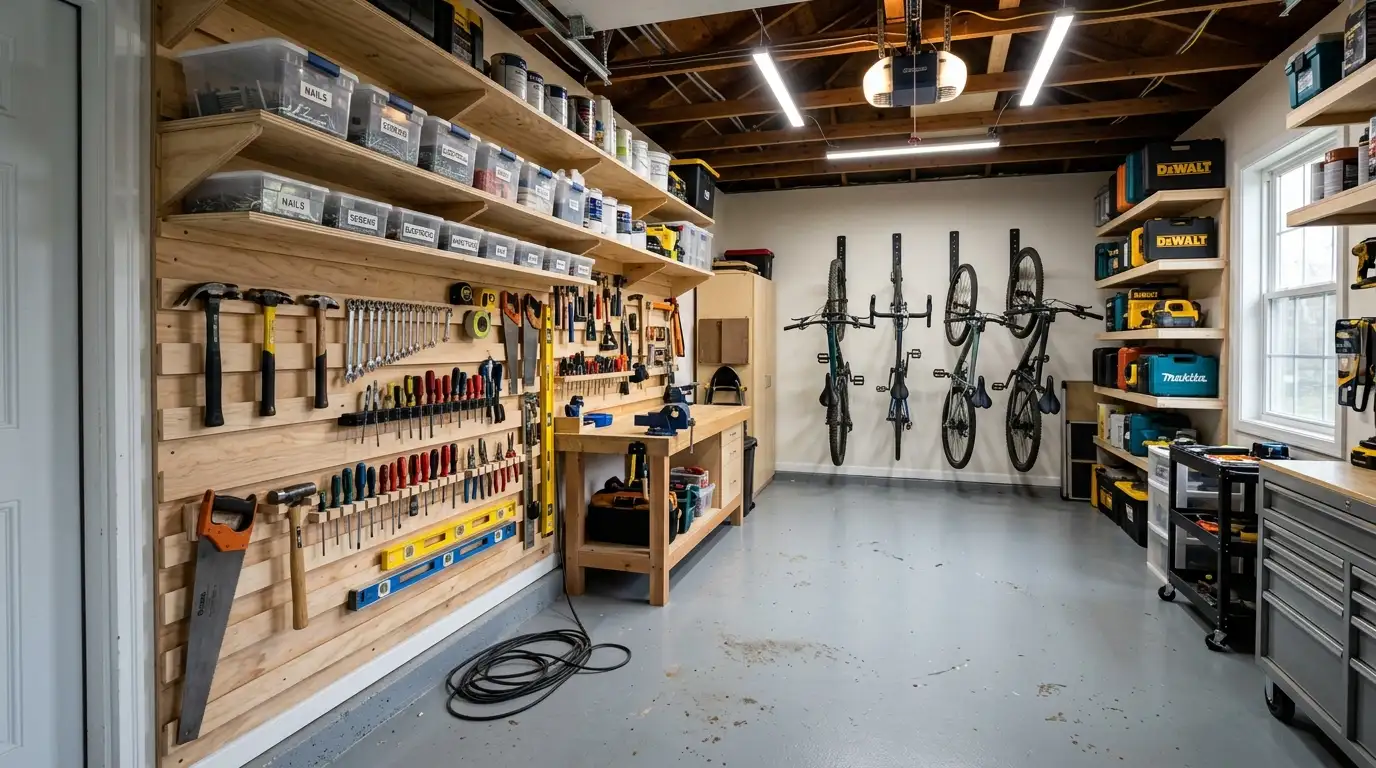
Everyone starts by sorting. And sorting is fine, but you end up with neat piles on the floor and nowhere to put them, so within a month it is all back to chaos.
Build storage first. Get one wall fully sorted with hooks, shelves, or a rail system, then sort your things into it. It feels backwards. But it means every item you keep has an actual destination, which is the only thing that makes a garage stay organized past week three.
1. Overhead ceiling racks for the seasonal stuff
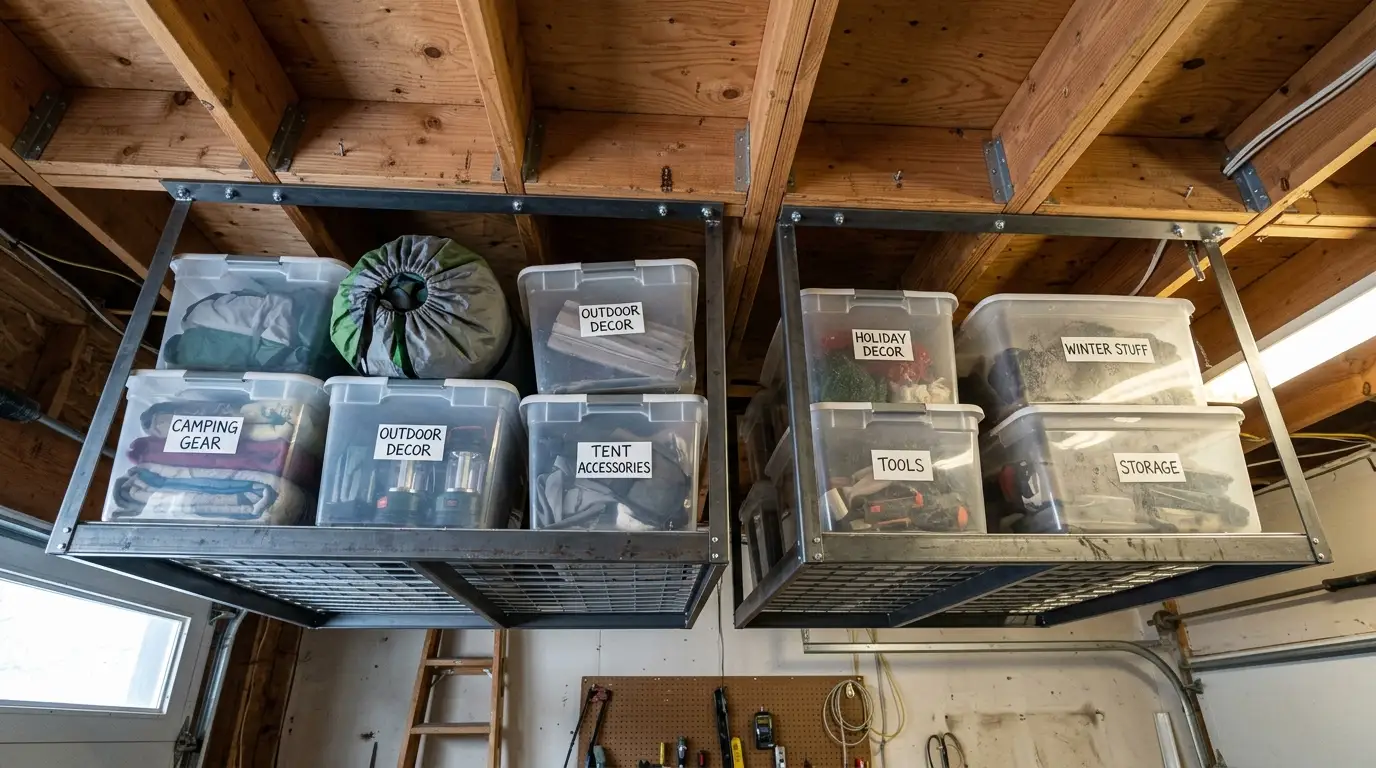
The ceiling is the most wasted space in almost every garage. A pair of 4×8 overhead racks run about $120 to $180 and hold the holiday decorations, camping gear, and suitcases you touch twice a year. Mount into the joists, never into drywall alone, and leave at least 18 inches of clearance below so your garage door still opens fully.
2. French cleat wall instead of pegboard
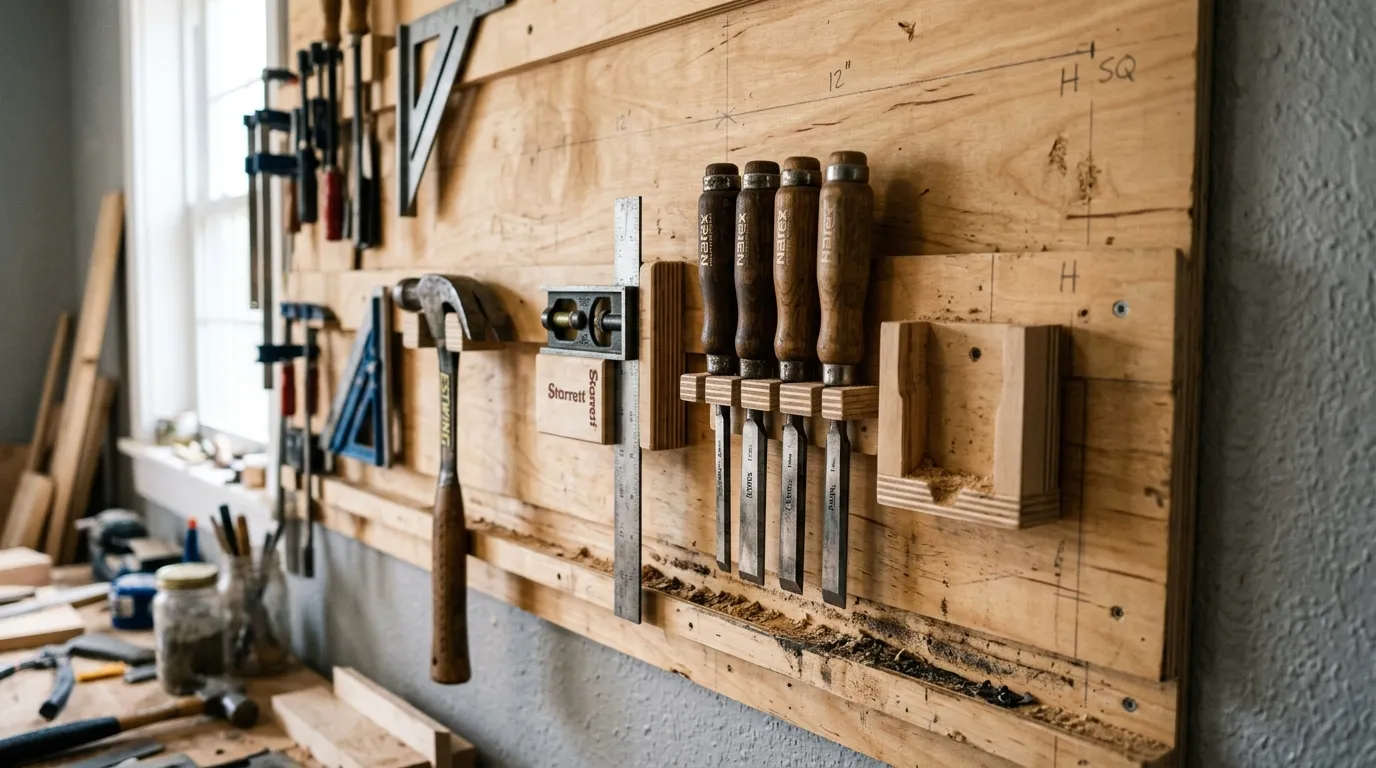
This is the upgrade I wish I had done first. Rip a sheet of three quarter inch plywood into strips, cut a 45 degree bevel on the edge, and screw them horizontally into studs. Then everything you hang is on a matching cleat and moves in seconds. One sheet of plywood cost me $52 and covered an entire eight foot wall.
3. Do pegboard properly or not at all
My first pegboard failed because I screwed it flat to the wall and the hooks would not fit. You need spacers, at least half an inch, so the hook prongs have room behind the board. Use furring strips or the plastic standoffs that come in the kit, and mount into studs. Cheap thin hardboard also bows under weight, so pay the extra for the quarter inch version.
4. PVC pipe holders for long-handled tools
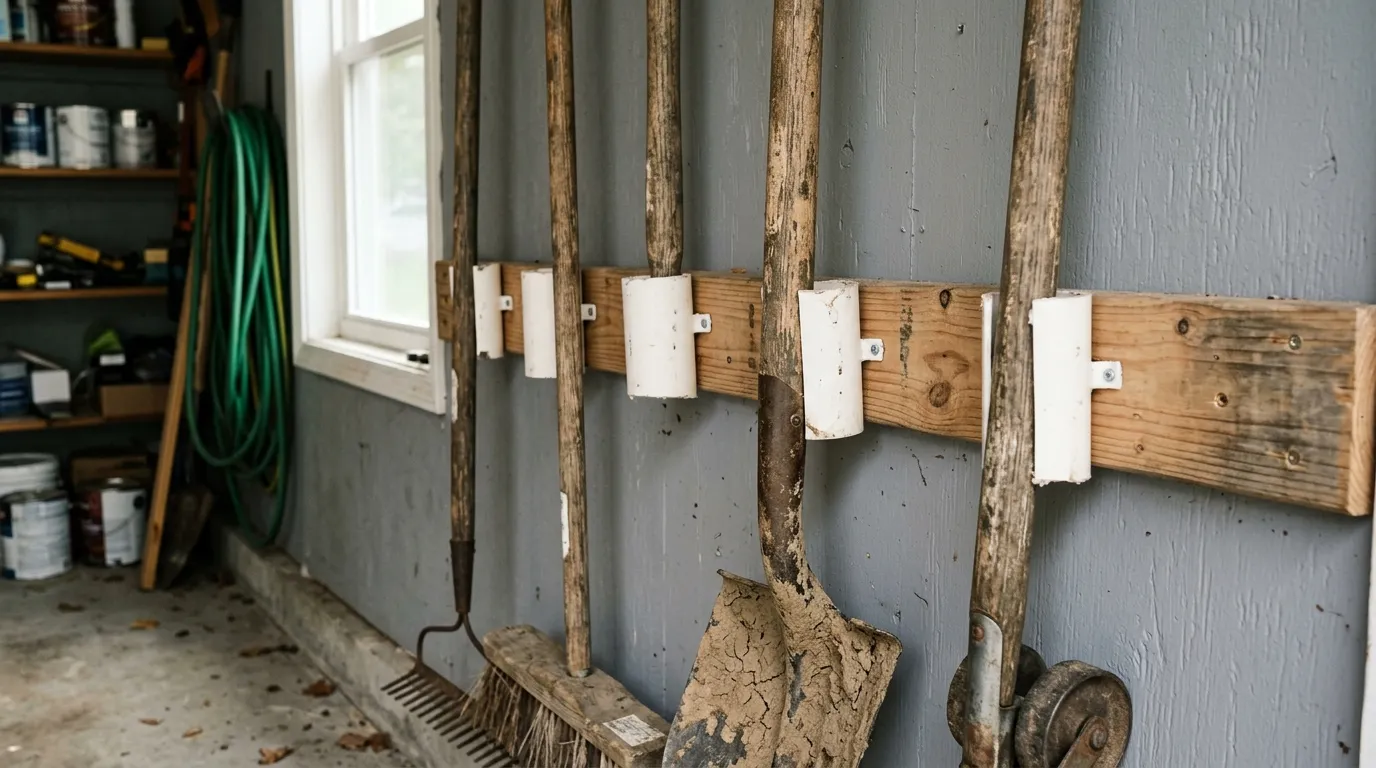
Cut 3 inch PVC pipe into 10 inch lengths, screw them to a horizontal 2×4 mounted on the wall, and drop rakes, shovels, and brooms in handle-first. Costs about $15 for six holders. It works better than hooks because you can grab one tool without knocking three others off the wall, which happened to me constantly with the hook version.
5. Build a simple 2×4 shelf unit
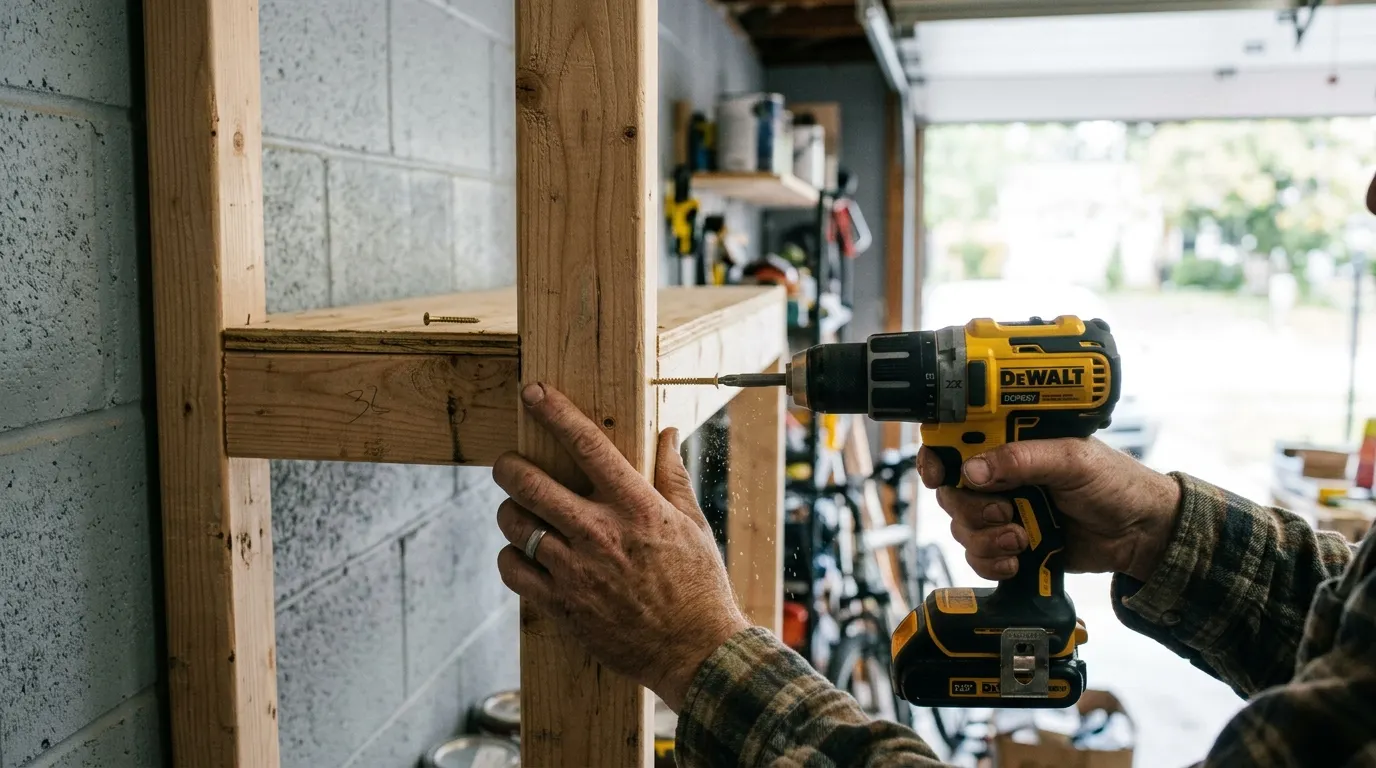
Freestanding shelving is expensive and flimsy. A wall-mounted 2×4 and plywood unit costs around $70 in materials and holds far more. Make the bottom shelf 30 inches off the floor so you can slide bins and a shop vac underneath, which is space most units waste completely.
6. Magnetic strips for small metal things
A cheap magnetic knife strip screwed to the wall near your workbench holds screwdrivers, chisels, pliers, and drill bits. Around $12 each. I have three and they get more daily use than any drawer in the garage, mainly because putting something back takes half a second.
7. Clear bins only, and label them anyway
Opaque bins are how things disappear. Buy clear ones, and still write on the lid with a paint pen, because when they are stacked three high you can only see the top one. And buy one size, not four, so they actually stack square instead of wobbling.
8. A dedicated drop zone by the door
Put a small shelf and three hooks right where you enter from the house. This is where keys, gloves, sunglasses, and the mail land instead of on the workbench. It is a $25 fix and it prevented about 70 percent of the daily clutter creep in my garage.
9. Store bikes vertically on wall hooks
Bikes on the floor eat an absurd amount of space. Vertical wall hooks that hold a bike by the front wheel cost around $15 each and take up roughly one foot of wall per bike. Mount them at staggered heights if you have two or three, so the handlebars do not clash.
10. Jar lids screwed under a shelf
Old trick, still brilliant. Screw the lids of glass jars to the underside of a shelf, fill the jars with screws, washers, and anchors, and twist them into place. Free, if you have been saving jars. And you can see exactly what is in each one without opening anything.
11. Roll-out platform for whatever is at the back
Something always ends up buried at the back of a shelf or under the workbench. A simple plywood platform on four caster wheels, about $30 to build, means you pull it out instead of crawling behind it. I use mine for paint cans and it has saved me a lot of swearing.
12. Paint the floor before you fill it
If your garage is empty enough right now, this is the moment. A one part epoxy floor coating runs $80 to $150 for a two car garage and makes the whole space feel like a room rather than a storage unit. It also makes sweeping actually work, which matters more than it sounds.
How to phase this without losing a whole weekend
Do not try to do all of it at once. I attempted the full overhaul in one Saturday, ran out of daylight with everything on the driveway, and had to shove it all back in at 9pm. Genuinely worse than when I started.
Instead, pick one wall and finish it completely, including hanging the things that belong on it. That is a realistic three to four hours. The following weekend do the ceiling racks, then the shelving unit, then the floor. Four weekends total and you get to use each stage as you build it. Also, measure your garage door track path before you mount anything overhead, because the number of people who install racks in the door’s swing arc is higher than you would expect, and I nearly joined them.
Frequently asked questions
What is the cheapest way to organize a garage? Vertical storage using materials you cut yourself. A French cleat wall from one sheet of plywood, PVC pipe tool holders, and jar lids under a shelf will cost under $80 total and handle most of a typical garage.
How much weight can overhead garage racks hold? Most rated racks hold between 400 and 600 pounds when mounted properly into ceiling joists. The rating is meaningless if you screw into drywall or miss the joist, so find them with a stud finder and verify with a small pilot hole.
Should I use pegboard or a French cleat wall? French cleats hold heavier items and rearrange faster, so they are better for power tools and bulky gear. Pegboard is cheaper and fine for hand tools, as long as you space it off the wall and use quarter inch board.
How do I organize a small one car garage? Go vertical and overhead aggressively, and keep the floor almost empty. Wall-mounted shelving with a 30 inch clearance underneath plus ceiling racks will free up more usable space than any floor cabinet ever will.
Can I mount shelves into concrete block walls? Yes, using concrete screws or sleeve anchors with a hammer drill. Pre-drill with a masonry bit, blow the dust out of the hole before setting the anchor, and do not overtighten, since block crumbles more easily than poured concrete.
Final thoughts
The strange part of doing this is how much lighter the whole house feels afterwards. My garage was quietly stressing me out every single time I walked through it, and I did not notice until it stopped.
If you are staring at yours right now wondering where to begin, just clear one wall this weekend and put up a cleat rail or a shelf. One wall is enough to see the difference, and it usually makes the rest of it feel possible.