There is a specific look that homemade decor has, and everybody recognises it instantly even if they cannot name it. Slightly wonky edges, visible glue, a finish that is almost right.
My first three projects had all of that.
What I eventually worked out is that the difference between a DIY piece that looks intentional and one that looks like a school project is almost never the idea. It is the last ten percent, the edges and the finish, which is also the part every tutorial rushes through. So here are twelve projects with that part included.
The finishing rules that fix most DIY decor
Edges give everything away. Raw cut foam board, frayed fabric, visible hot glue strings, and unpainted plywood sides are the four things that make a piece read as homemade. Every project below has a step for dealing with its edges, and if you take nothing else from this, take that.
The second rule is to match what already exists in your room rather than inventing a new colour. Pull a shade directly from your bedding, your rug, or your curtains, and the finished piece looks like it belongs instead of like a craft that happened to end up there. I noticed this when I made a shelf in a colour I loved that clashed with everything, and it sat in a corner for six months before I repainted it in a tone taken straight from my duvet. Same shelf, completely different result.
1. Fabric wrapped headboard from foam board
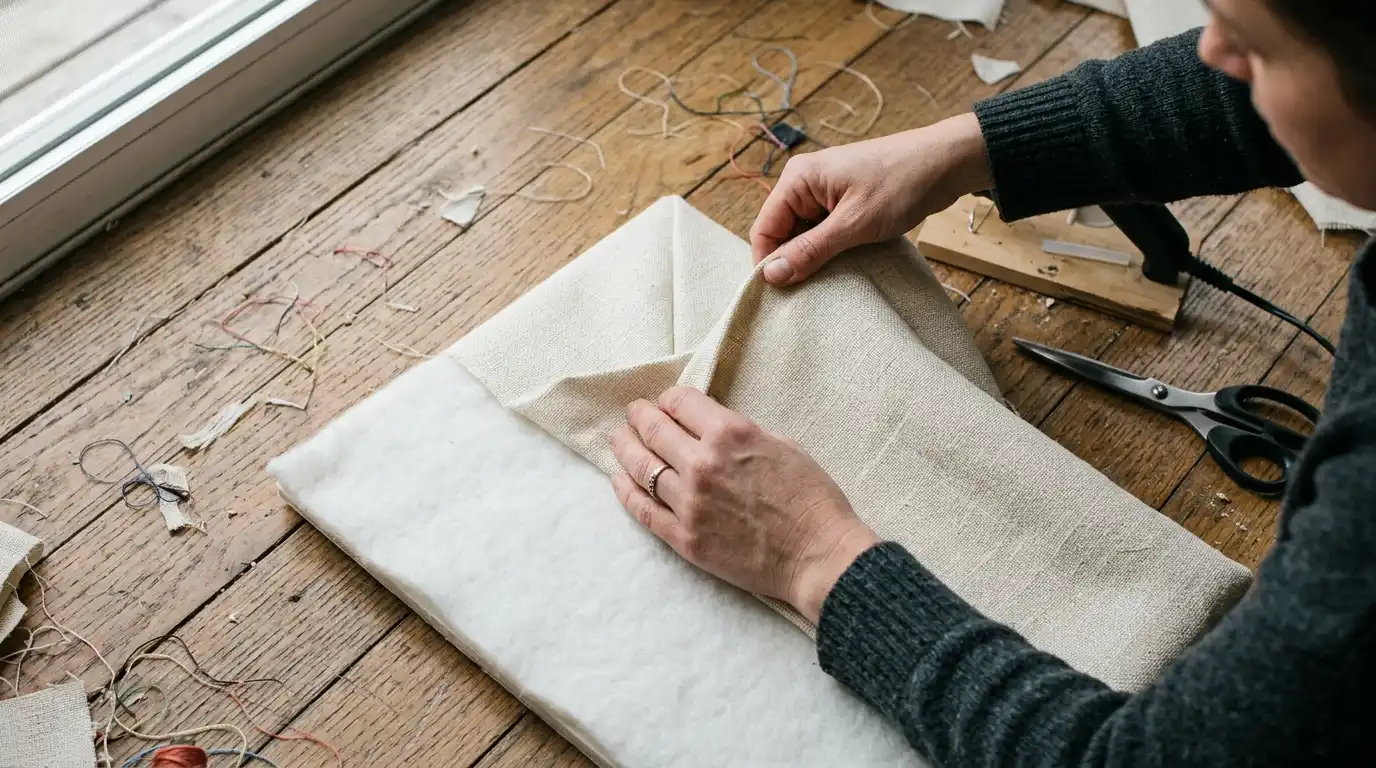
Two sheets of thick foam board, a layer of batting, and fabric wrapped tight and hot glued on the back. Total cost around twenty five dollars and it hangs on four heavy duty adhesive strips. Pull the fabric taut at the corners and fold them like wrapping paper rather than bunching, since corner bunching is what makes these look cheap.
2. Painted picture frames in one finish
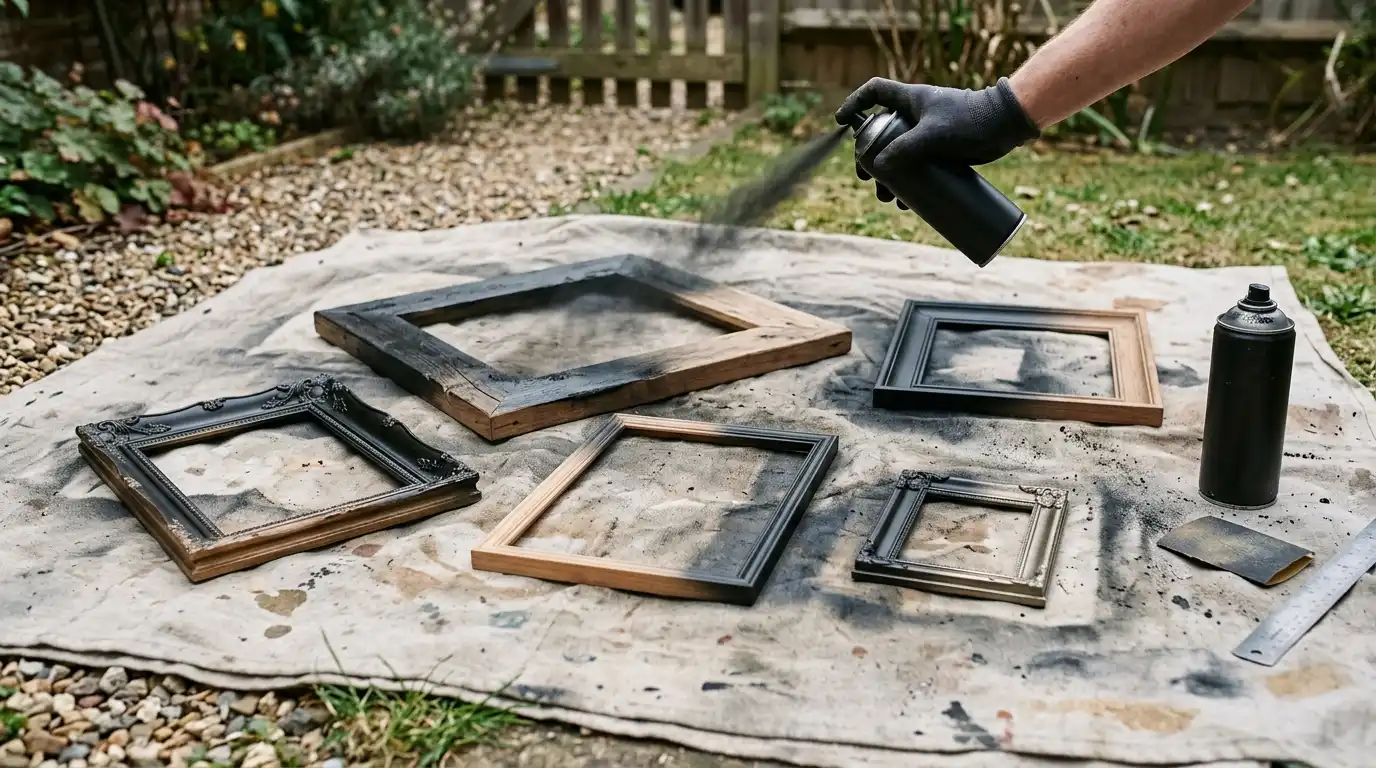
Buy five mismatched thrift store frames for a few dollars each and spray paint them all the same colour, usually matte black, warm white, or a soft brass. Sand lightly first so the paint grips, and do two thin coats rather than one thick one. Consistency in finish is what makes mismatched frames read as a deliberate gallery wall.
3. Linen covered pinboard
A plain corkboard with fabric stretched over it and stapled on the back, then trimmed with ribbon or thin wooden moulding around the edge. The trim is the step people skip and it is exactly what turns it from a school noticeboard into something that belongs on a wall. Iron the fabric before stretching.
4. Peel and stick backsplash or accent panel
Vinyl tiles or removable panels applied to a small area, cut with a sharp utility knife and a metal ruler. Make a paper template first for any awkward cut, since a wonky edge around a socket is the thing your eye will go to forever. Test one piece for a week before doing a whole wall.
5. Painted terracotta pots
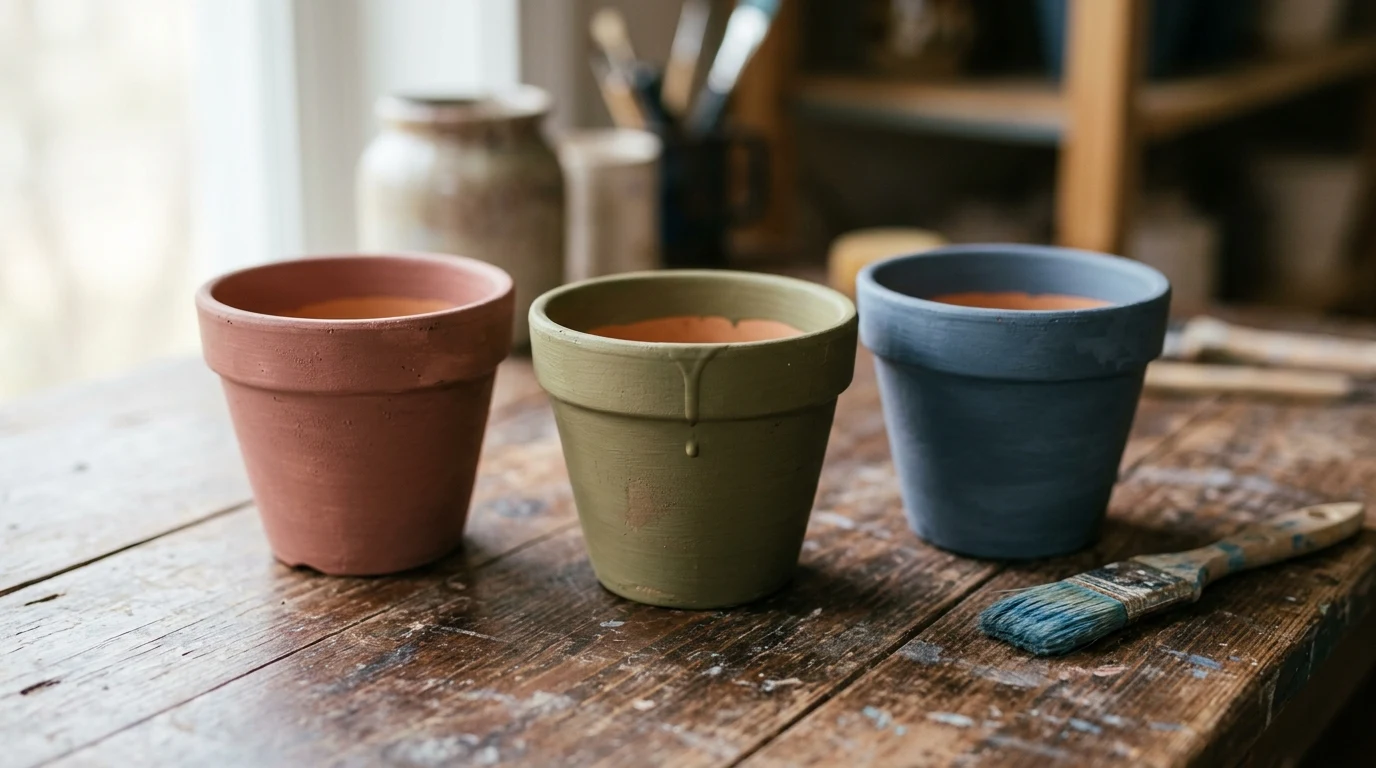
Cheap terracotta pots painted in two or three tones taken from your room’s palette, matte finish, no sealer on the inside so the clay can still breathe. Paint the top inch of the inside rim too, since an unpainted rim visible from above is the giveaway. Three pots in different sizes beats six identical ones.
6. Wooden bead or dowel curtain tieback
A length of cotton rope with wooden beads threaded on, or a simple turned dowel through a loop. It takes fifteen minutes and it makes curtains look considered rather than just hung. Seal the rope ends with a bit of glue or a whipping of thread so they do not fray.
7. Floating shelf from a single board
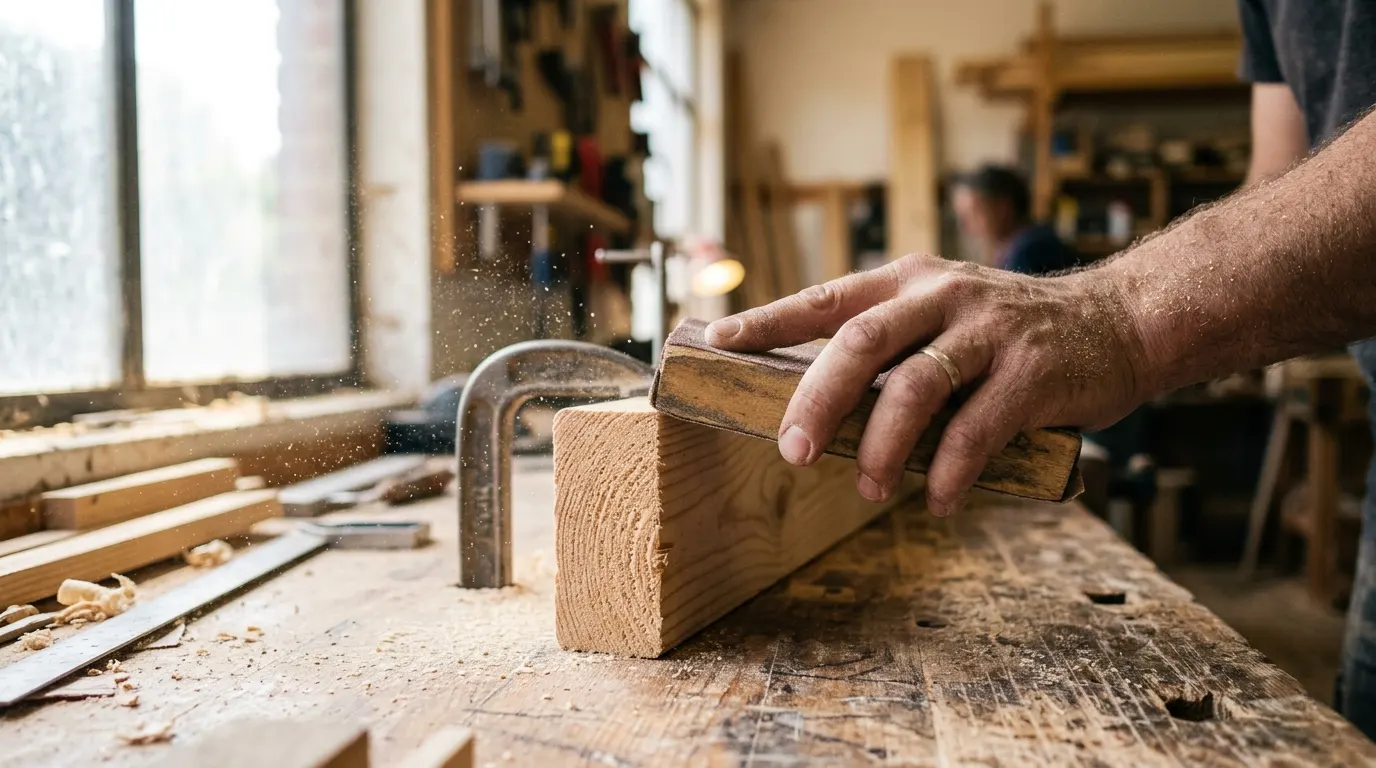
One pine or oak board cut to length, sanded through two grits, stained or painted, and mounted on hidden brackets. Sand the cut ends more than the faces, because that end grain is rough and it is the part at eye level. Find the studs or use toggle anchors rated well above what you plan to put on it.
8. DIY canvas art with a limited palette
A blank canvas, two or three colours pulled from your room, and simple shapes or blocks rather than anything representational. Paint the sides of the canvas too, in one of your colours or plain white, since raw stapled edges are the fastest way to make art look unfinished. Large and simple beats small and detailed.
9. Rope or jute wrapped vase
A plain glass jar or bottle wrapped tightly in jute rope, glued as you go, starting at the base. Keep every wrap pressed hard against the last one, because visible gaps between rows are what make this look like a craft project. Cut the final end at an angle and tuck it under.
10. Upcycled thrift furniture with new hardware
A secondhand nightstand or dresser, lightly sanded, painted with a cabinet enamel rather than wall paint, and finished with new knobs. The hardware swap is doing most of the visual work and it costs about ten dollars. Cabinet enamel matters because wall paint on furniture scuffs within weeks.
11. Hidden LED strip behind a shelf or headboard
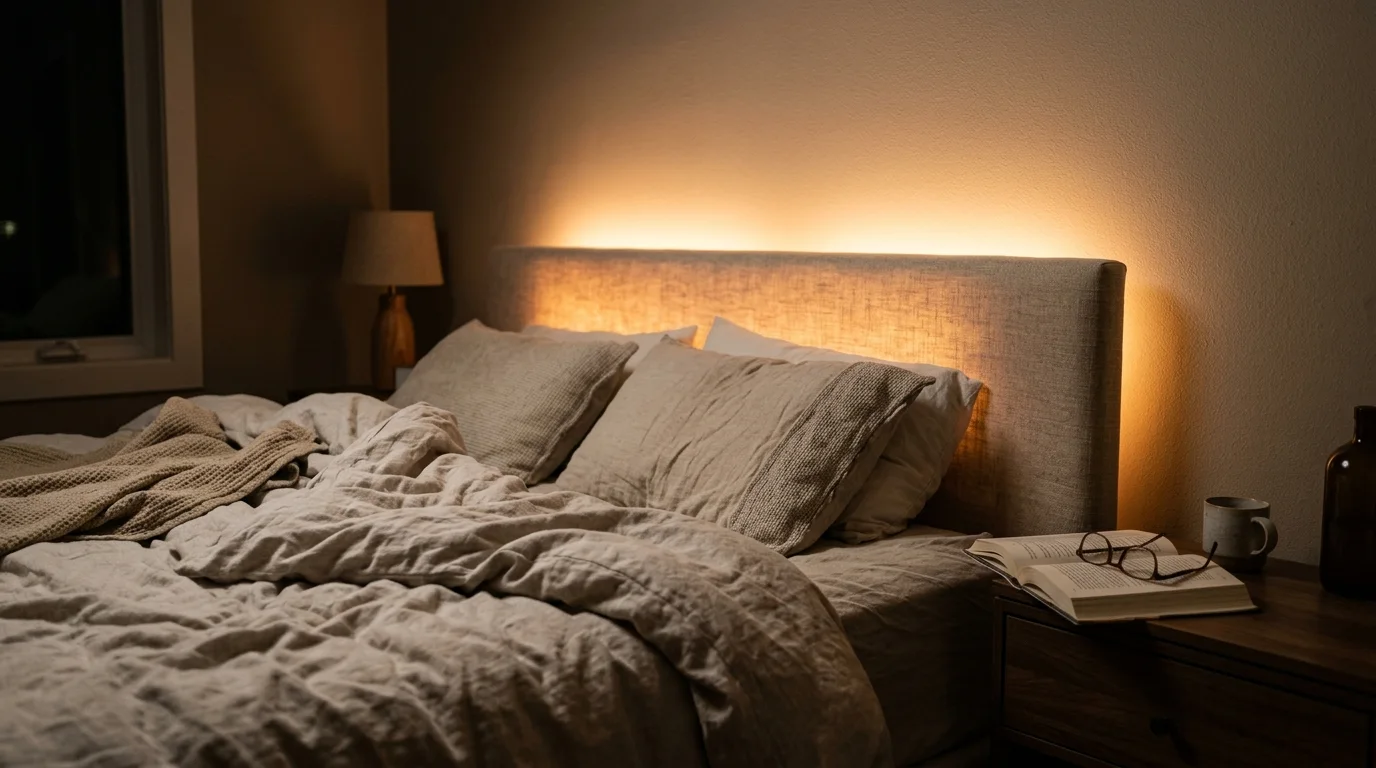
An adhesive LED strip tucked into an aluminium channel behind furniture so you see the glow and never the diodes. Set it warm, around 2700K, and skip the colour changing mode most of the time. This is the cheapest project here that most convincingly looks like something a professional installed.
12. Photo display on a wire or ledge
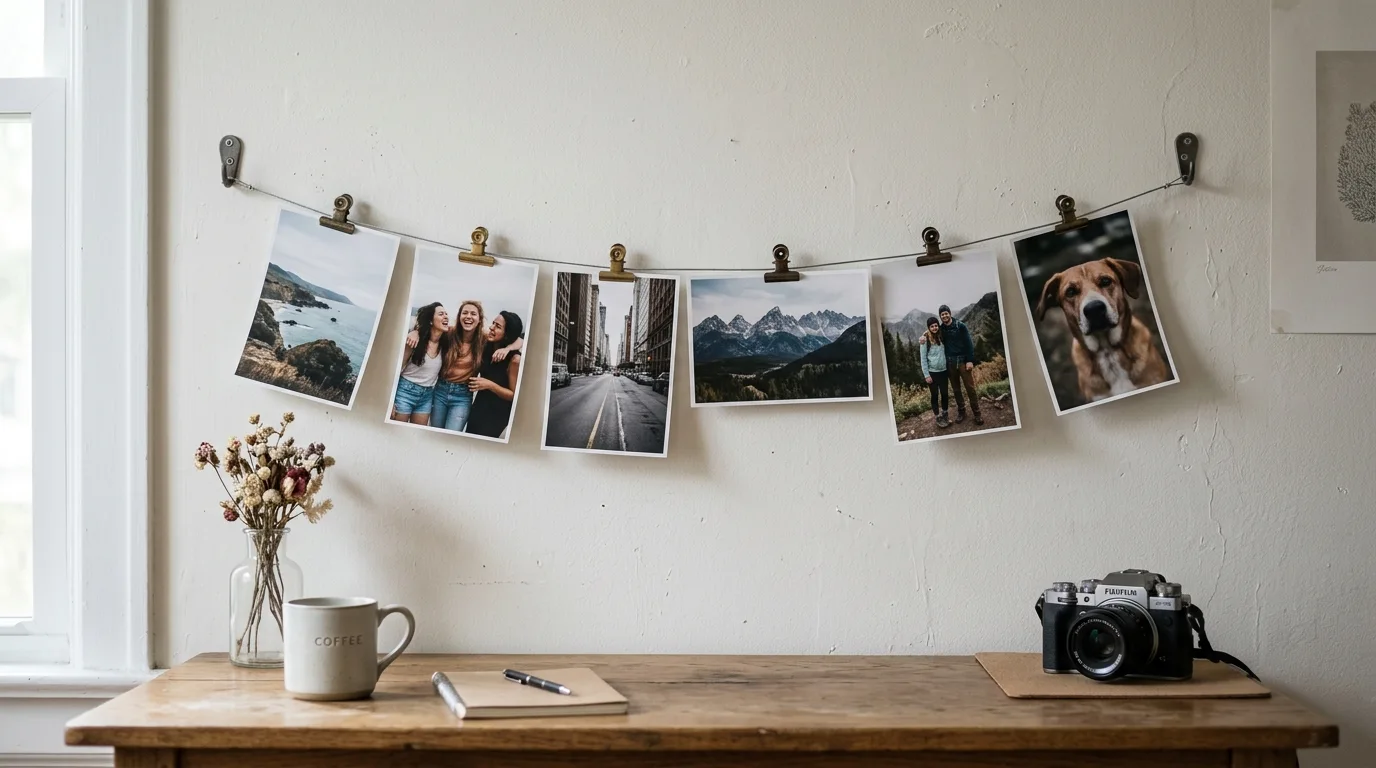
A length of wire or thin twine strung between two hooks with small clips, or a narrow picture ledge for propping. Print your photos matte rather than glossy, since matte reads as intentional and glossy reads as a photo booth strip. Space them unevenly rather than perfectly, which sounds wrong and looks better.
How to plan projects that actually get finished
Pick one project, buy exactly what it needs, and finish it before starting another. That sounds obvious and yet the most common DIY failure I see is four half finished things and a bag of supplies in a cupboard. Start with the smallest project on your list rather than the most exciting one, because finishing something builds the momentum that a half painted dresser destroys. On tools, you can do eleven of the twelve above with a hot glue gun, a utility knife with fresh blades, sandpaper in two grits, a small paintbrush, and a can of spray paint. Fresh blades matter more than people think, since a dull knife tears foam board and vinyl instead of cutting it cleanly. On paint, always do two thin coats rather than one thick, always sand between coats on wood, and let things cure properly, meaning a full day rather than an hour, before you handle or stack anything. On budget, most of these come in under thirty dollars and several under ten. And the honest caveat, some DIY is not worth it. Anything structural, anything electrical beyond a plug in LED strip, and anything that needs to hold significant weight on a wall is worth doing properly or paying someone for. A shelf that comes down at three in the morning is not a saving.
Frequently asked questions
What DIY room decor is easiest for beginners? Painted terracotta pots, a linen covered pinboard, and spray painted thrift frames are the three easiest, all under an hour and hard to get wrong. They also teach the finishing habits that harder projects depend on.
How do I make DIY decor look expensive? Focus on edges and finish. Cover raw cut edges with trim or paint, use two thin coats instead of one thick one, and pull your colours from something already in the room rather than choosing a new one.
What tools do I need to start DIY decorating? A hot glue gun, a utility knife with fresh blades, sandpaper in a medium and a fine grit, a small brush, and spray paint will handle almost every project on this list. Add a drill and a stud finder once you start mounting things.
How can I decorate my room without spending much? Thrift the base objects and change the finish. Secondhand frames, pots, jars, and small furniture are cheap, and paint plus new hardware transforms them for a few dollars per piece.
Is DIY decor safe to hang on rental walls? Lightweight pieces are fine on quality adhesive strips rated well above the item weight. Anything heavy needs studs or proper anchors, and for structural or electrical work it is worth getting help rather than improvising.
Final thoughts
The projects of mine that have lasted are not the clever ones. They are the simple ones I finished properly, with sanded edges and a colour that matched the room, and honestly nobody who visits has ever guessed which things I made.
So pick the smallest project on this list, finish it this weekend, and pay attention to the edges. Come back and tell me what you made, because the fabric headboard is still the one I recommend first and I want to know how yours turned out.