Okra has a reputation problem and I understand it completely. Most people’s experience of it is the texture in a stewed dish, which is either the best part or a dealbreaker depending on who you ask.
Pickled okra is a different thing entirely.
Done right it is snappy, sharp, faintly grassy, and one of the better things you can put on a plate of cheese or drop into a drink. Done wrong it is a jar of cloudy sludge, which is exactly what I produced on my first attempt because I trimmed the pods like I was prepping them for a stew.
The one thing that causes all the slime
Okra contains mucilage, that viscous substance in the seed chamber. As long as the pod stays sealed, it stays inside the pod and your brine stays clear. The moment you cut into the seed chamber, it leaks out and thickens the entire jar.
So the rule is simple. Never slice the pods, and when you trim the stem, leave a small collar of the cap in place rather than cutting flush against the pod. My first batch failed because I trimmed hard right at the shoulder, thinking I was being neat, and by the next morning the brine had the consistency of thin syrup. Once I started leaving about an eighth of an inch of stem, I have not had a slimy jar since.
1. Pick small pods, not big ones
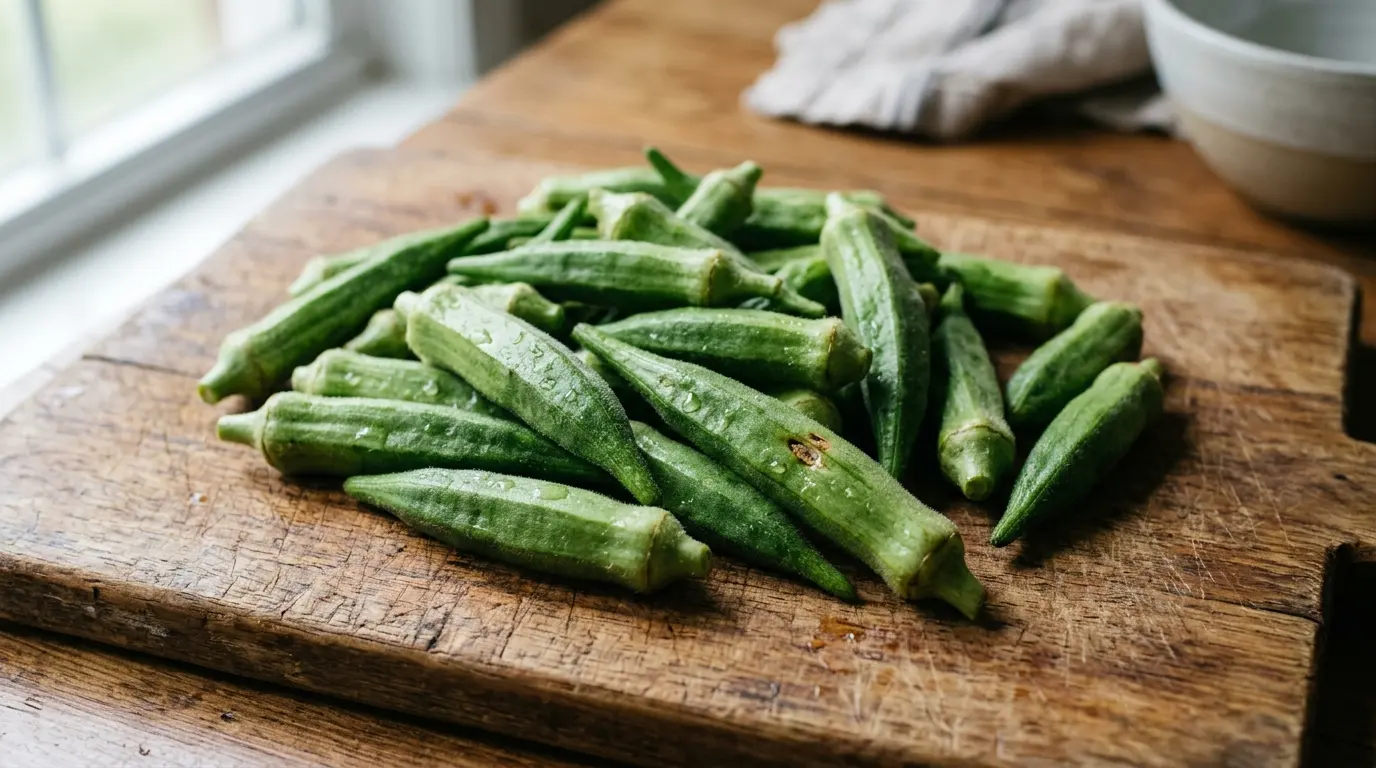
Look for pods between two and three inches long. They are tender all the way through and they fit a pint jar upright. Anything over four inches has usually gone woody and fibrous, and no amount of brine fixes a tough pod, so save those for the stew pot.
2. Use okra that was picked recently
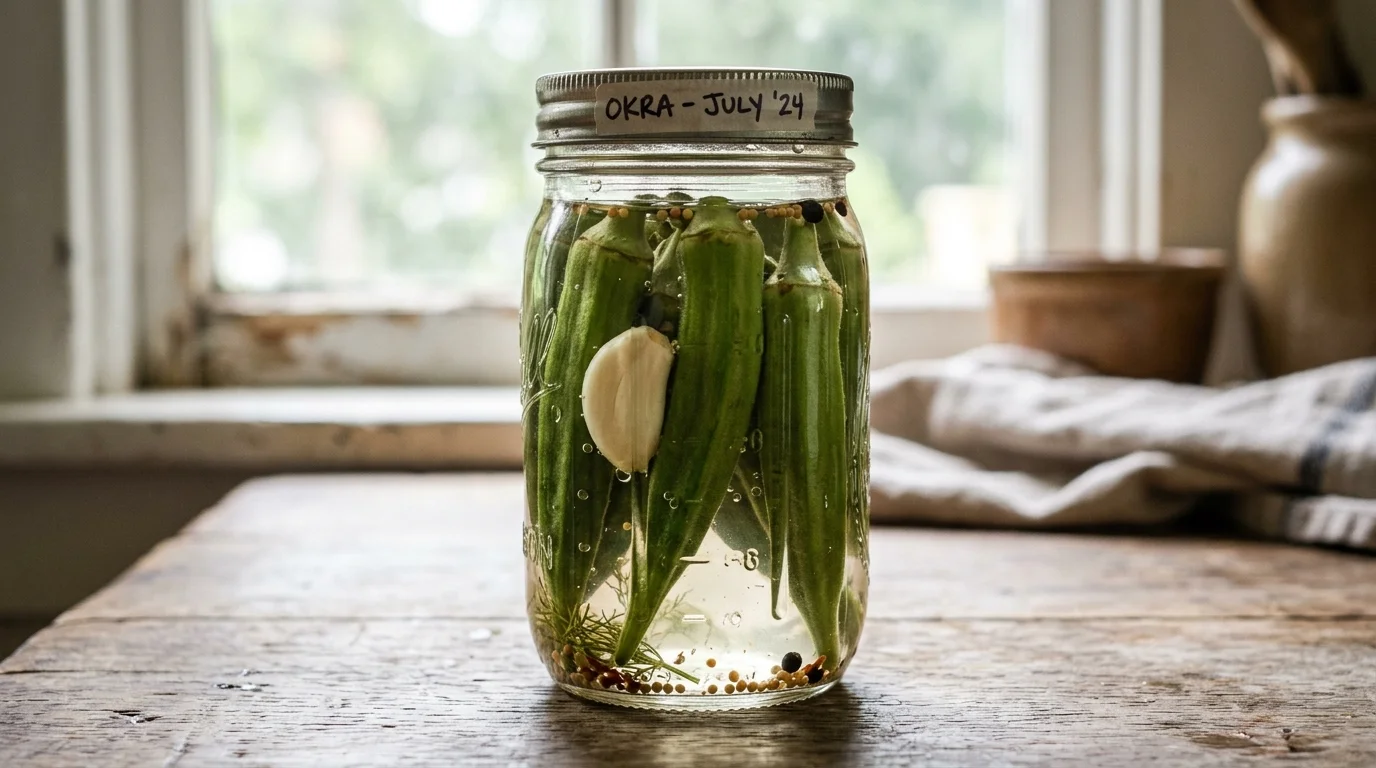
Okra loses quality faster than almost any other vegetable and it should be pickled within a day or two of harvest. Look for firm bright pods with no soft dark spots or bendy tips. Farmers market okra in the height of summer is worth seeking out here.
3. Rinse and give them an ice bath
Wash the pods in cool water, rubbing off the fine fuzz with your hands, then drop them into a bowl of ice water for 20 minutes. Cold vegetables going into a jar hold their snap better. This is a small step and it makes a noticeable difference to the finished crunch.
4. Trim the stem the right way
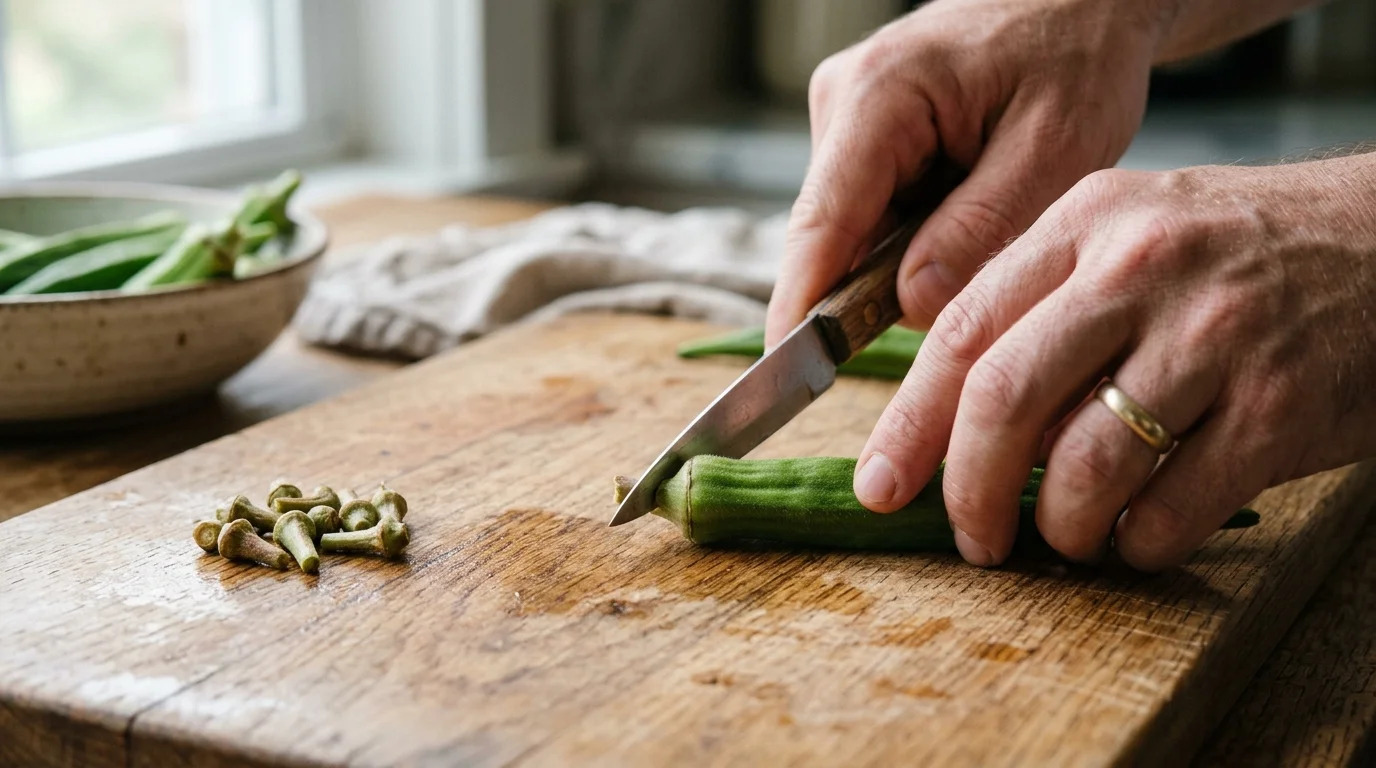
Cut the tough stem down but stop short of the pod itself, leaving a small collar of the cap intact. You want the pod completely sealed. This is the whole recipe, honestly, and everything else is seasoning.
5. Pack the jar tight, alternating direction
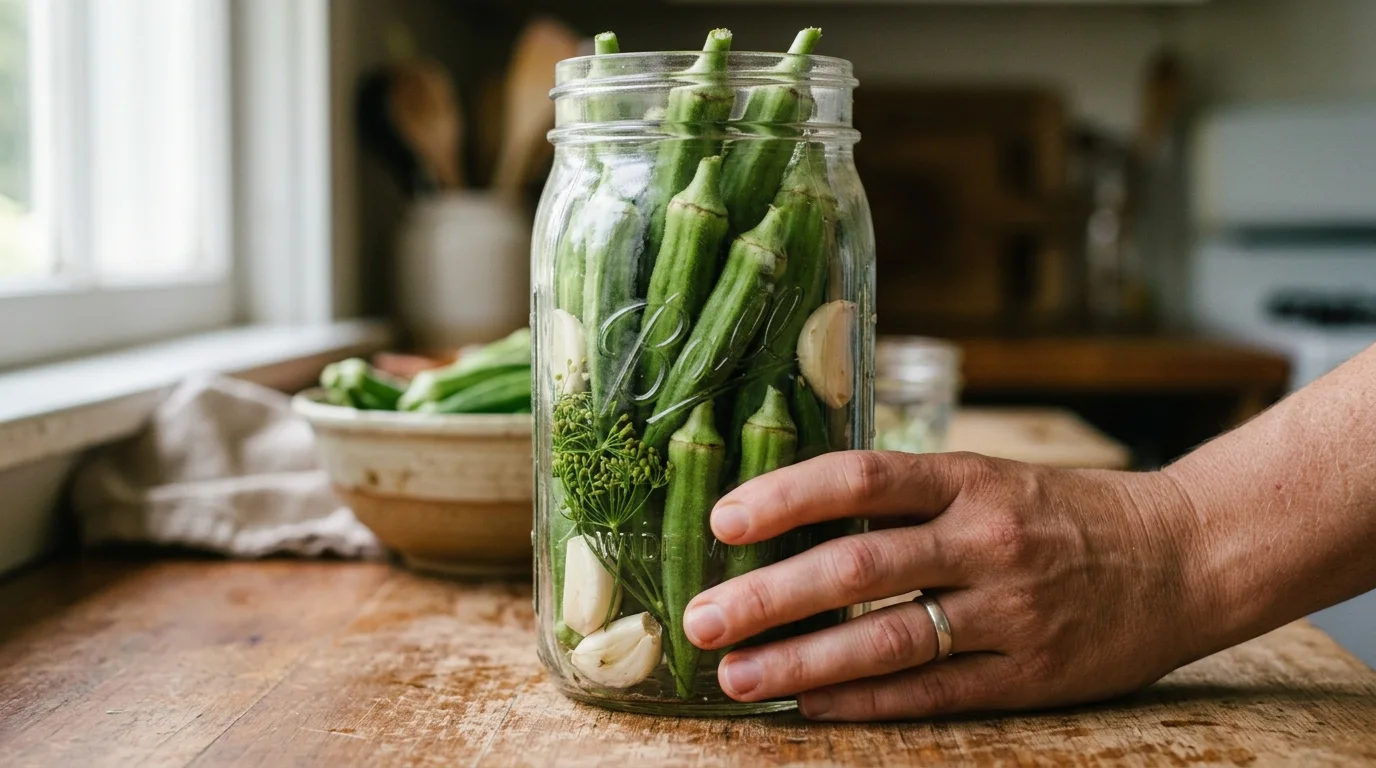
Stand the pods upright in a wide mouth pint jar, alternating stem up and stem down so they interlock. Pack them firmly enough that they will not float when the brine goes in. A tight pack usually takes about ten to twelve ounces of okra per pint.
6. Add the aromatics before the brine
Per pint jar, drop in 2 peeled garlic cloves, 1 head of fresh dill or 1 teaspoon dill seed, half a teaspoon of mustard seed, and a quarter teaspoon of black peppercorns. Tuck them down the sides rather than dropping them on top, so they end up distributed through the jar.
7. Decide how hot you want it
A quarter teaspoon of red pepper flakes gives a gentle background warmth. For a proper Southern hot version, add one whole dried arbol or a halved fresh jalapeño per jar. Whole chilies give a cleaner heat than flakes, which tend to cloud the brine slightly as they break down.
8. Make the brine
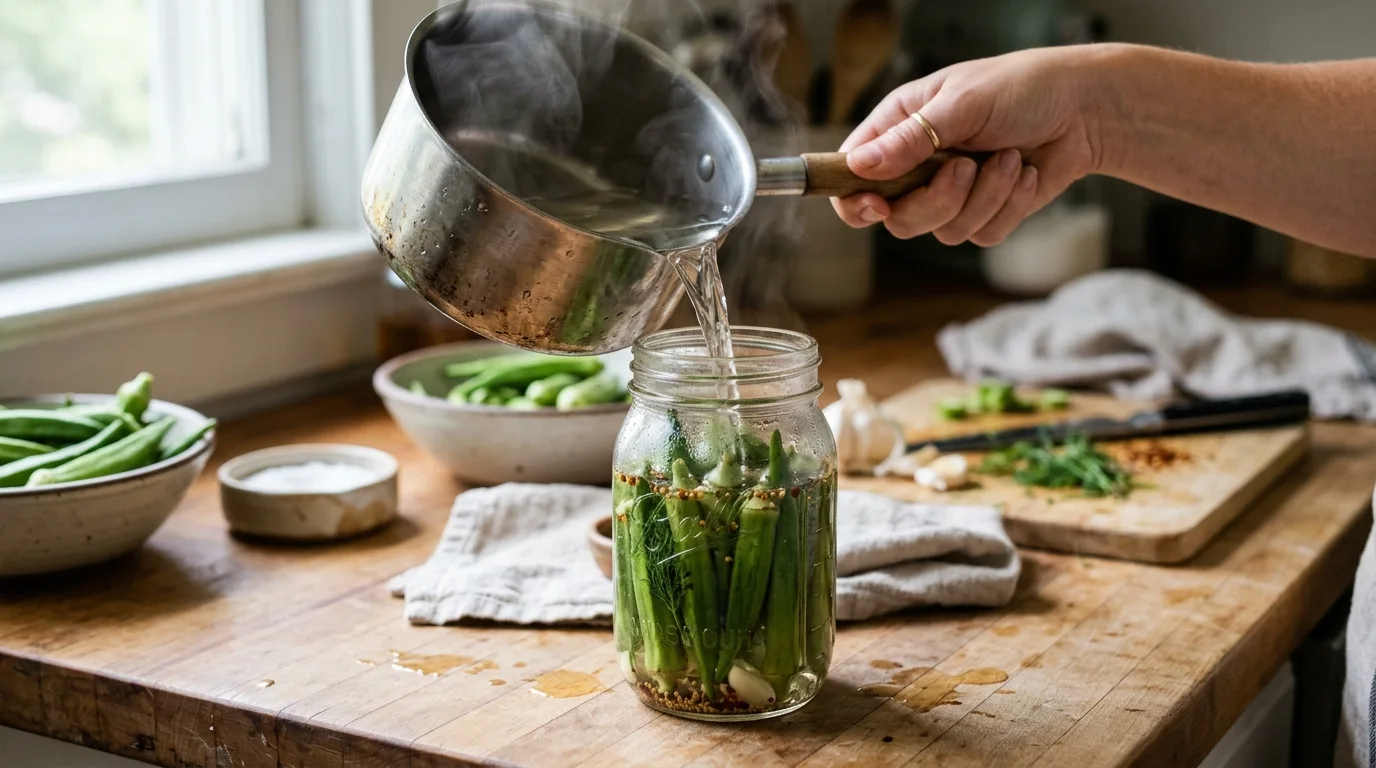
For two pint jars, bring 2 cups distilled white vinegar at 5 percent acidity, 1 cup water, and 2 tablespoons of pickling or kosher salt to a simmer, stirring until the salt dissolves. Skip table salt, since the iodine and anti caking agents make the brine cloudy. Add a teaspoon of sugar if you want to soften the edge, though traditional versions go without.
9. Pour it hot and leave headspace
Pour the simmering brine over the packed okra, covering the pods completely and leaving about half an inch of space at the top. Hot brine is right for okra, unlike cucumbers, because the pods are firmer and benefit from the initial heat opening up the surface to flavor.
10. Tap out the air bubbles
Run a chopstick or a thin plastic spatula down the inside of the jar in a few spots and tap the jar gently on the counter. Trapped air pockets leave some pods sitting above the liquid, and anything above the brine line will not pickle properly. Top up with extra brine if the level drops.
11. Cool on the counter, then refrigerate
Let the jars come to room temperature with the lids on before they go in the fridge, which takes about an hour. Putting a hot jar straight into a cold fridge is how you crack glass and warm up everything around it. These are refrigerator pickles, so they live in the fridge for the whole time, not the pantry.
12. Wait two weeks before you open one
This is the hard part. Okra pods are dense and take considerably longer than cucumbers to absorb brine, so a jar opened on day three tastes raw in the middle. One week is acceptable, two weeks is right, and three is even better. I noticed the flavor keeps improving until about week four, then holds steady.
How to serve them and how long they keep
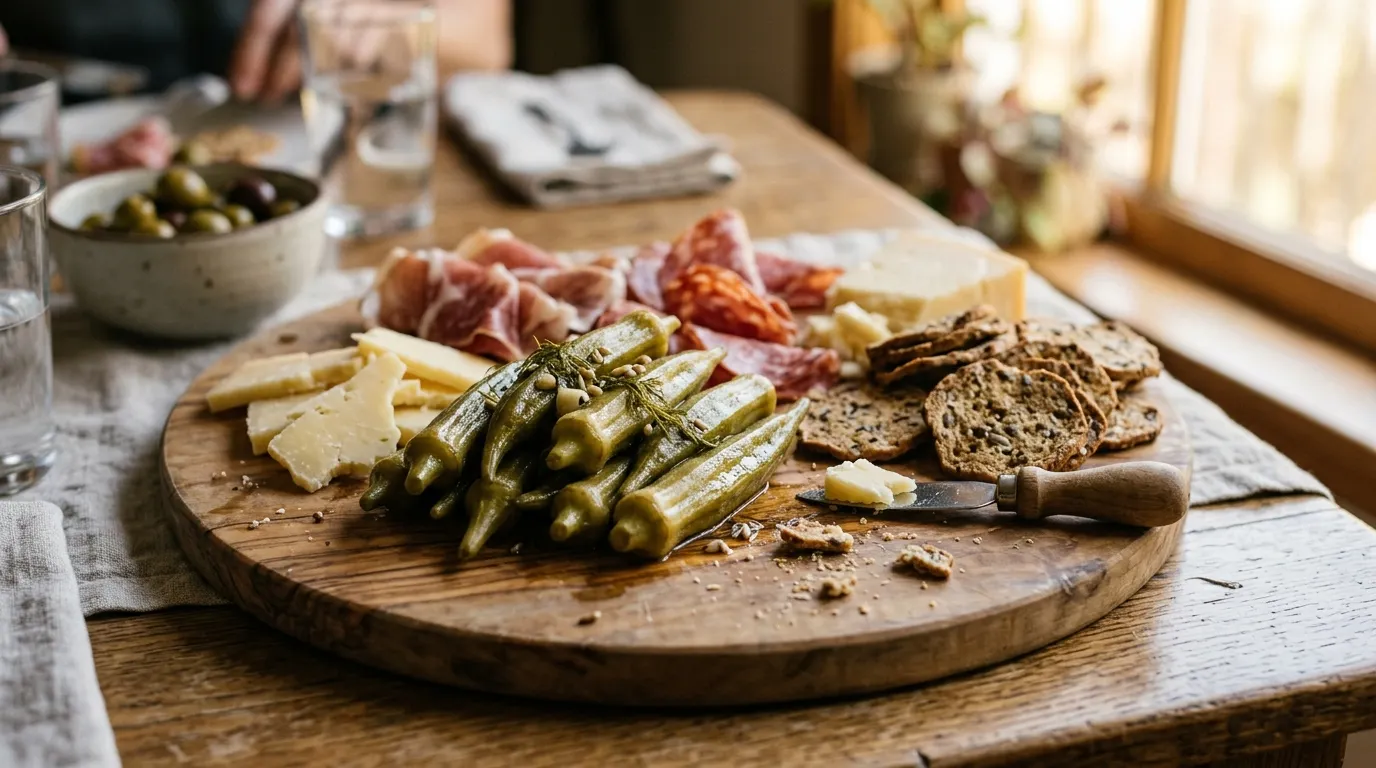
The obvious use is as a snack straight from the jar, cold, which is how most of mine disappear. Beyond that, pickled okra is excellent on a cheese board next to something sharp, chopped into a potato salad or a chicken salad for texture, or speared into a Bloody Mary, where it works better than celery because it stays crisp instead of going limp in the glass. Wrapped in a thin slice of prosciutto it makes an absurdly easy party thing that people always ask about. On storage, this refrigerator version keeps for about two months in a cold fridge, and the pods stay crisp for most of that before slowly softening. Because it relies on cold plus acid rather than a proper canning process, it is not shelf stable and needs to stay refrigerated the entire time. If you want jars that live in a cupboard, that is a different process. You would need to follow a tested water bath canning recipe from a reliable source such as a university extension service, keeping the vinegar ratio exactly as written and processing for the specified time adjusted for your altitude. Do not improvise the acid levels on a shelf stable batch, since that is the one part of pickling where the safety margin actually matters.
Frequently asked questions
Why is my pickled okra slimy? The pods were cut into, usually when trimming the stem too close or slicing them. Okra’s mucilage stays sealed inside an intact pod, so leave a small collar of stem attached and never slice the pods before pickling.
How long does pickled okra need to sit before eating? Two weeks is the sweet spot. Okra is denser than cucumber and absorbs brine slowly, so a jar opened after a few days will taste sharp on the outside and raw in the middle.
How long does refrigerator pickled okra last? About two months in the fridge, staying crisp for most of that time. It is not shelf stable, so it needs to stay refrigerated throughout and should be discarded if it smells off or grows mold.
Can I use frozen okra for pickling? Not really. Freezing ruptures the cell walls, so frozen pods turn soft and release mucilage as they thaw. This recipe needs fresh firm pods.
How do I keep pickled okra crisp? Use small fresh pods, give them an ice bath before packing, keep them fully submerged in the brine, and store them cold. Adding a grape leaf, a bay leaf, or a black tea bag to the jar contributes tannins that also help firmness.
Final thoughts
I did not grow up eating okra and I came to it late and skeptically. Now there is a jar in my fridge from about June through September, and the two week wait between making a batch and opening it is genuinely one of the small anticipations of my summer.
So if you see small pods at the market this week, buy a pound and get a couple of jars going. Then come back in two weeks and tell me whether you went mild or added the hot pepper, because I switch every year and I still cannot decide.